…OKAY get the kids out of the room, we are getting into the nitty gritty now…installation!!!
whooo…hooo!!!!
I have to admit, this part of blogging to me is kind of like watching paint dry…but I know personally, when I am in the middle of a project, I am so grateful for a understandable accessible DIY step by step description found online..written in my language…of HOW TO.
What is my language? short and sweet and to the point and no assuming I know anything about anything…you know who gives great description? “Little Green Notebook”. I adore her blog and I love her tutorials…my blog wants to be like her blog when it grows up!
So..INSTALLATION of cabinet doors with European hinges.
what you need:
1.screwdrivers- flat and phillips
2. screws
3. ruler or measuring tape
4. level
5. drill with bit for small screws
6. margarita or something like that…to reward yourself with when you are done…
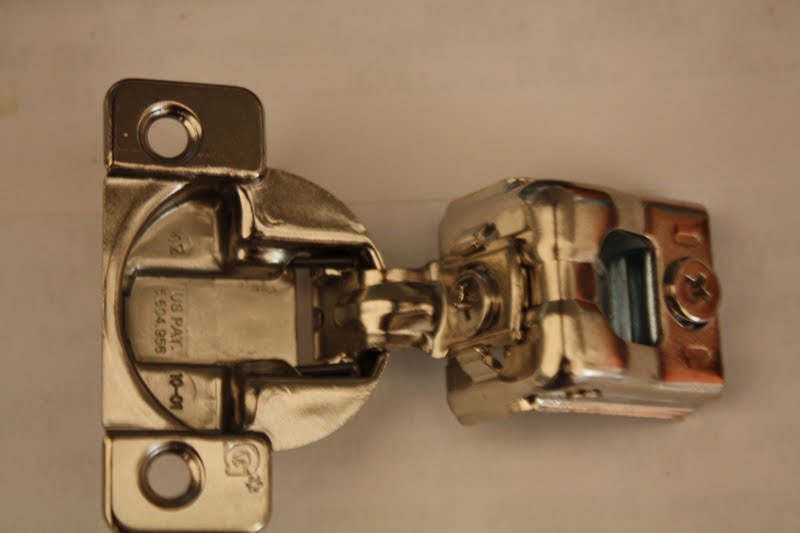
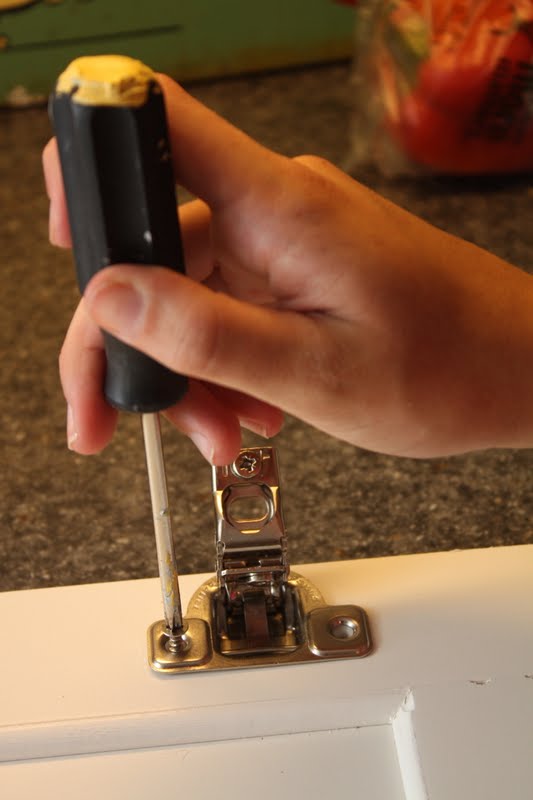
european hinge – the part on the left goes INTO the door – the part on the right goes on the frame
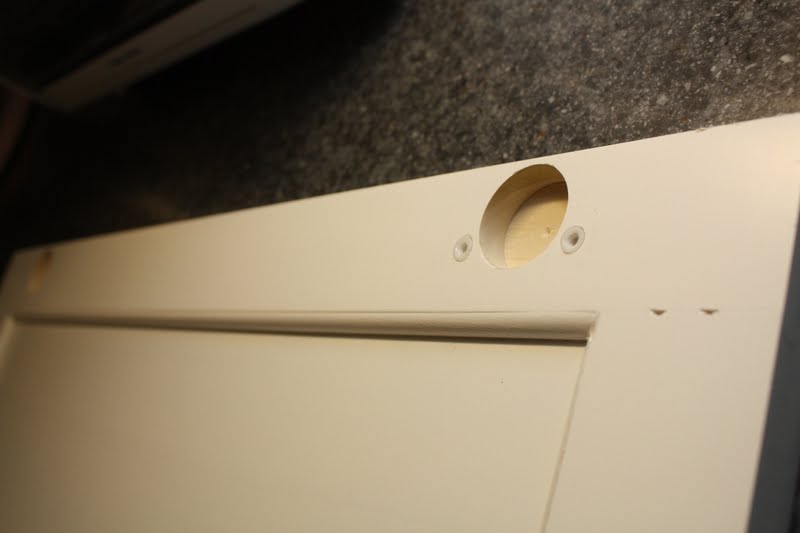
IF YOU HAVE THE OPTION when you get your doors, to have them predrilled for the hinged –
PAY FOR IT!!!I SHUDDER TO THINK HOW I WOULD have ever installed these doors, had I had to put this circle hole in them!
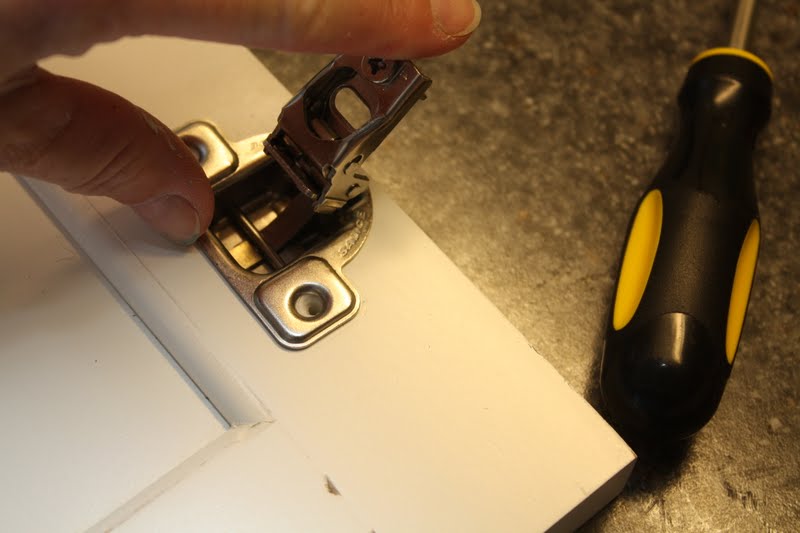
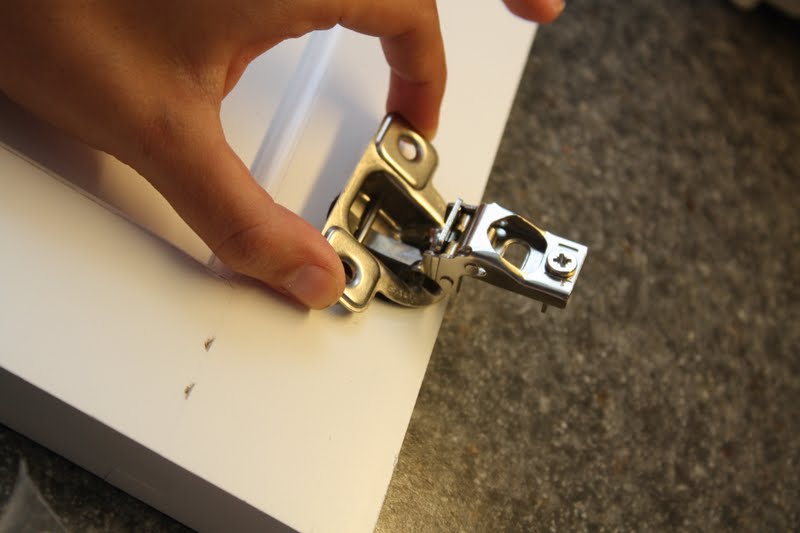
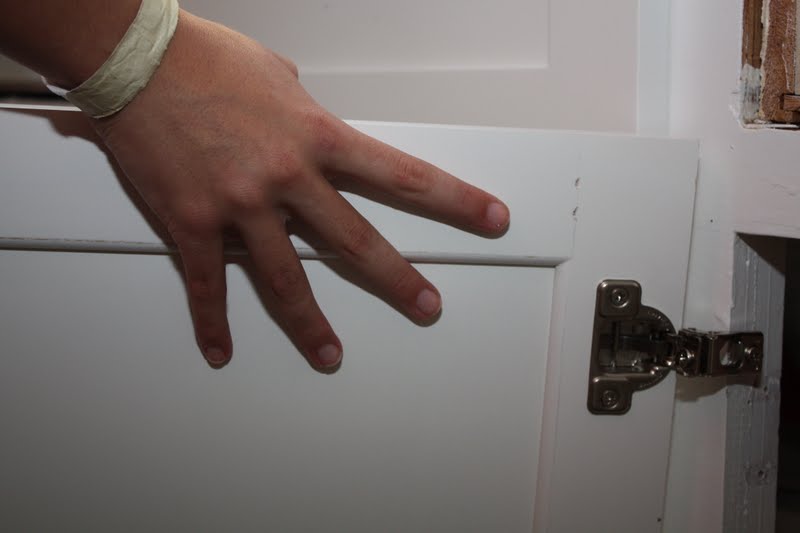
place the hinge into the hole and put screws into the two little holes…
…..so while I was photographing my daughters pretty little hands i
installing the hinge, we both noticed the PERFECT PEACH
in the bowl of peaches I just put out…so of course
I had to take a picture…or two!!!
isn’t it beautiful!!!
okay, back to work. I am going to back track a bit here.
I had my doors all sent with euro hinges with a ONE INCH overlay.
this means that when the door is installed, one inch of the door will cover the frame on the left side, the hinge side. I had my doors purposely cut to be one inch too big on all four sides, so that when they were all installed, they would COMPLETELY cover the frame. MY GOAL was and is to make my kitchen look like I got new cabinets, not just NEW doors, so I want to see as
little OLD frame as possible.
YOU CAN however, install and hinge with just a 1/4 inch or 1/2 inch or ever a 1 and 1/2 inch overlay.
and in fact, I had one situation, where my measurements were not working and so I changed the hinge overlay and it made the door fit.
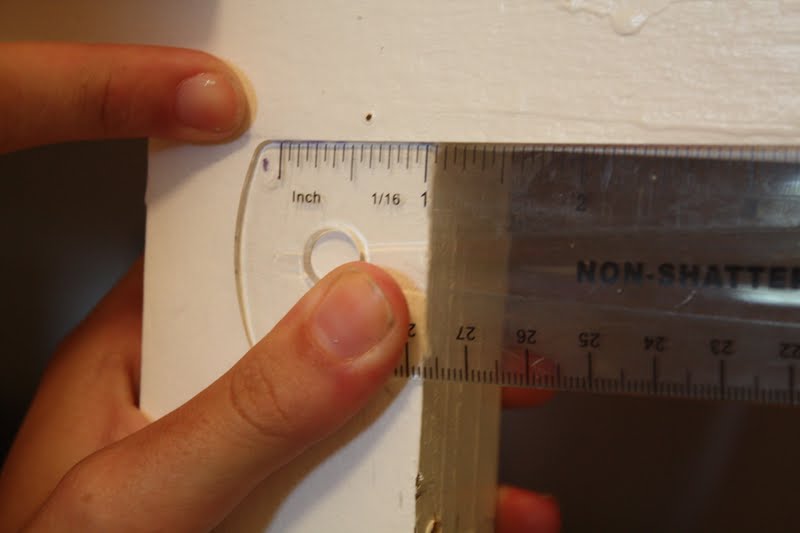
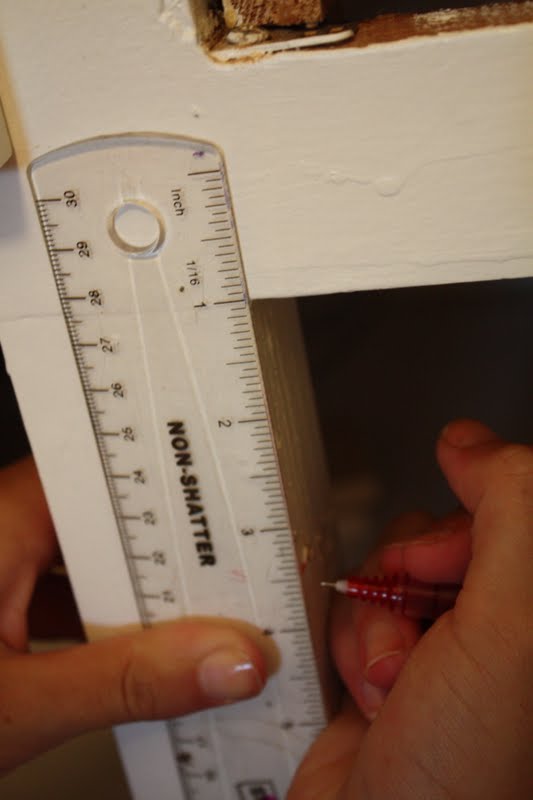
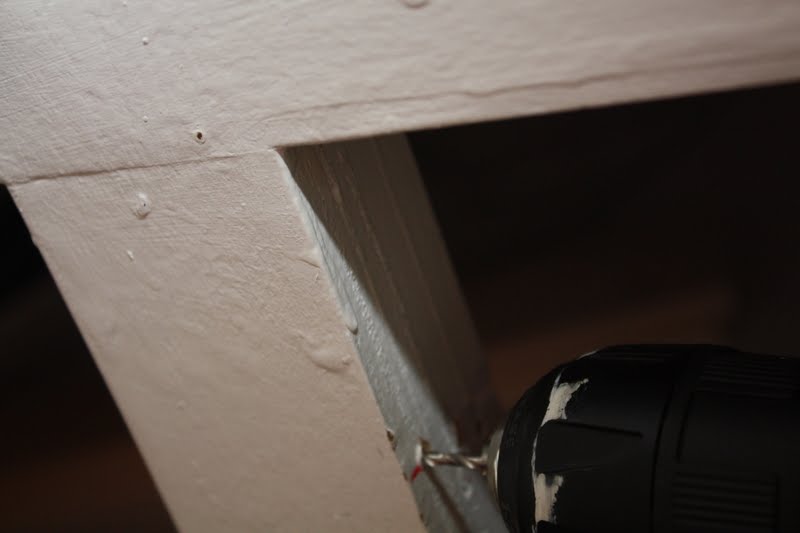
NEXT- AS I WANTED my door to cover one inch on the top, and the hinge is located 4 1/2 inches down, I marked the hole for the screw , to drill 3 1/2 inches down on my door frame.
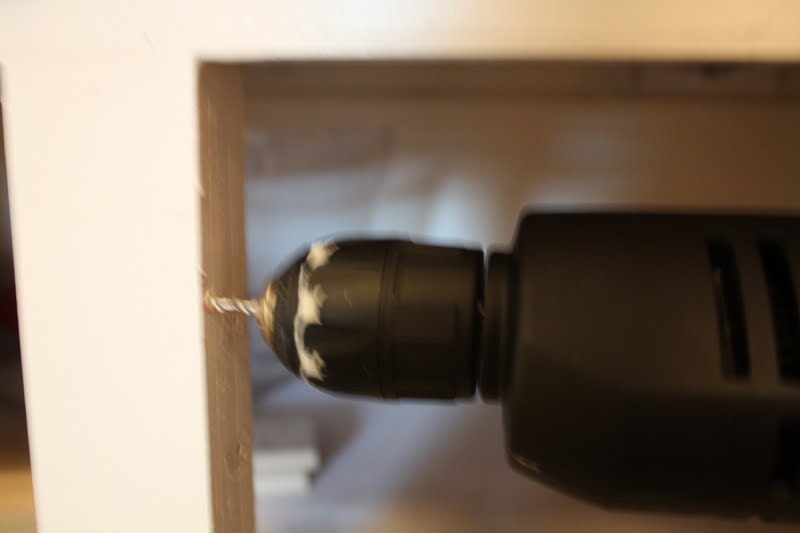
I drilled a hole about 1/2 deep
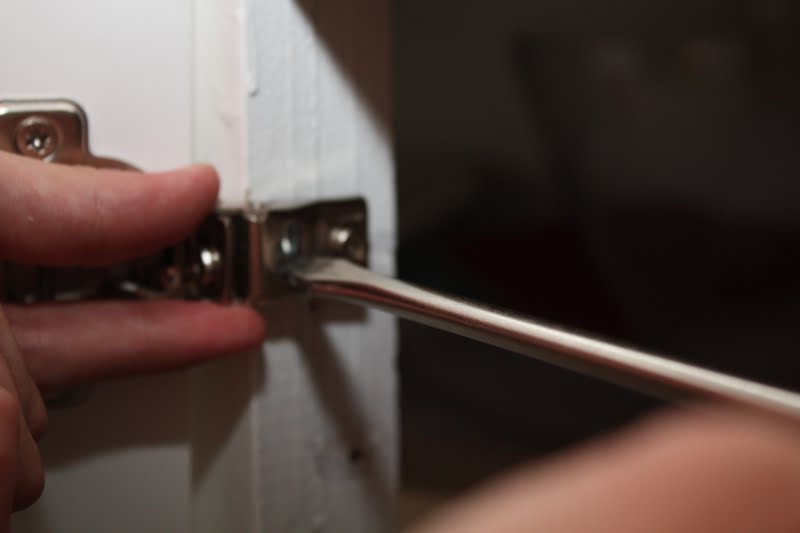
HELPER NEEDED HERE!
HavE ONE PERSON HOLDS THE DOOR
the other person lines up the hinge
on the frame and prepares to screw in the hinge.
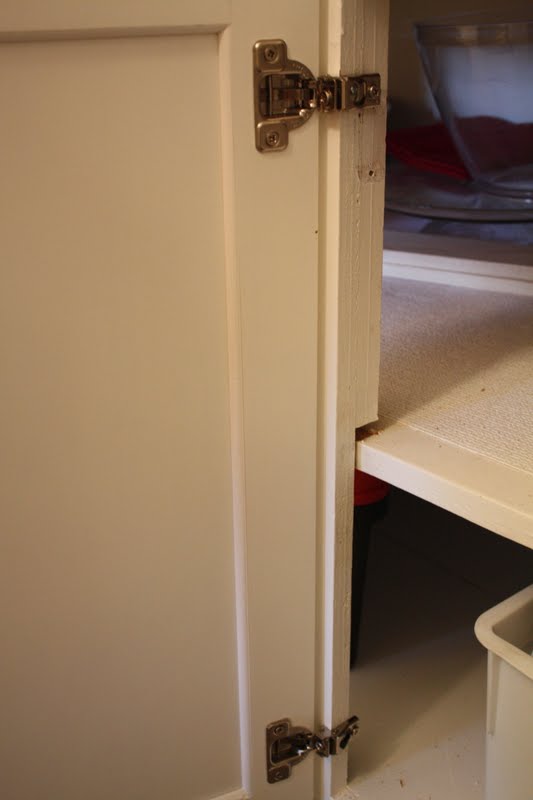
repeat on the bottom hinge and VOILA!!! Your door is in!!!!
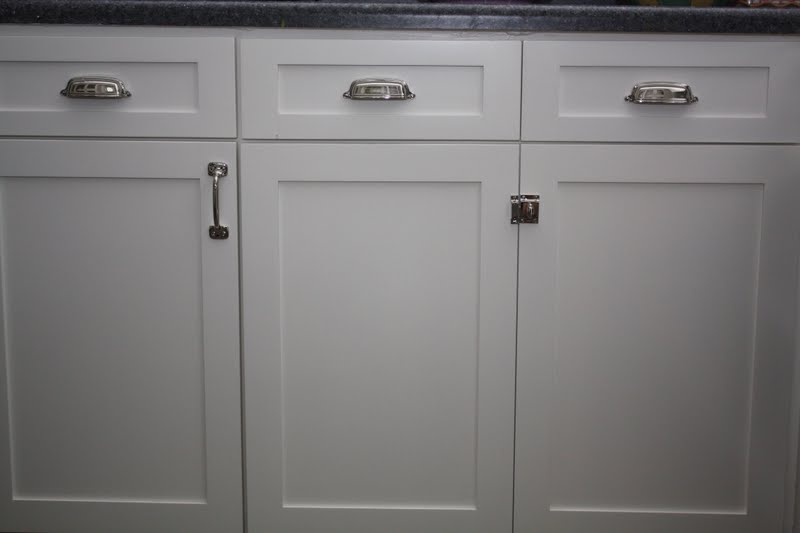
Make sure that you keep your level handy so that you can check your doors to make sure they are all level. I will show you how to do the drawer fronts tomorrow!!! Get the popcorn! Or at vodka tonic!
 |
| PRETTY PRETTY PRETTY!!!!! |


[…] hang your doors and swap out your drawer fronts. All of those posts are HERE Parts ONE, TWO, THREE, FOUR, FIVE AND SIX! B I did it…with my kids, and it took a summer. The process was tough. I […]