
There are people who will say…
“What do you mean? Didn’t you just paint the Dining room?”
and to them I will say..
“Well, sort of…if you mean I painted above the picture rail…finally! “
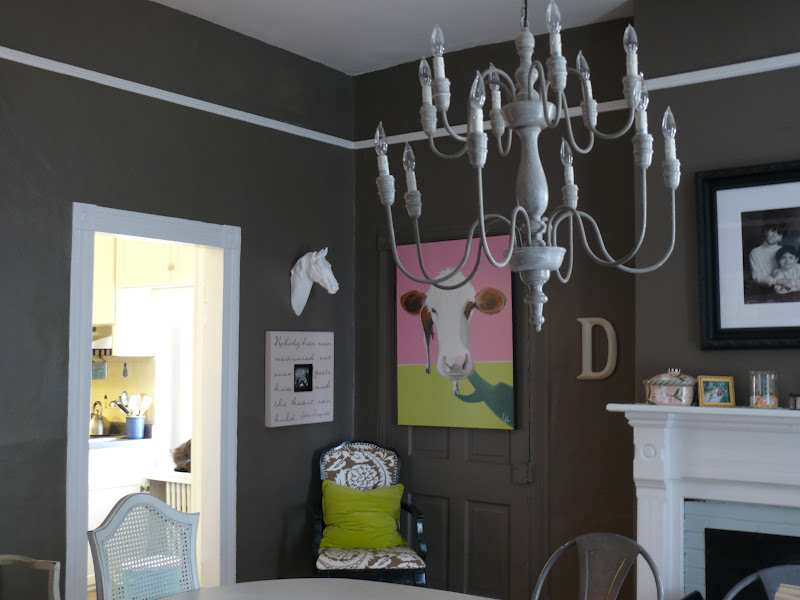
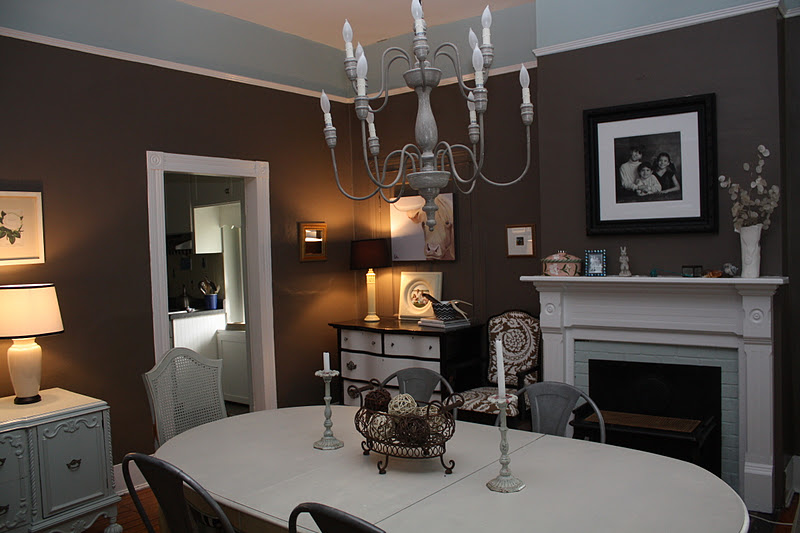
But I painted the WHOLE Dining room about a year and a half ago…
Benjamin Moore – Fairview Taupe
I loved it, I really really did…but over time,
it was not working. It felt out of balance with the rest of the house which feels so airy and light… it was too dark and the color competed with all the little pops of color I use.
But before I show you the NEW color…
I would like to back it up a minute.
It is easy for me, who has painted every room in my house at least twice,
in some cases 8 times,
…it is easy to forget that not everyone knows how to paint a room.
Here are my Self Taught steps to painting a room.
Many of these steps I learned the hard way, the costly way,
and All of them will make it go faster, cost less
and look better!!!
shall we begin…
TUTORIAL TIME!
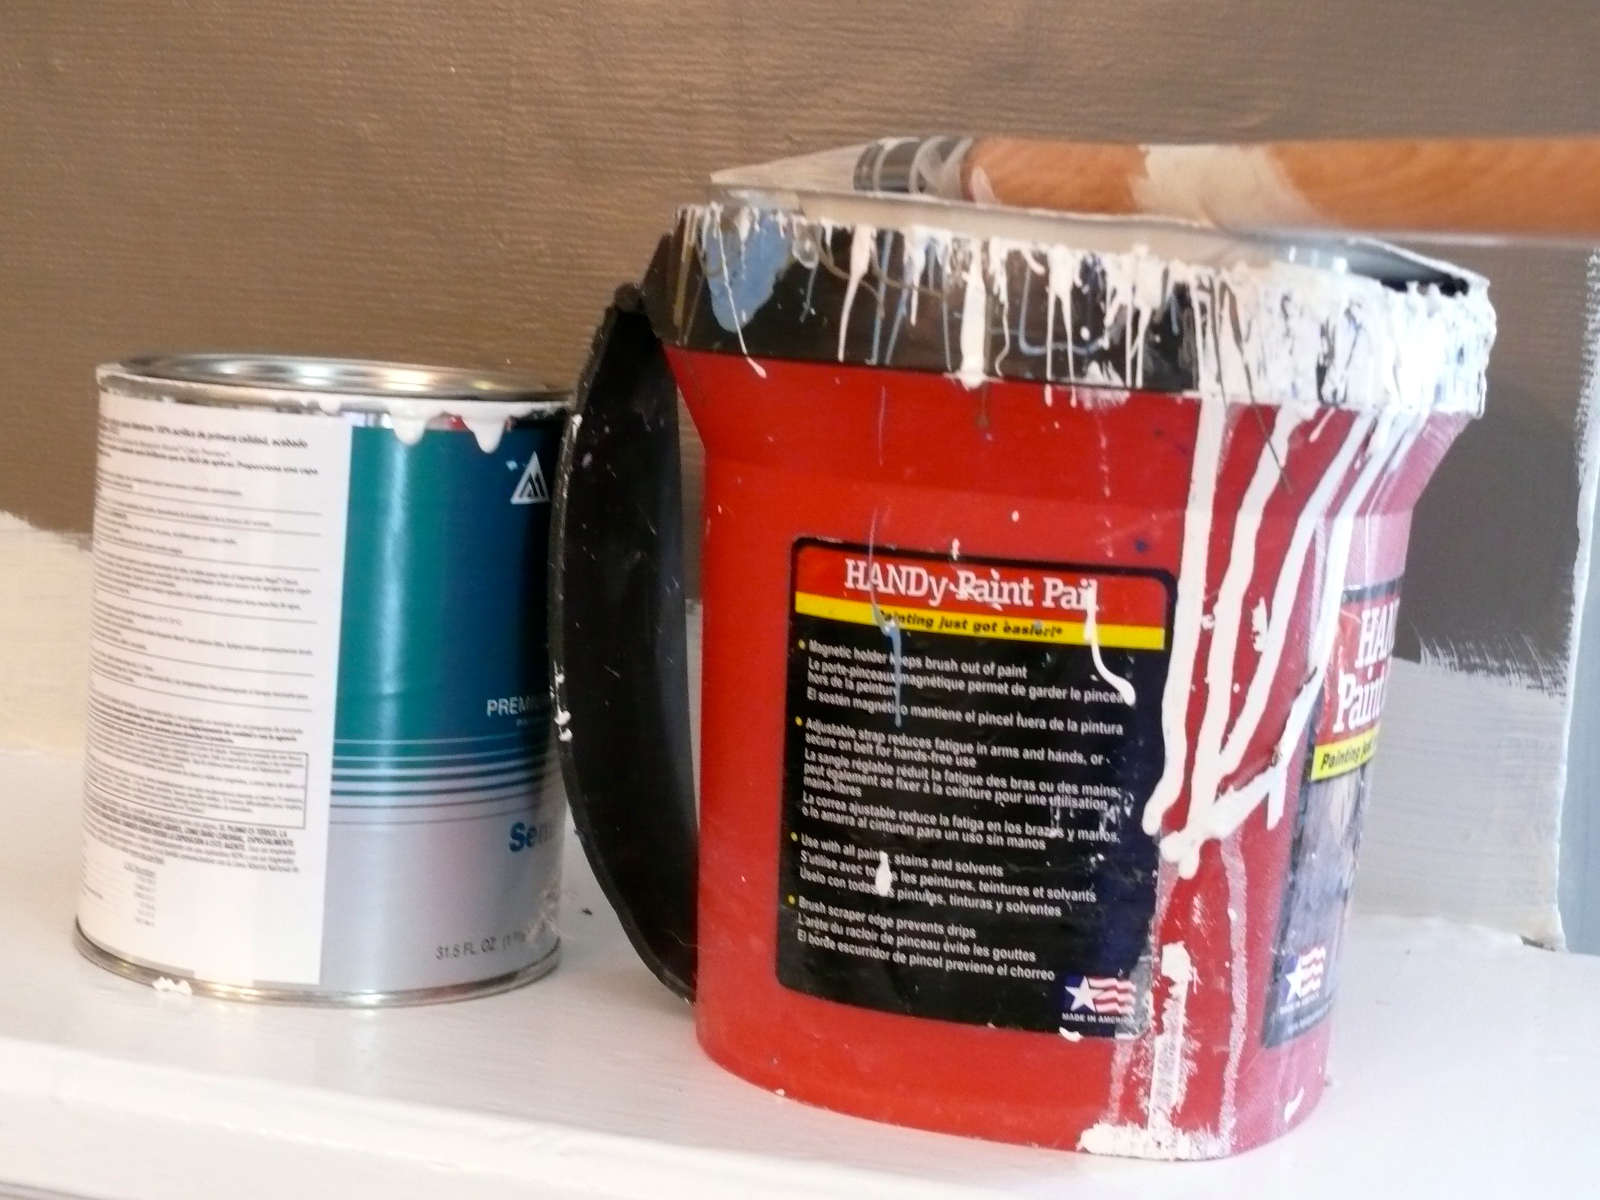
1. Assemble your supplies:
*Paint I used 1 gallon and 1/2 to paint an 18′ x 18′
room with 12 foot ceilings.( I think they always tell you to buy too much.)
Hint – If you think you might need a little more than a gallon – but not TWO whole gallons – buy one gallon and one quart –Paint is expensive.
* I love this Paint Pail. It enables me to pour a smaller quantity of paint, and I hold the handle like a coffee cup..and I can climb up and down the ladder easier.
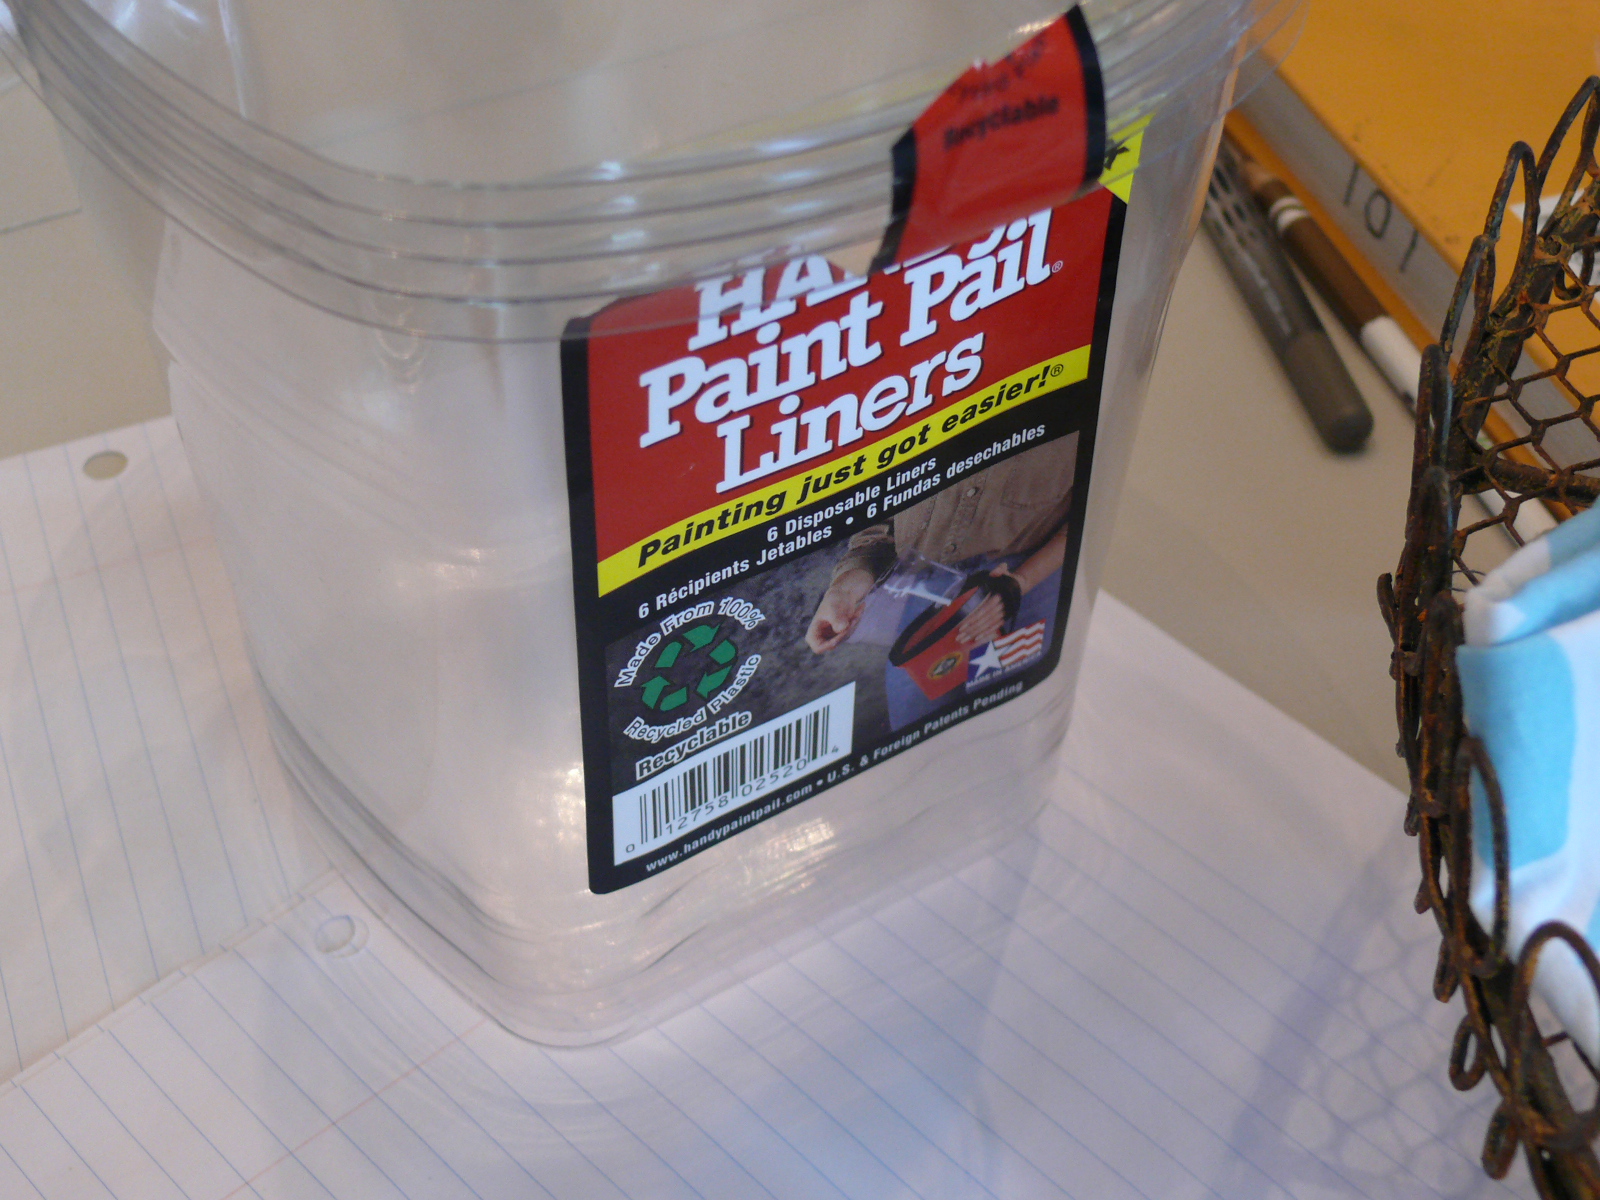
*
You buy these disposable liners to use with it.
Other supplies,
Angled and straight brushes – everyone has their favorites, mine are
Wooster 2″ or 2 1/2″ Angled Brush for acrylic paint (NOT OIL).
DO NOT – I repeat- DO NOT buy cheap brushes, That is Not where to save money. Save money other ways like…Don’t buy a latte one day, or use a coupon for groceries, or take water from home to the gym, but DON”T use cheap brushes. You get what you pay for in brushes.
And the $5 – $10 difference is SO worth it!
Cheap brushes, in addition to stinking, don’t clean up well.
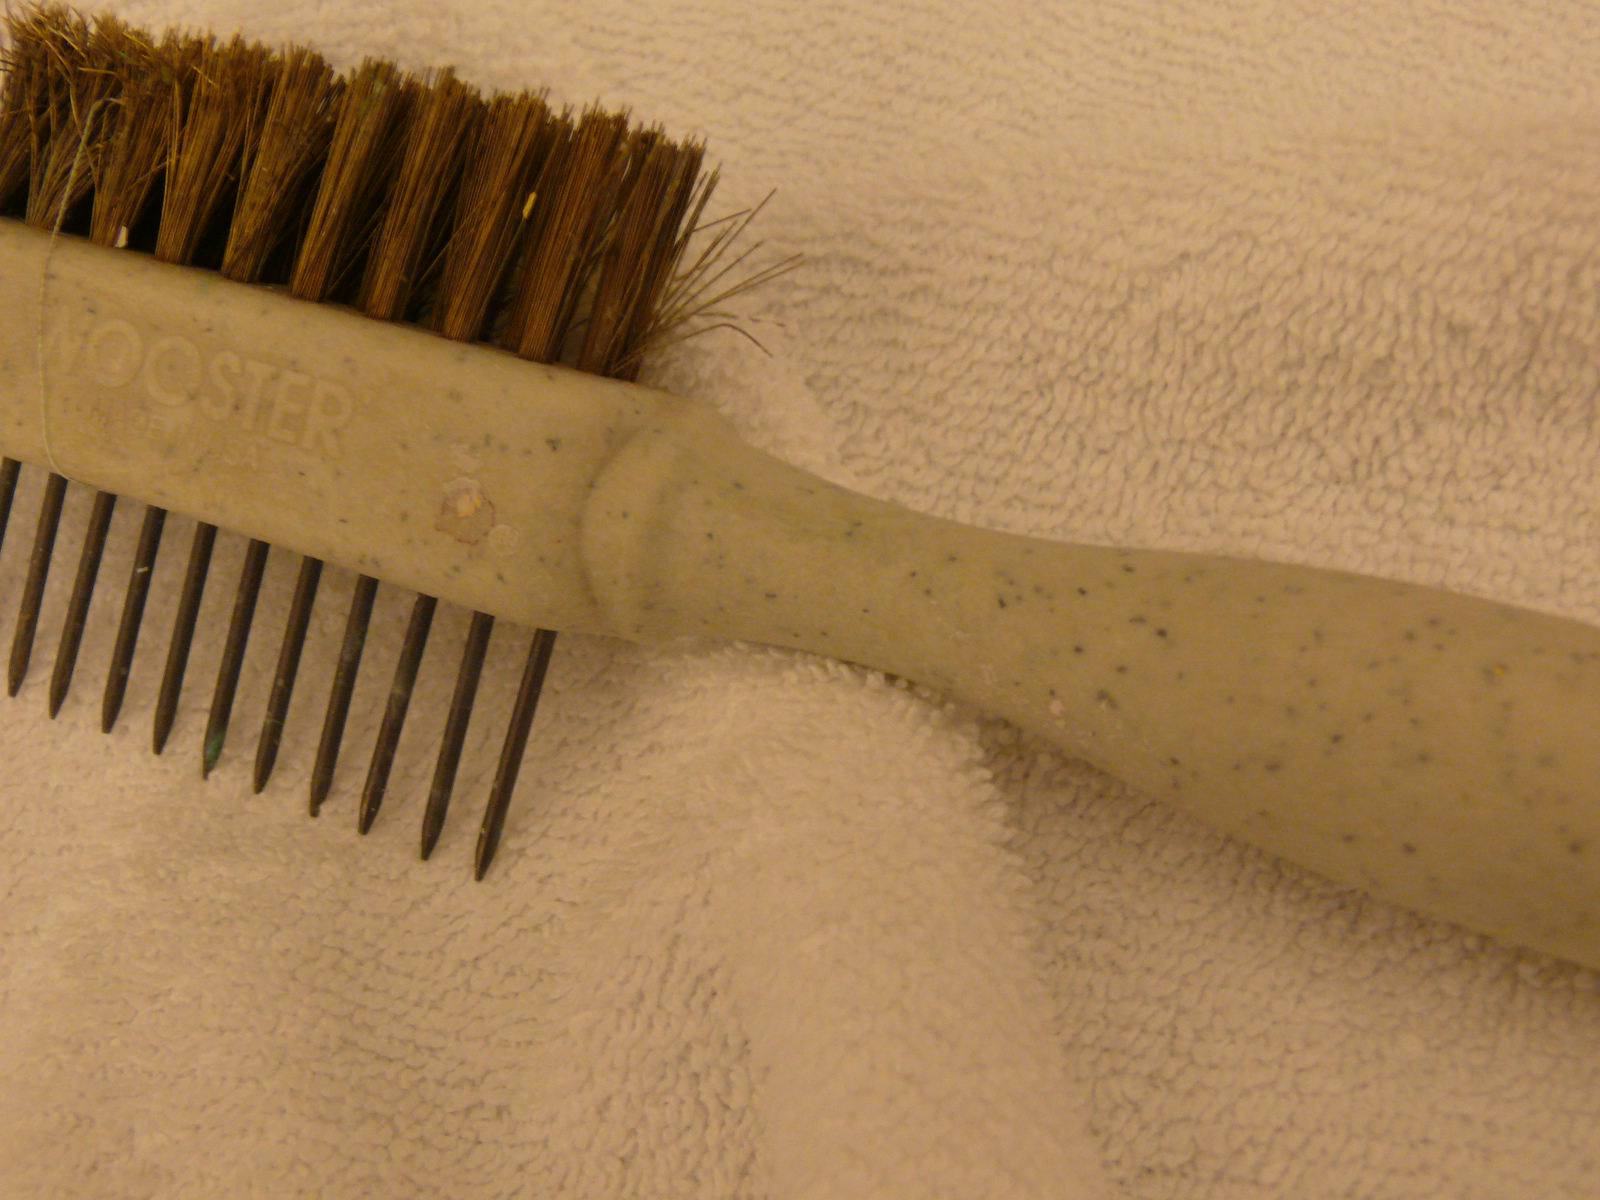 |
| my handy dandy brush cleaner! |
Plus, if you buy a good brush cleaner, you can use your good brushes over and over.
SO – Invest $ 6.00 in a good metal brush cleaner. If you don’t you will throw away perfectly good expensive brushes. If you do, your brushes will last 4-5 rooms!
I can just hear my kids saying…
“Mom – OKAY! you made your point!”
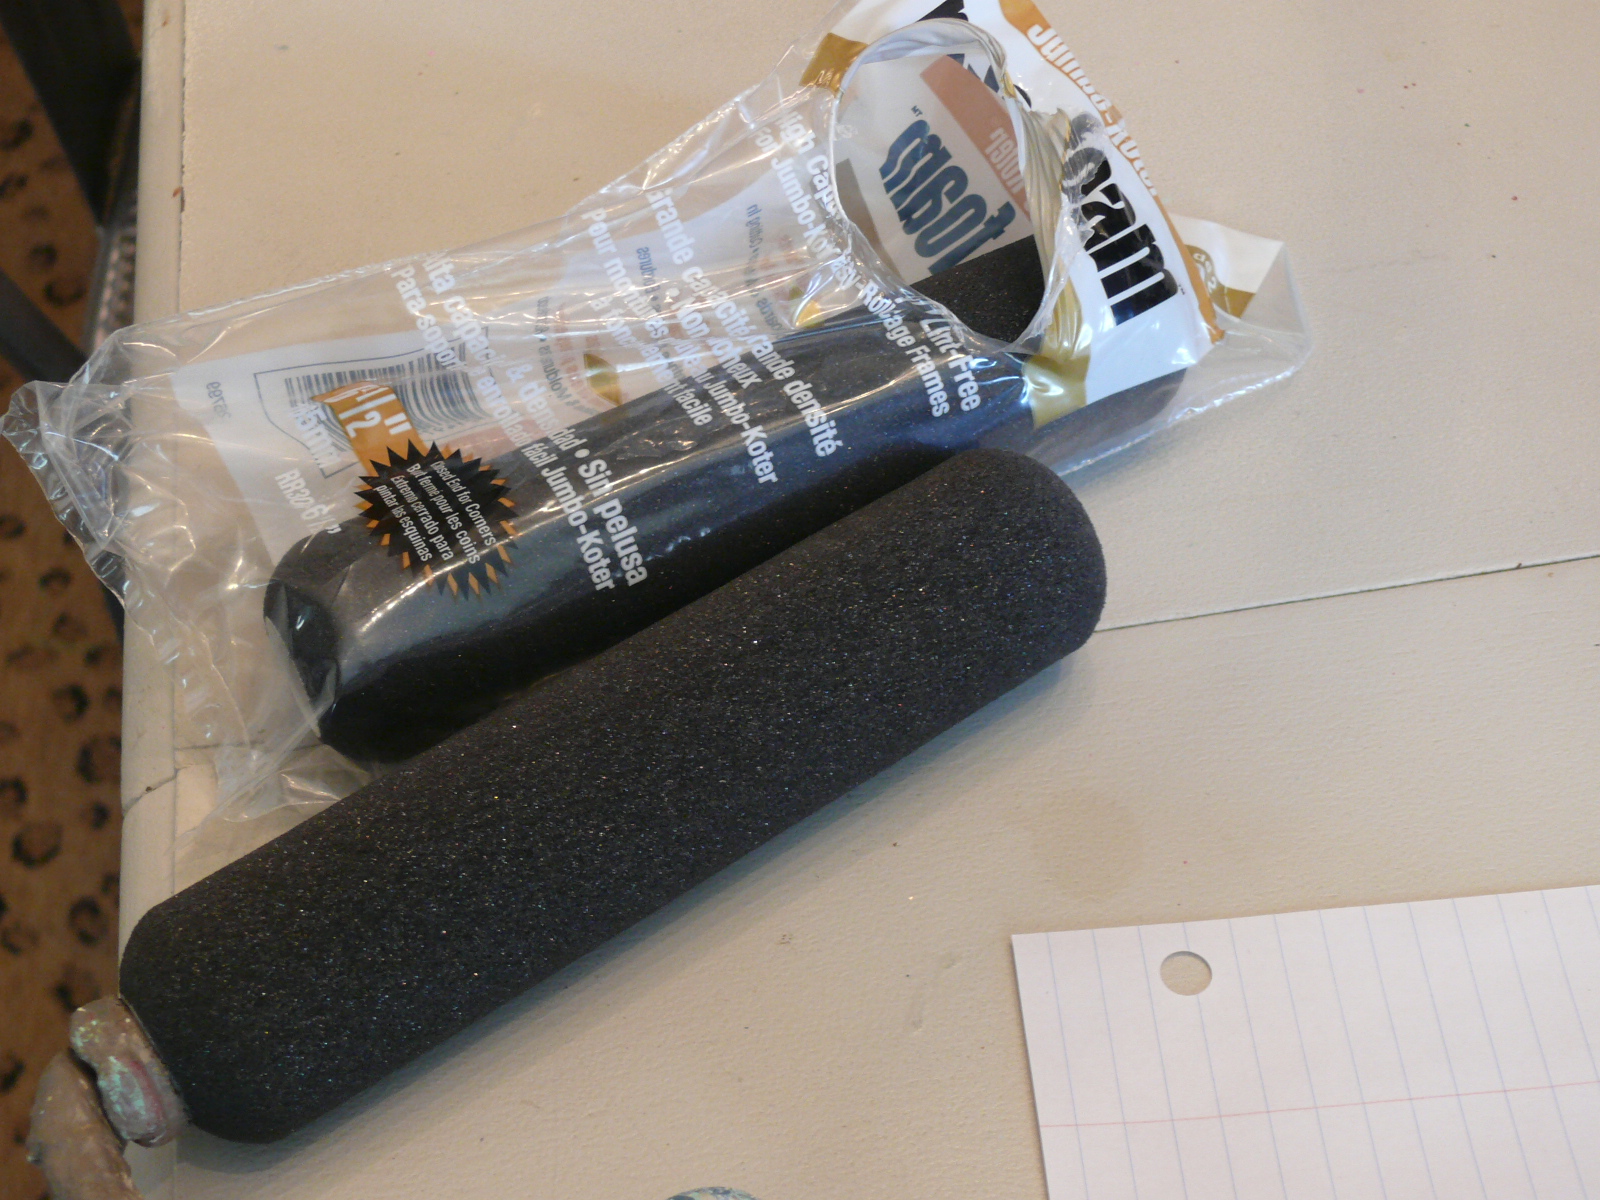
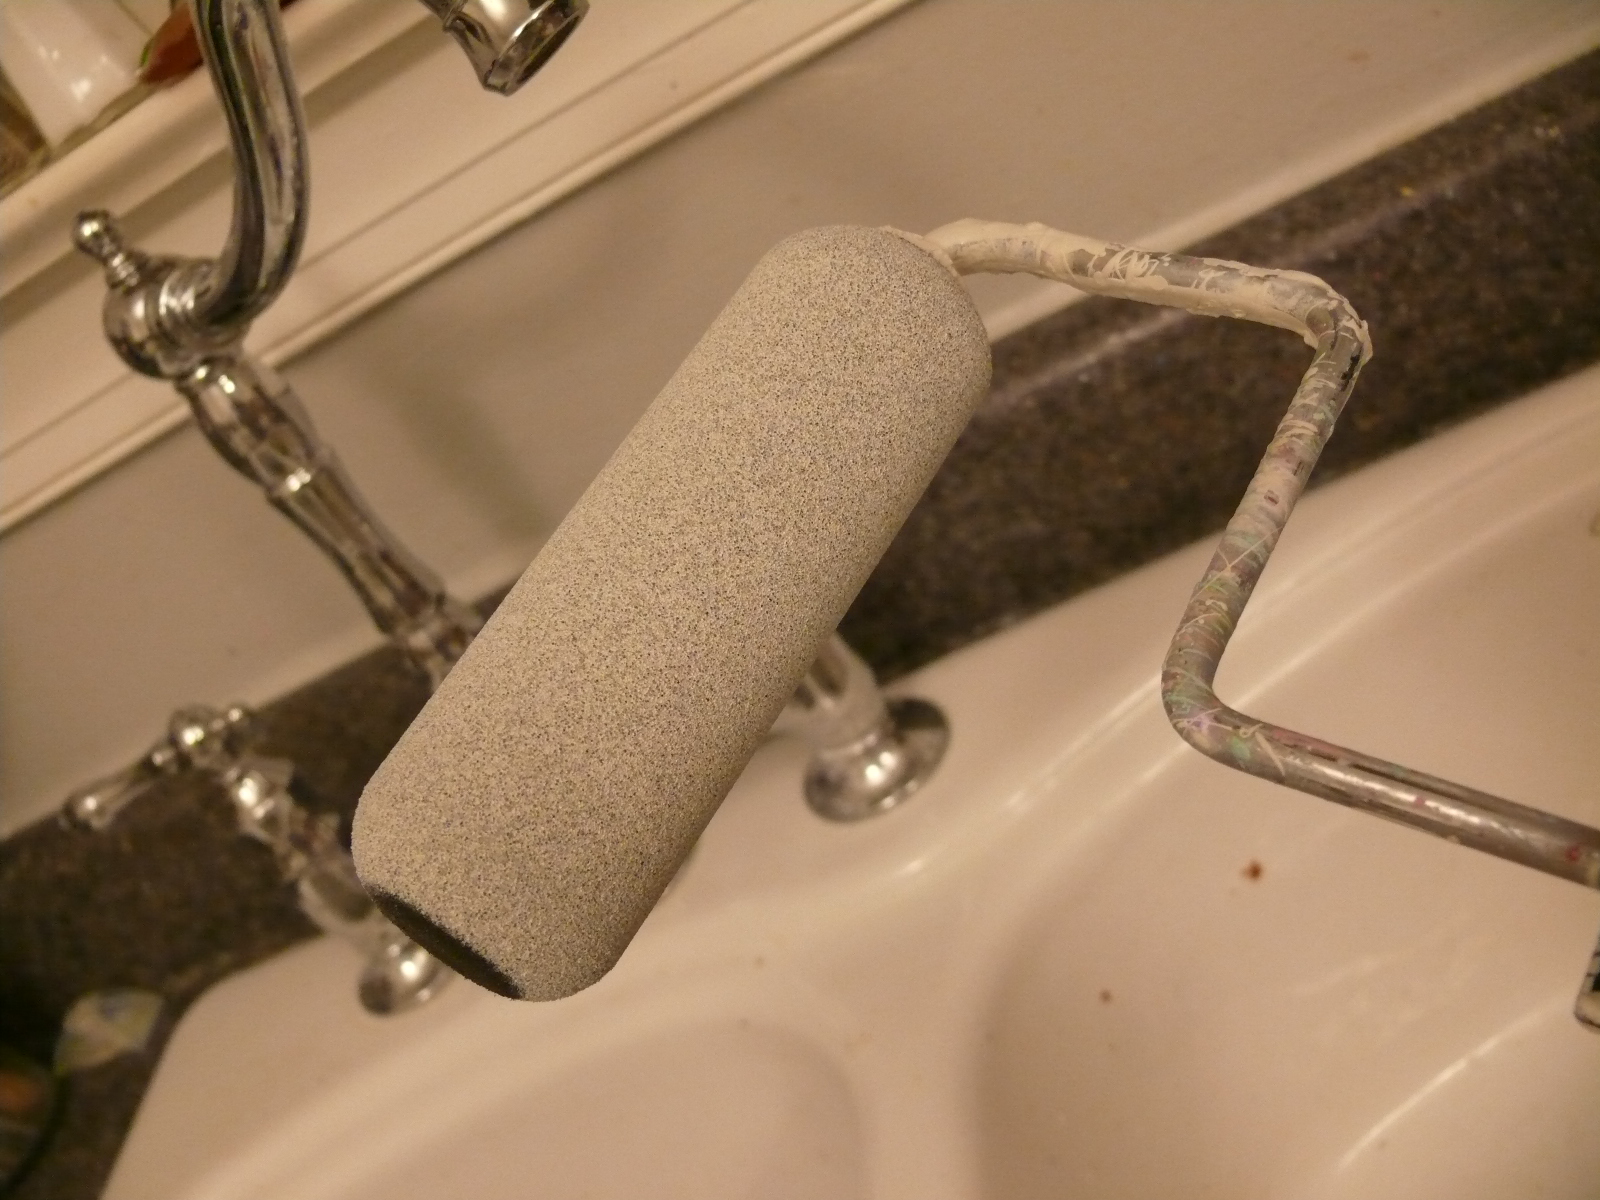
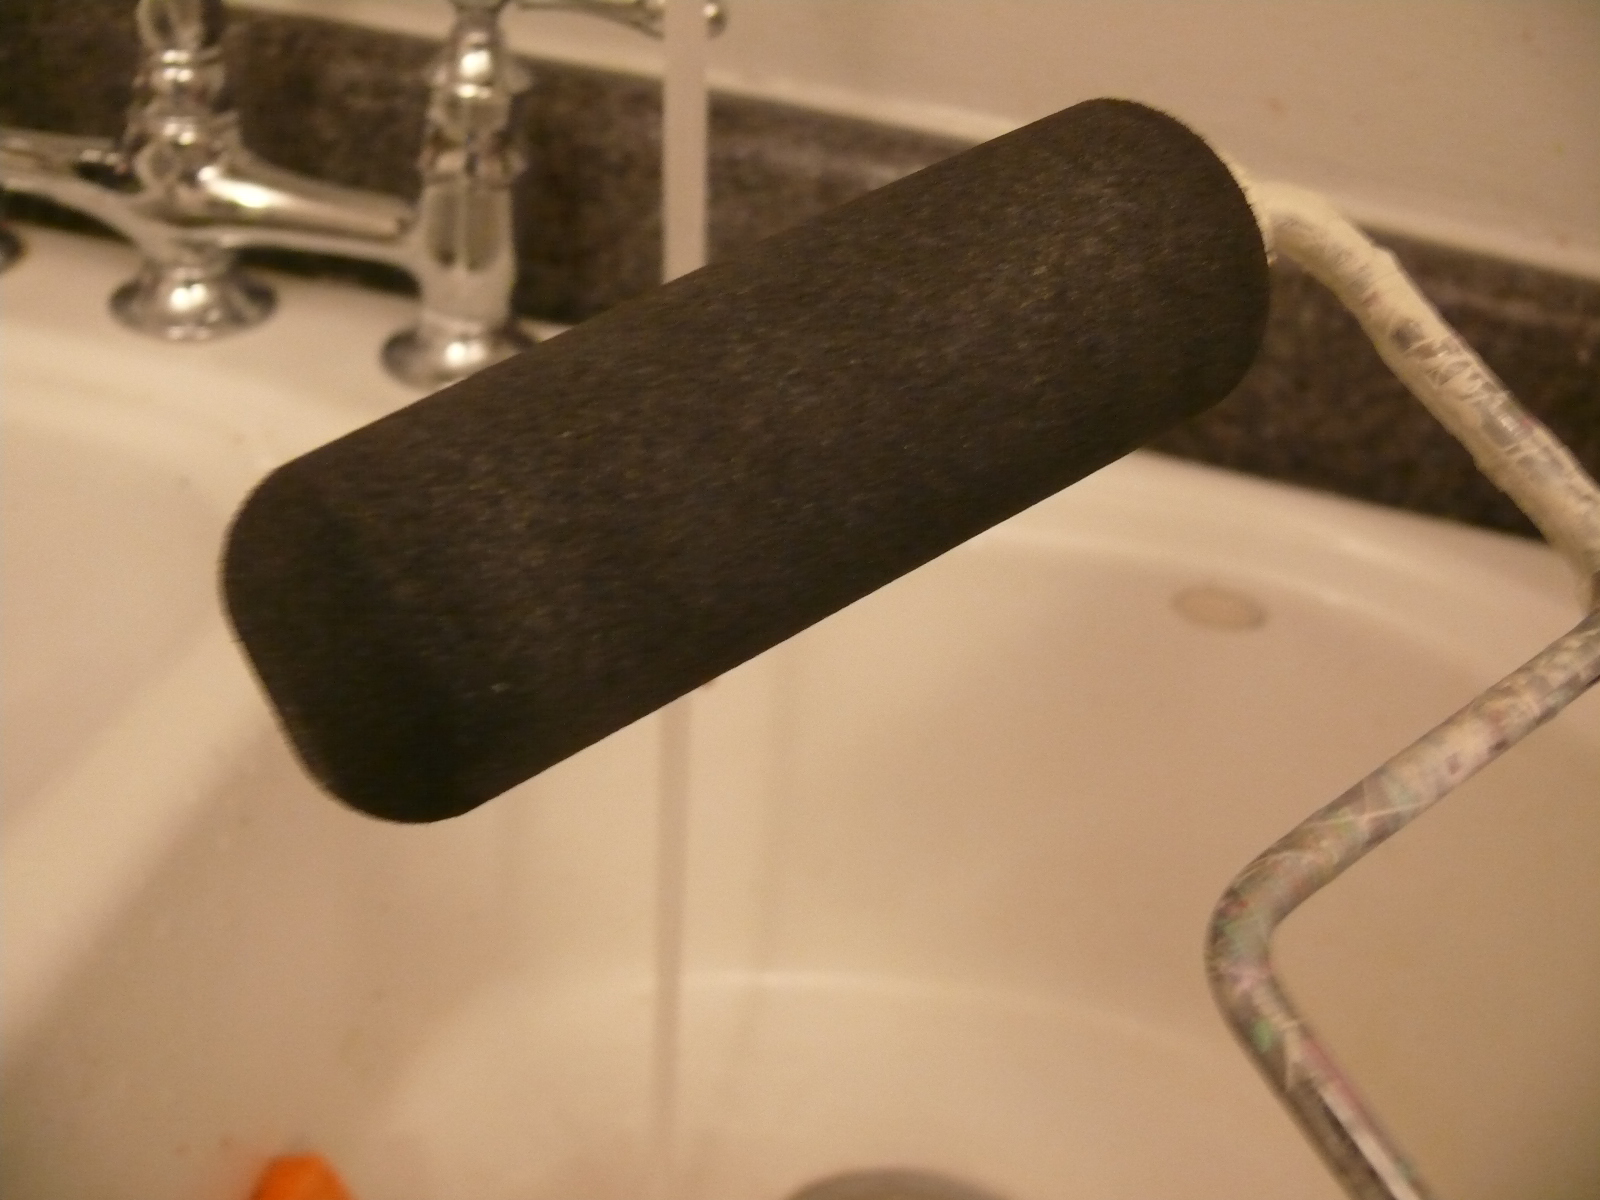
ROLLERS – HANDS DOWN I PREFER Sponge rollers for walls as well as furniture – not only do I like how the paint goes on ( better ), there is less waste and they are super easy to wash out and reuse. I use one maybe 5-10 times!
Optional Supplies *spackling compound and a putty knife to fill nail holes.
– A ruler comes in handy, drop cloths (I prefer cloth to plastic – again, the cheap ones get all messy , the cloth ones are great – plus some even make good window treatments!
and Painters tape ( I like the new Frog Tape) . I don’t use it much, but it is always handy for tricky areas.

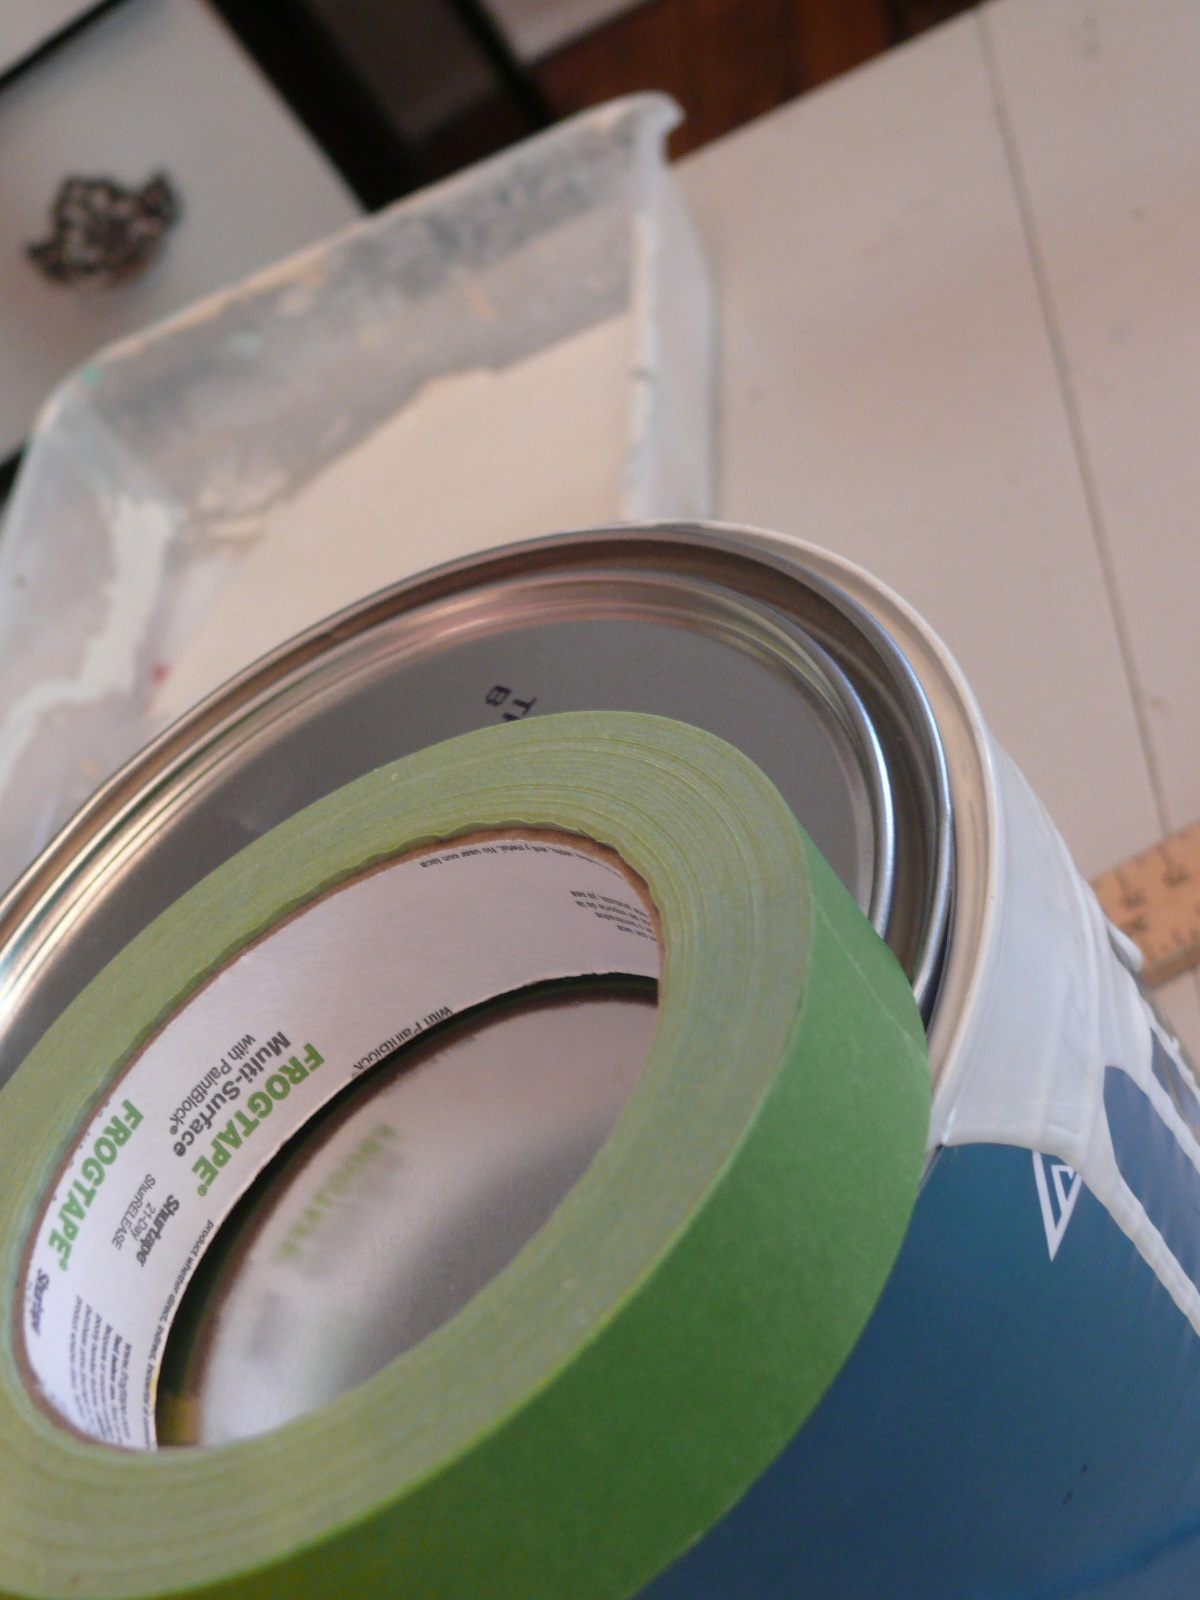 |
| Frog Tape |
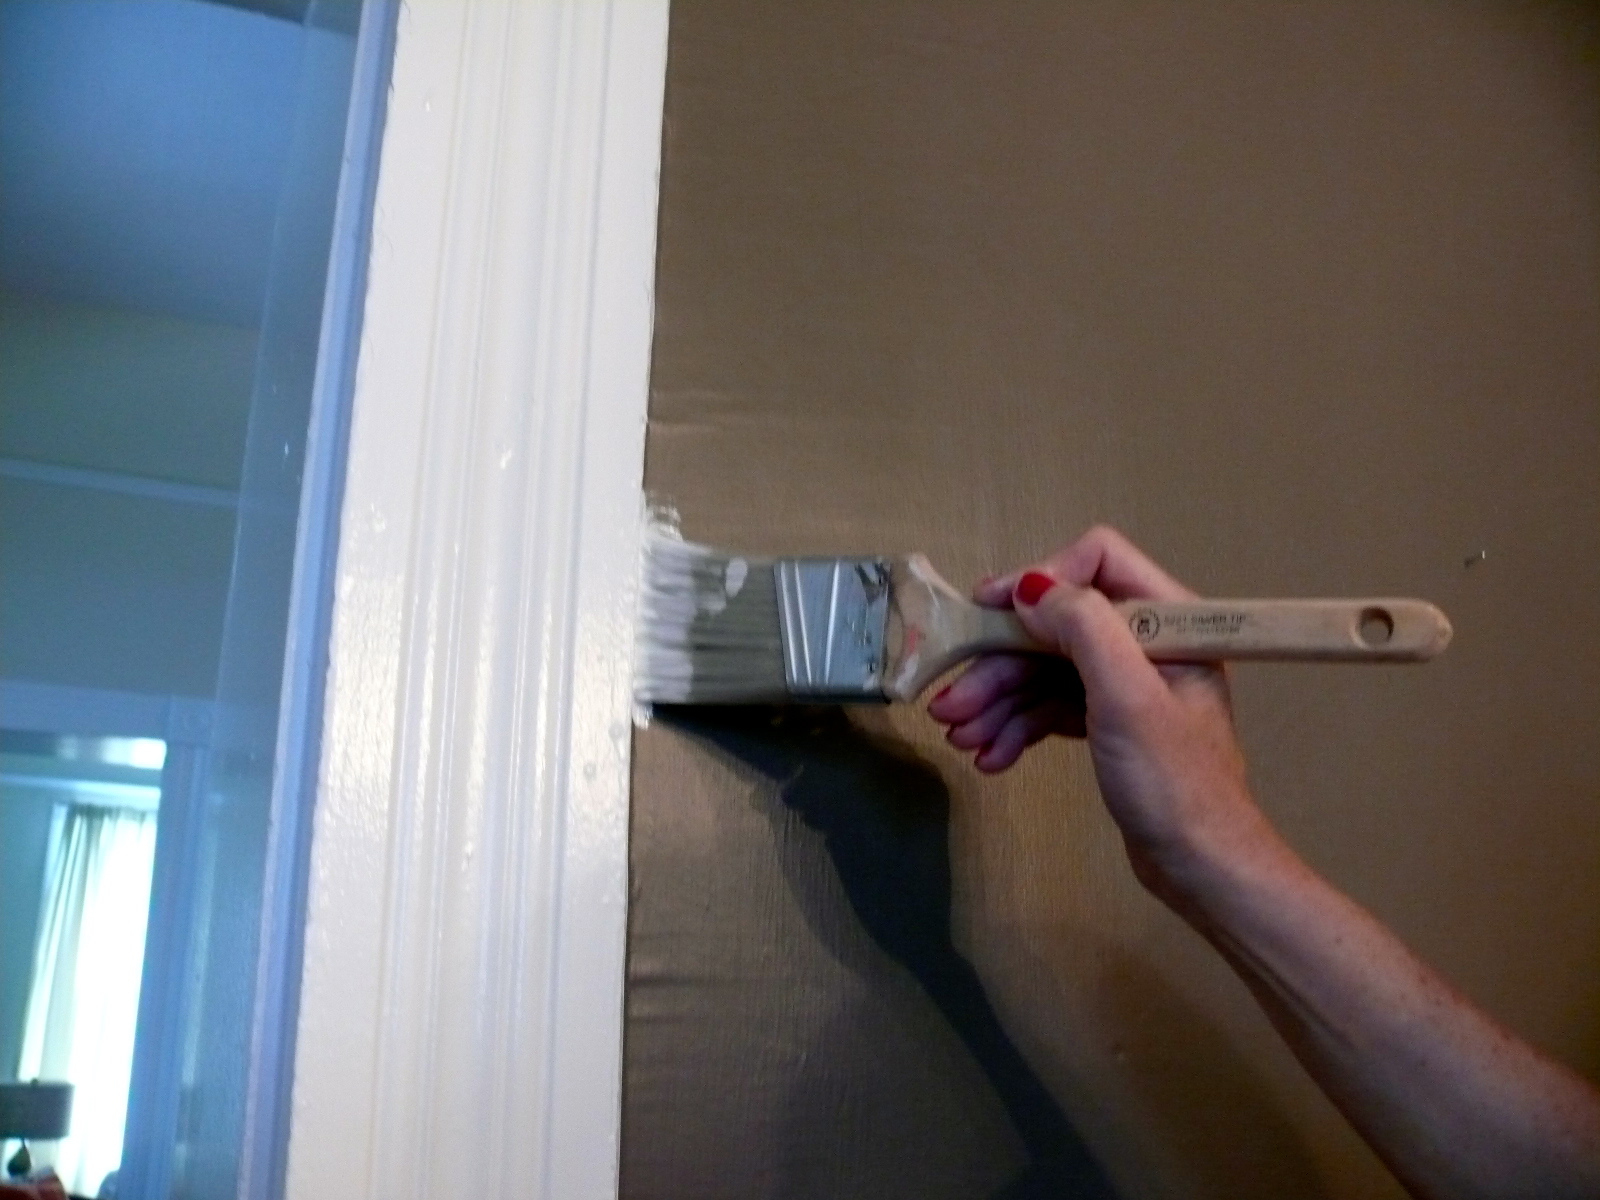
1. Prep the trim First I go around the WHOLE room and paint the trim out into the room space…
 |
| how to cut in |
imagine painting your trim and then going off the edges – on purpose. This gives you a nice area to cut IN TO when you start. below
2. Now Cut in..use your angled brush and around the
entire room, draw a straight line next to the trim edge with your paint.
like this…
 |
| Using an angled brush is key |
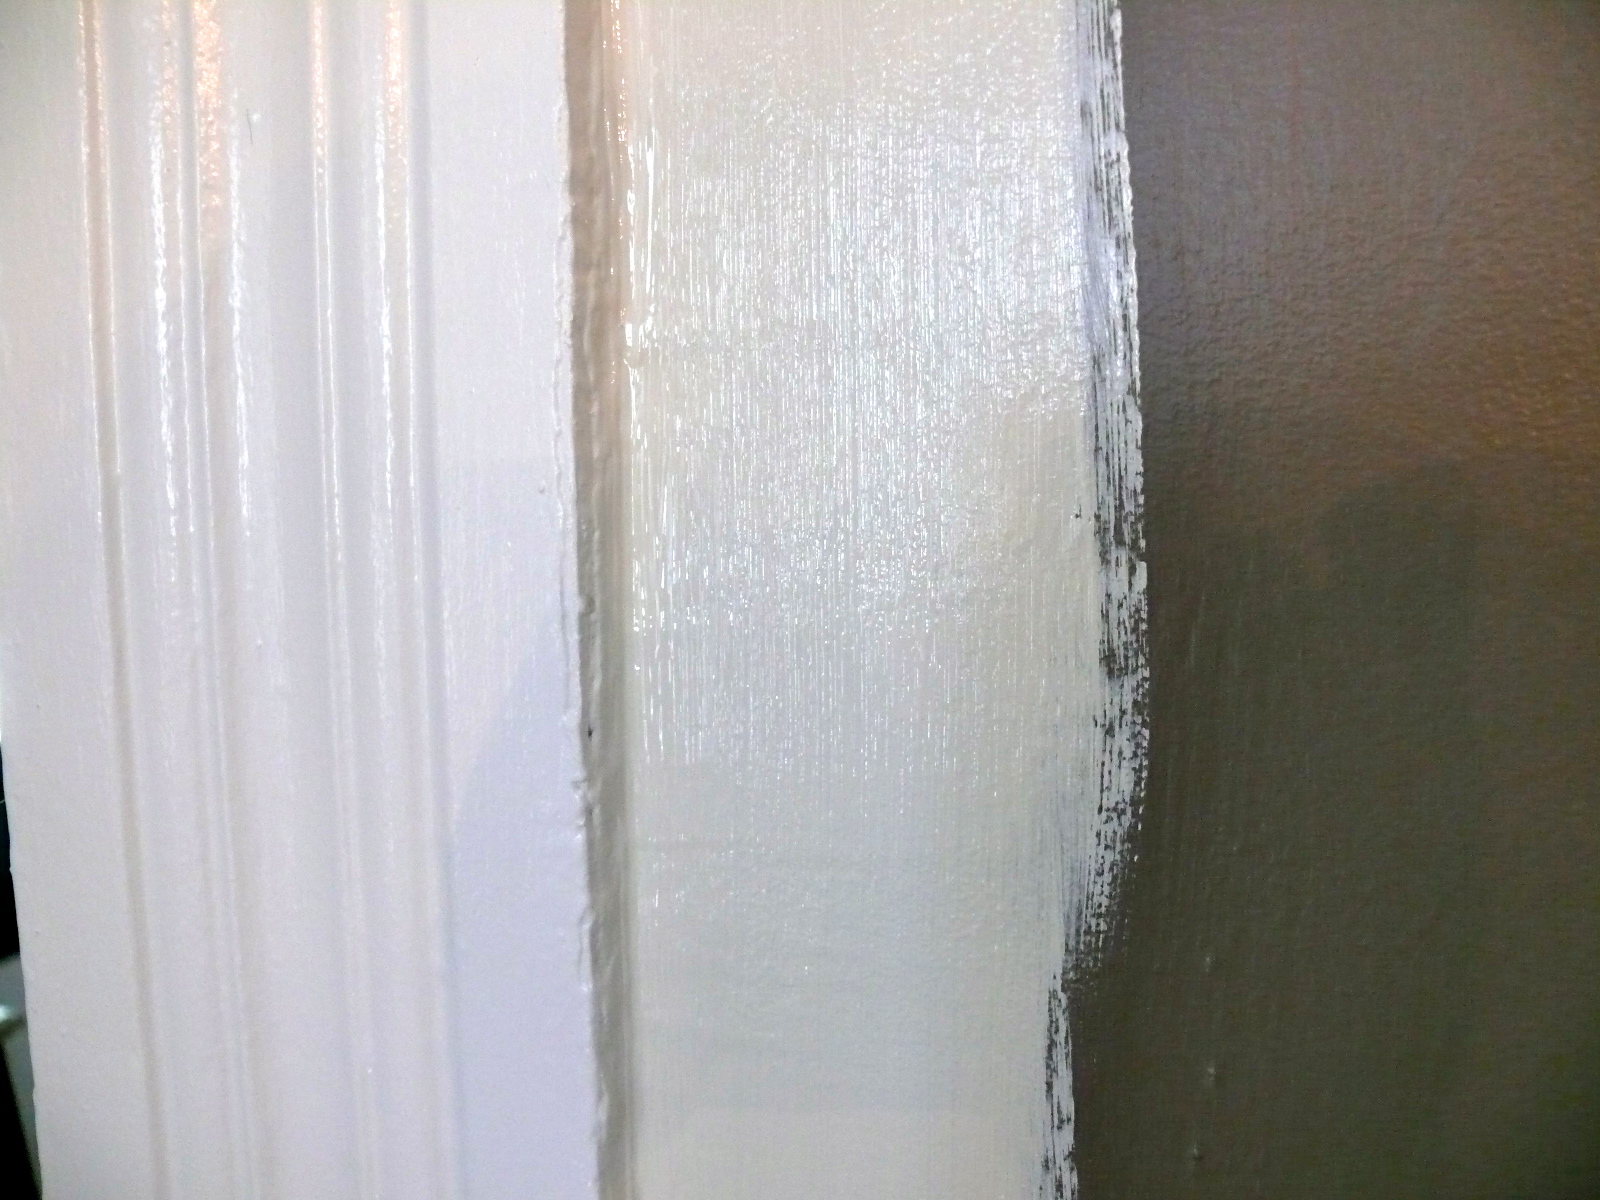
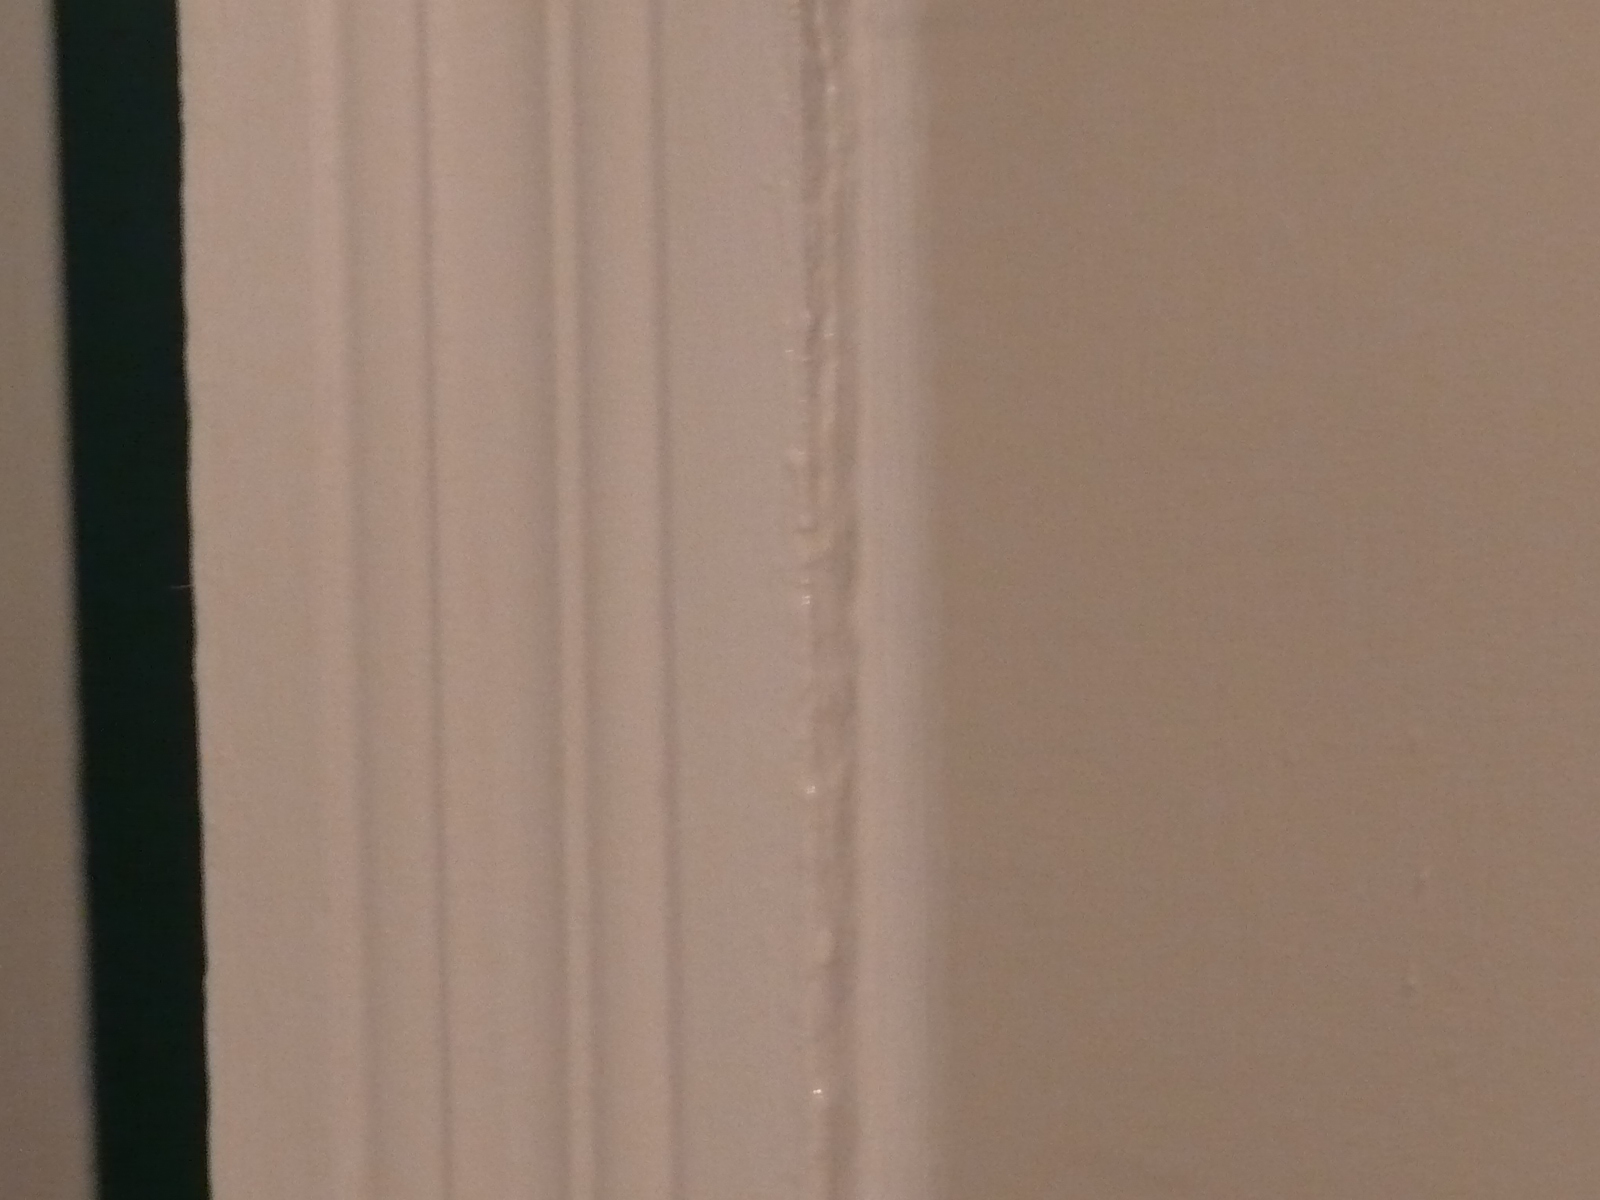
when you are done, your room will look like this…
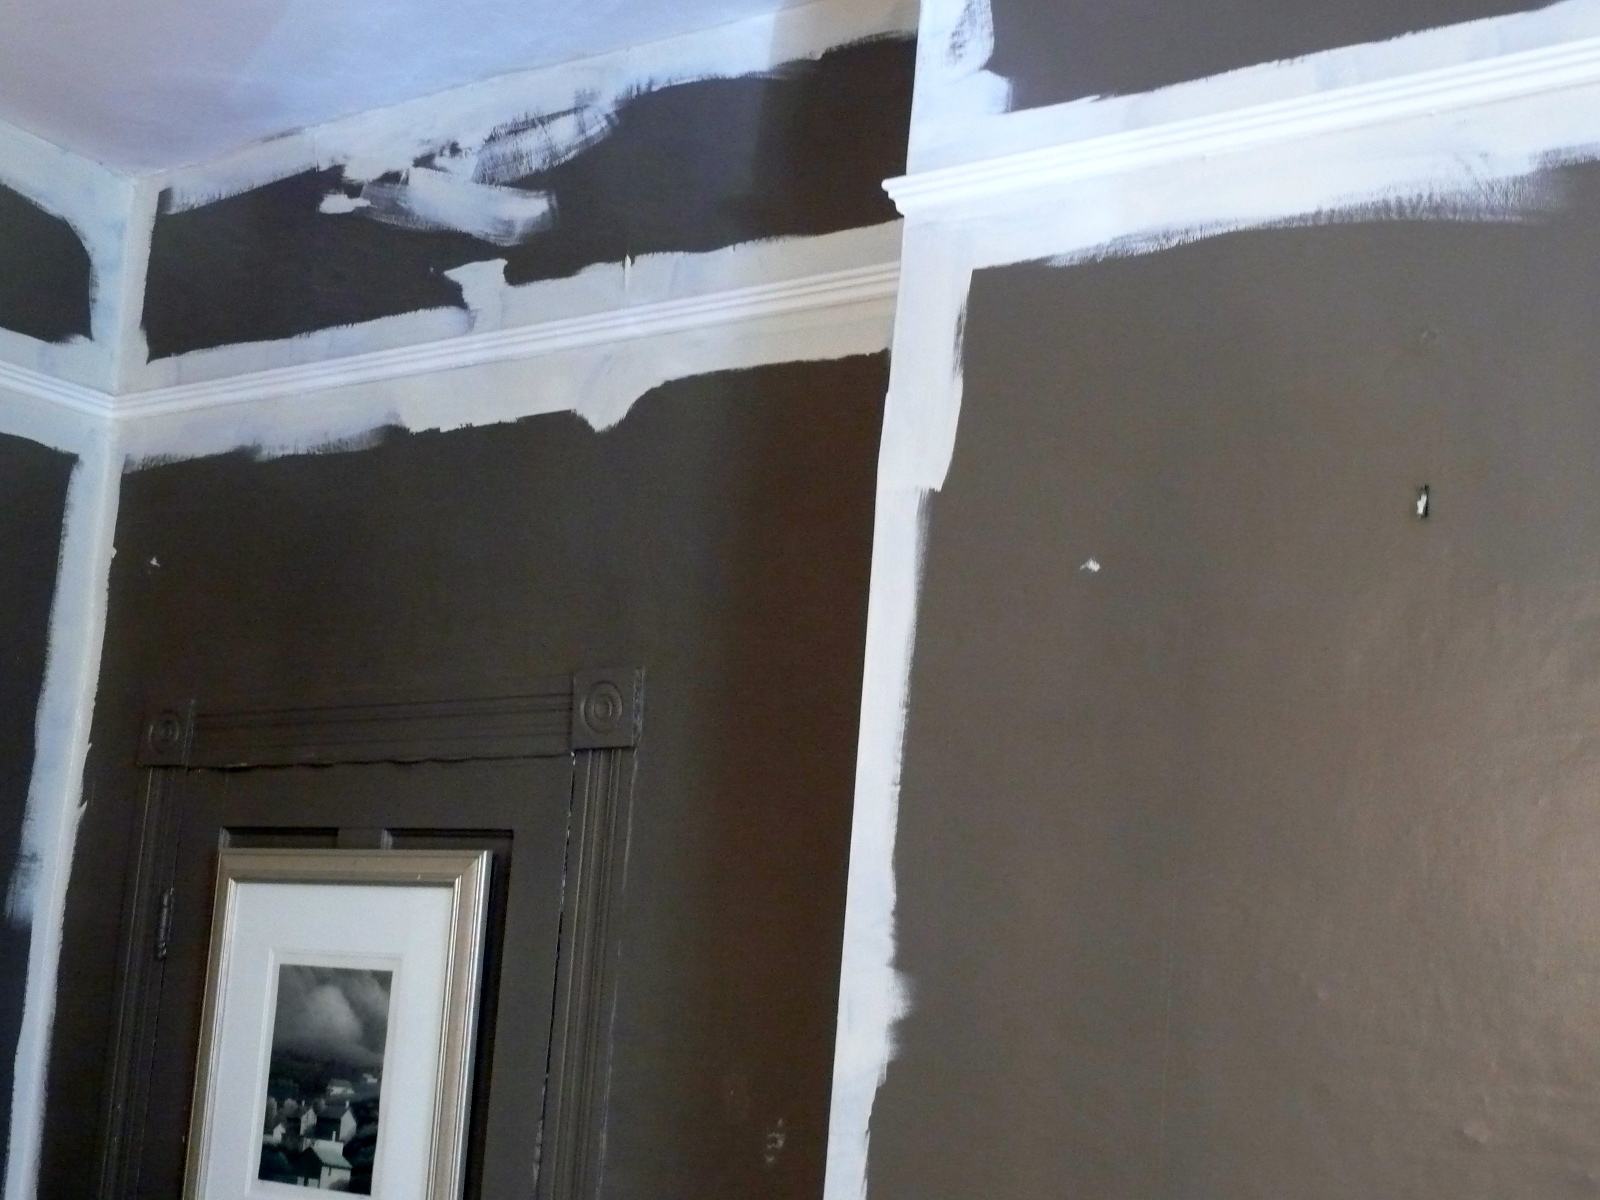
next roll out the paint
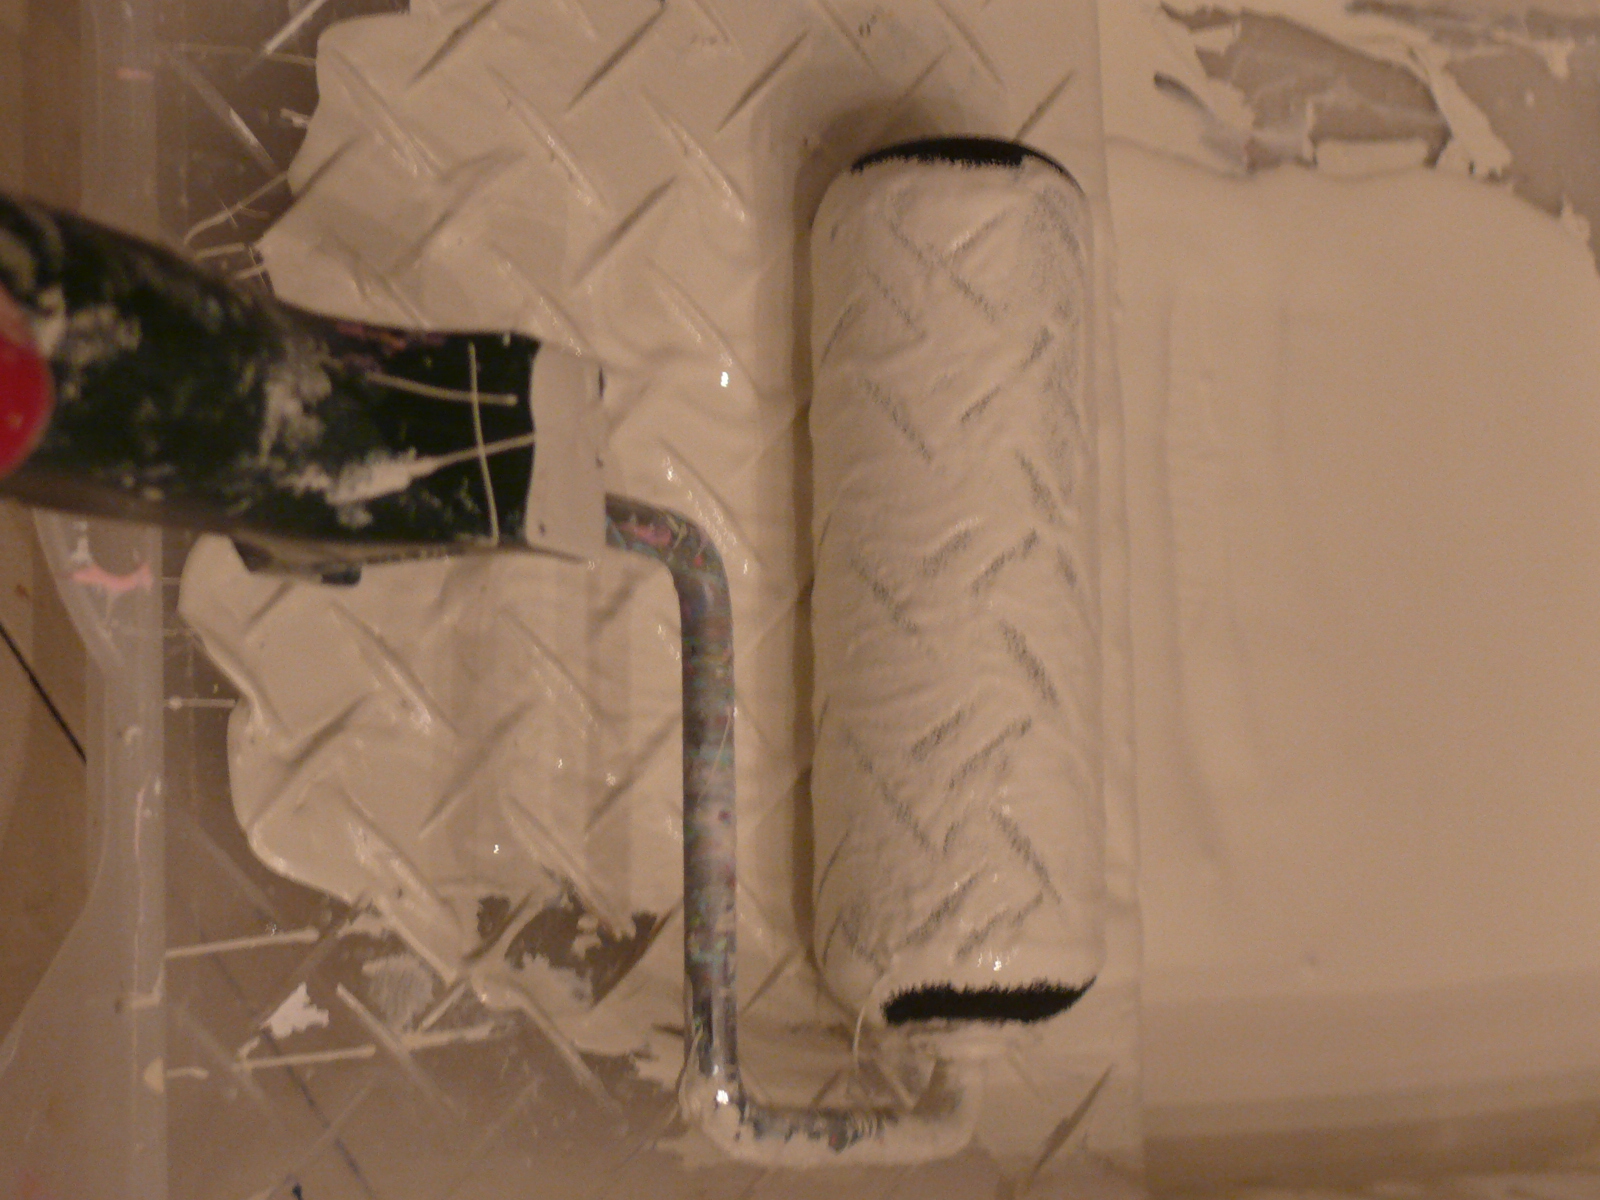
and cover all the surfaces with paint,
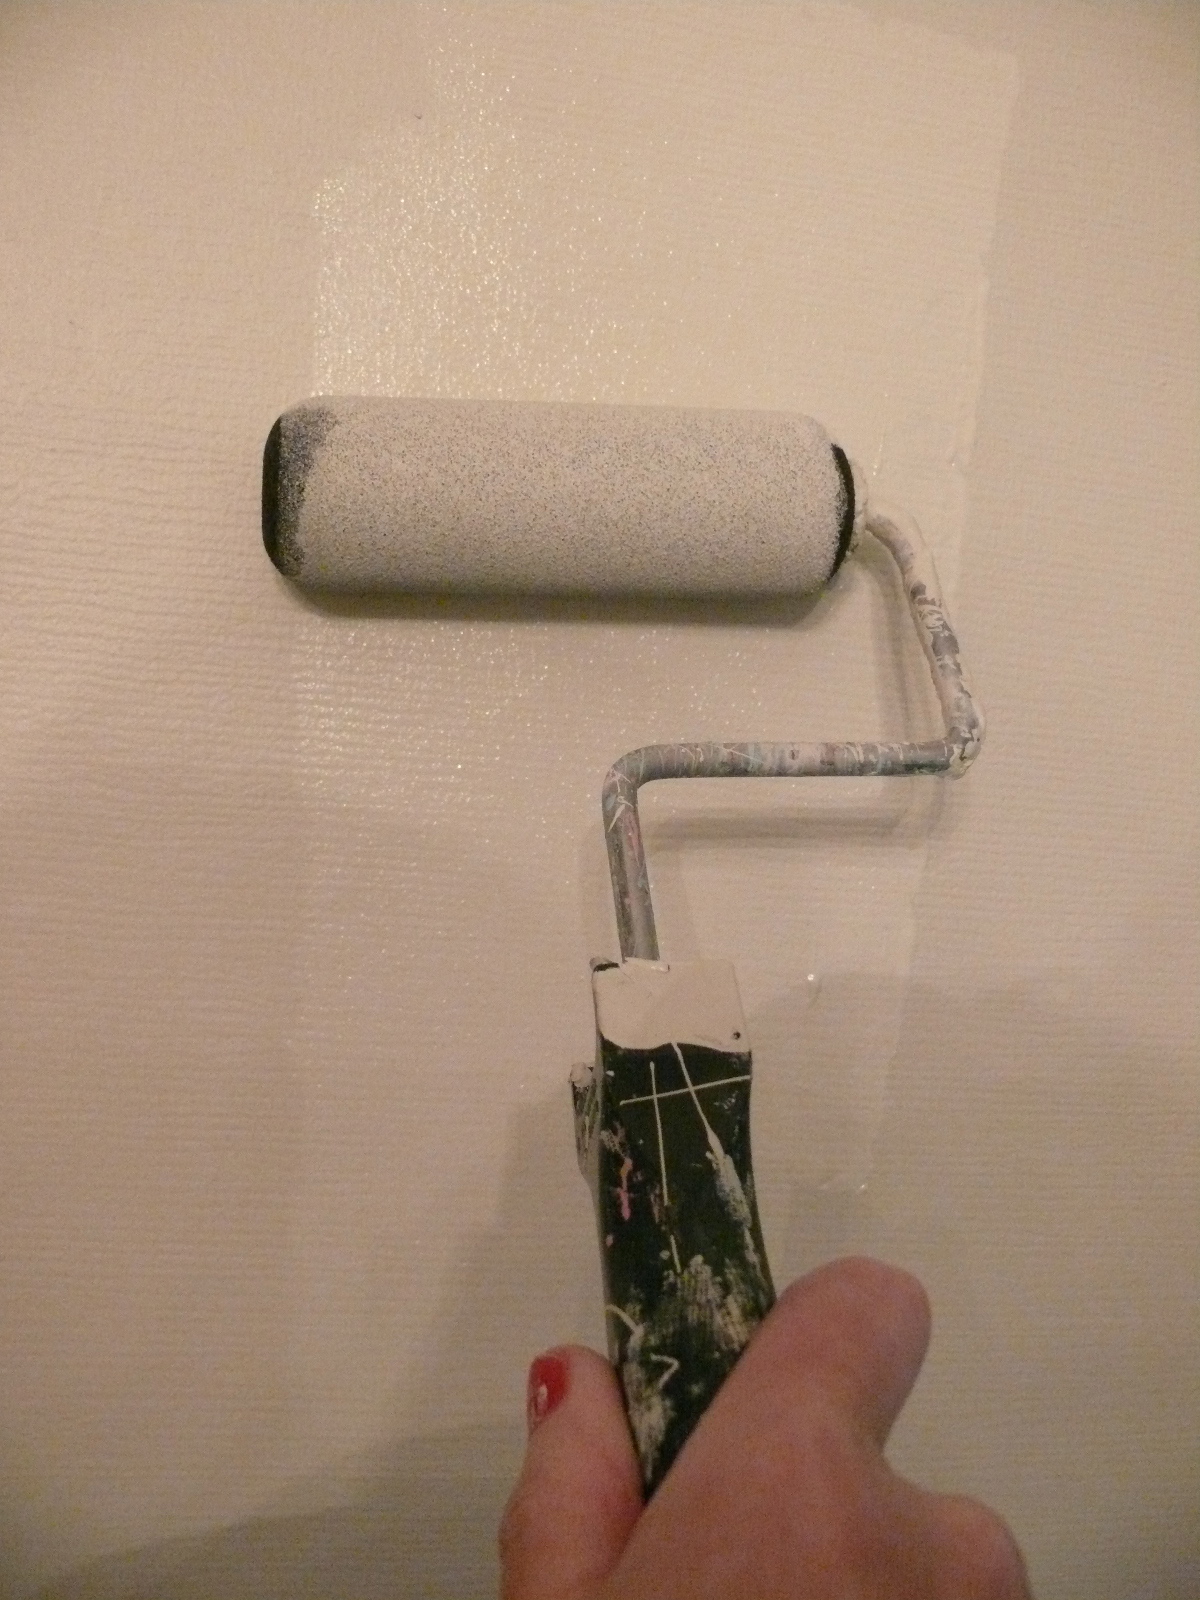 |
| sponge rollers |
… let the paint dry at least and hour – some tell you longer…
my answer is – who can wait that long?
… now you can wash your rollers and your brushes with soap and water…
all done!~
Tomorrow, I will do the full reveal,
styled all purty for the camera..
…but here are a few shots of the color
– UP –
Feels so fresh!!!
and LIGHT!

Pretty Pretty!!
SUCH a difference!!!
Okay…COMPLETELY different note…
as I am finishing up this post, I an watching my DVR’d
American Idol.
I have not kept up as much this year, as much at least as
I have in past years…
….but little miss Jessica Sanchez…
HOLY MOLY!!!
…she just game me chills and tears in my eyes.
What a VOICE!!! She had me in the palm of her hand!
Go Jessica!
Tomorrow
THE DINING ROOM!
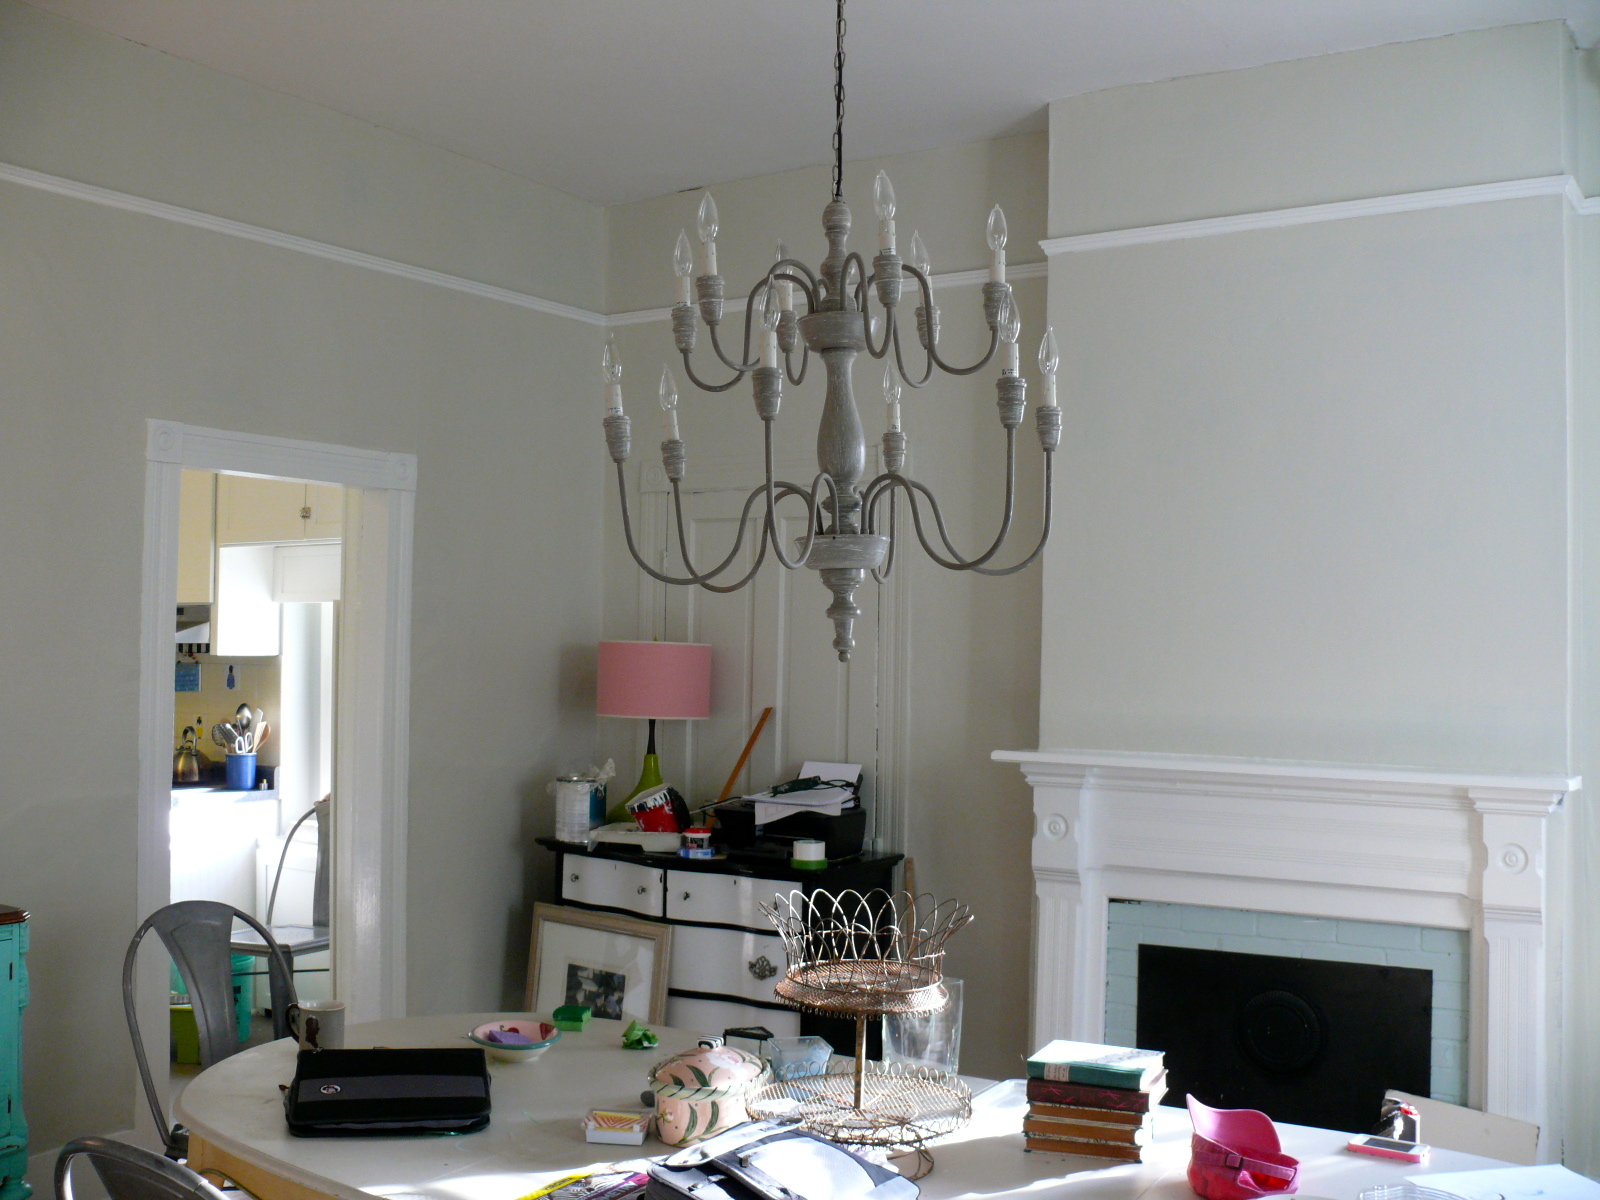
lighter and brighter and really makes the aqua on the fireplace pop, which i love!
lighter and brighter and really makes the aqua on the fireplace pop, which i love!
looks beautiful lesli!
Wow! What a difference the lighter color makes! The room (at least in the picture) looks so much larger. I agree that it now feels more in balance with the rest of your home. I was interested in your use of the sponge rollers for the walls. I’ve only used them on smaller things like furniture and trim. I’ll have to give them a try. Hoping to paint my den pink this weekend 🙂 I can’t even imagine changing paint colors as often as you. The den has been the same color for the 13 years we’ve lived here and I’ve really liked it all that time until recently.
Your choice of color truly brings personality to your dining room. I can’t wait to see the finished product. It’s a work of an artist, indeed! It’s a good thing that you showed how and when to use the paint brushes correctly because many homeowners have trouble recognizing which brush to use for a certain area. Anyway, Good luck with your project!
Anselm Armando
Sounds very interesting! I will check this out! painter
This comment has been removed by a blog administrator.
The change was great! It’s amazing how the color changes the ambience of your kitchen. From a dark, modish theme to a bright, sweet haven! Good job, Lesli! =)
liked the darker color with light blue one the picture rail….the beige seems kinda boringly expected…but i guess you’ll fill the room w/ many pops of color to make up for it….beige is just very vanilla…
mackage canada
MAKEOVER – PAINTING THE DINING ROOM – PART I w/ Tutorial!