
I did not finish this post prior to Monday’s Powder Room “REVEAL”…but wanted to share my Wallpaper experience with you!!!
Wallpaper.
I ADORE Wallpaper. Clean, Contemporary, Traditional, Geometric, Simple, Busy,
Whimsical, Colorful wallpaper…
I love it.
And so I have known all along that someday…
some way…I would wallpaper at least a nook and possibly even a cranny in this house.
Last week…my dream came true.
BUT…indulge me…before I begin with a little History…
of the Wallpaper in this house…
9 years ago…when we moved to My Old Country House…
$1000 to have that wall repaired, we realized that the wallpaper:
the years and years and years and layers of wallpaper,
….were holding the walls up !!!
So we did our research found the appropriate primers and paint and painted over all the wallpaper.
But I knew I would have my day!
THE WALLPAPER
Choosing wallpaper is a blast. I used to love to go with my Mom, to the wallpaper store, I can still remember the smell of all the stacks of books…flipping through pages…picking whole rooms in my mind…
playing “THIS one…or THIS one ?” with my brothers.
We had a fair amount of wallpaper in our very first house.
I loved our Peachy Pink Laura Ashley Asparagus wallpaper in the Dining room…
 |
| My Dad and with his only daughter’s…only daughter… and we had a precious “Laura Ashley” Humpty Dumpty print in Tate’s room. 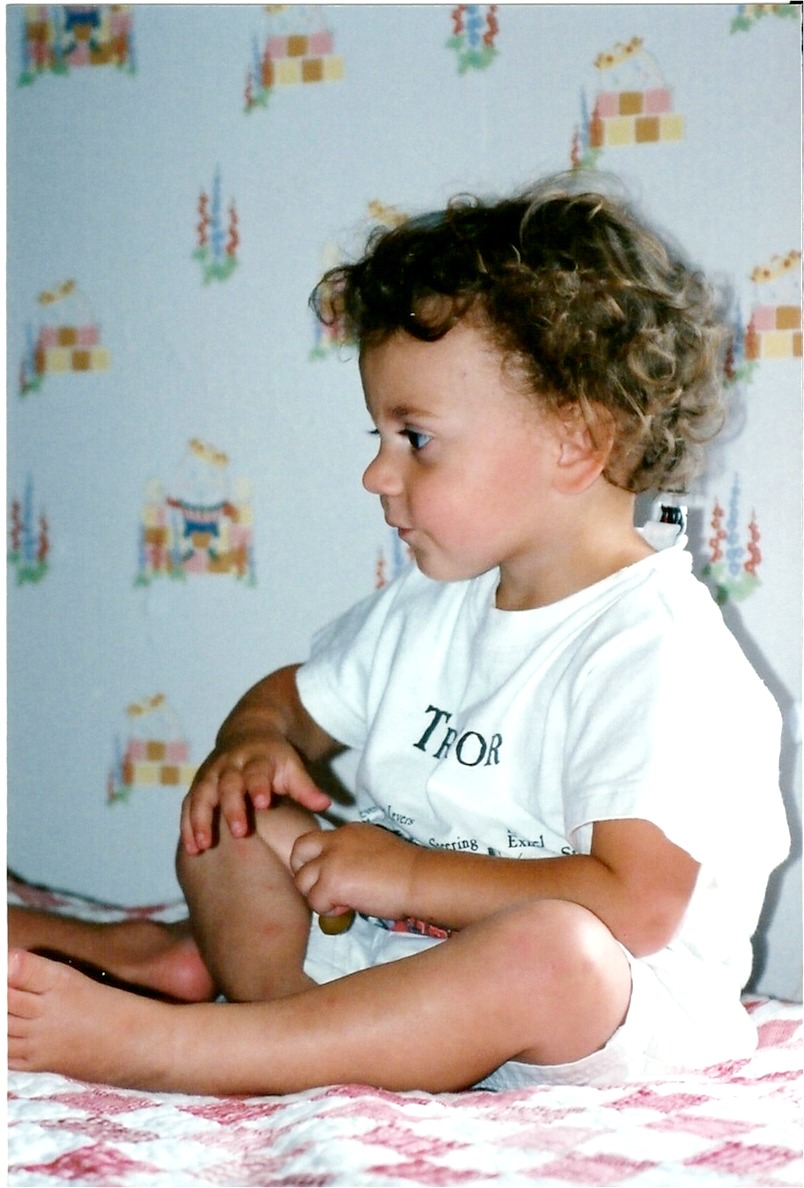
|

This is Phoebe’s Nursery, more Laura Ashley…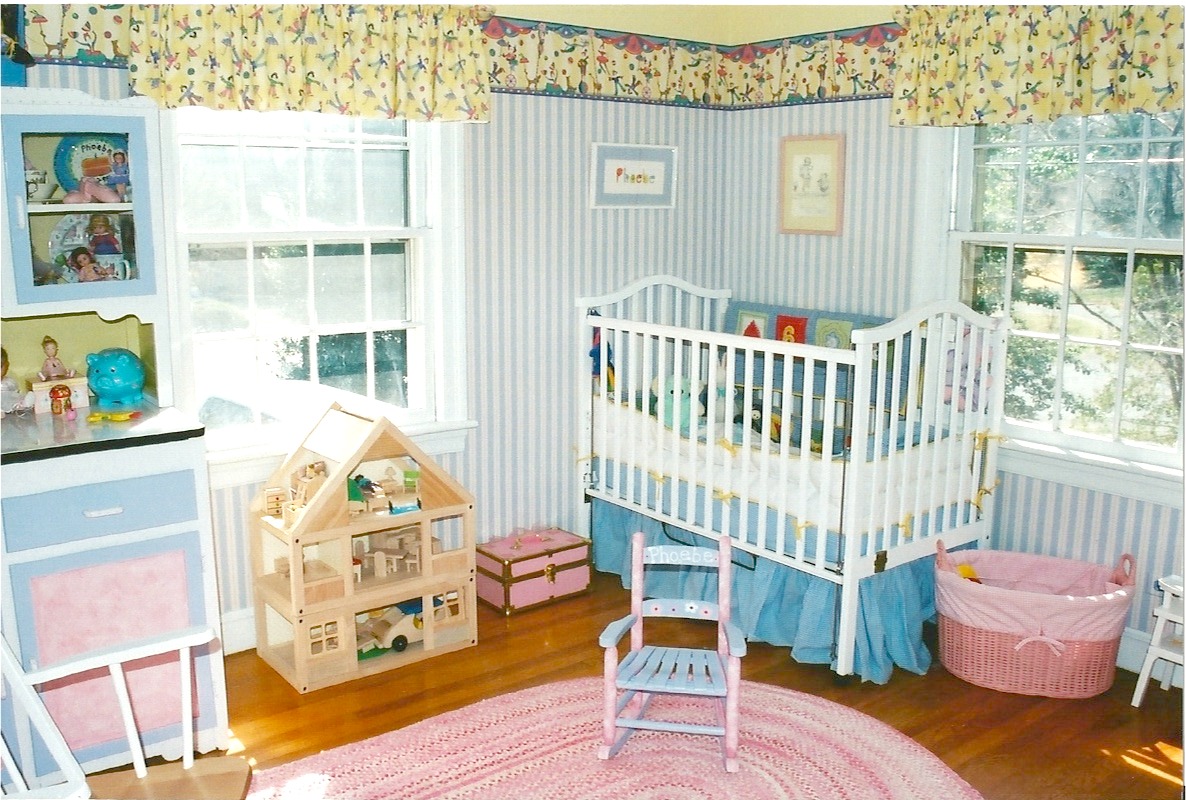
These days, the cost of wallpaper can often
suck the fun right out of it. But there are ways to get the wallpaper you want…and save some money. Just like anything else, wallpapers go on sale, go out of print, get discontinued, have minor flaws…all sorts of things that can save you money.
AND, there are many wallpapers out there that are
more affordable than others. I am not going to devote much time to this topic but you can find some good selections on Amazon.com
But I will tell you how I saved.
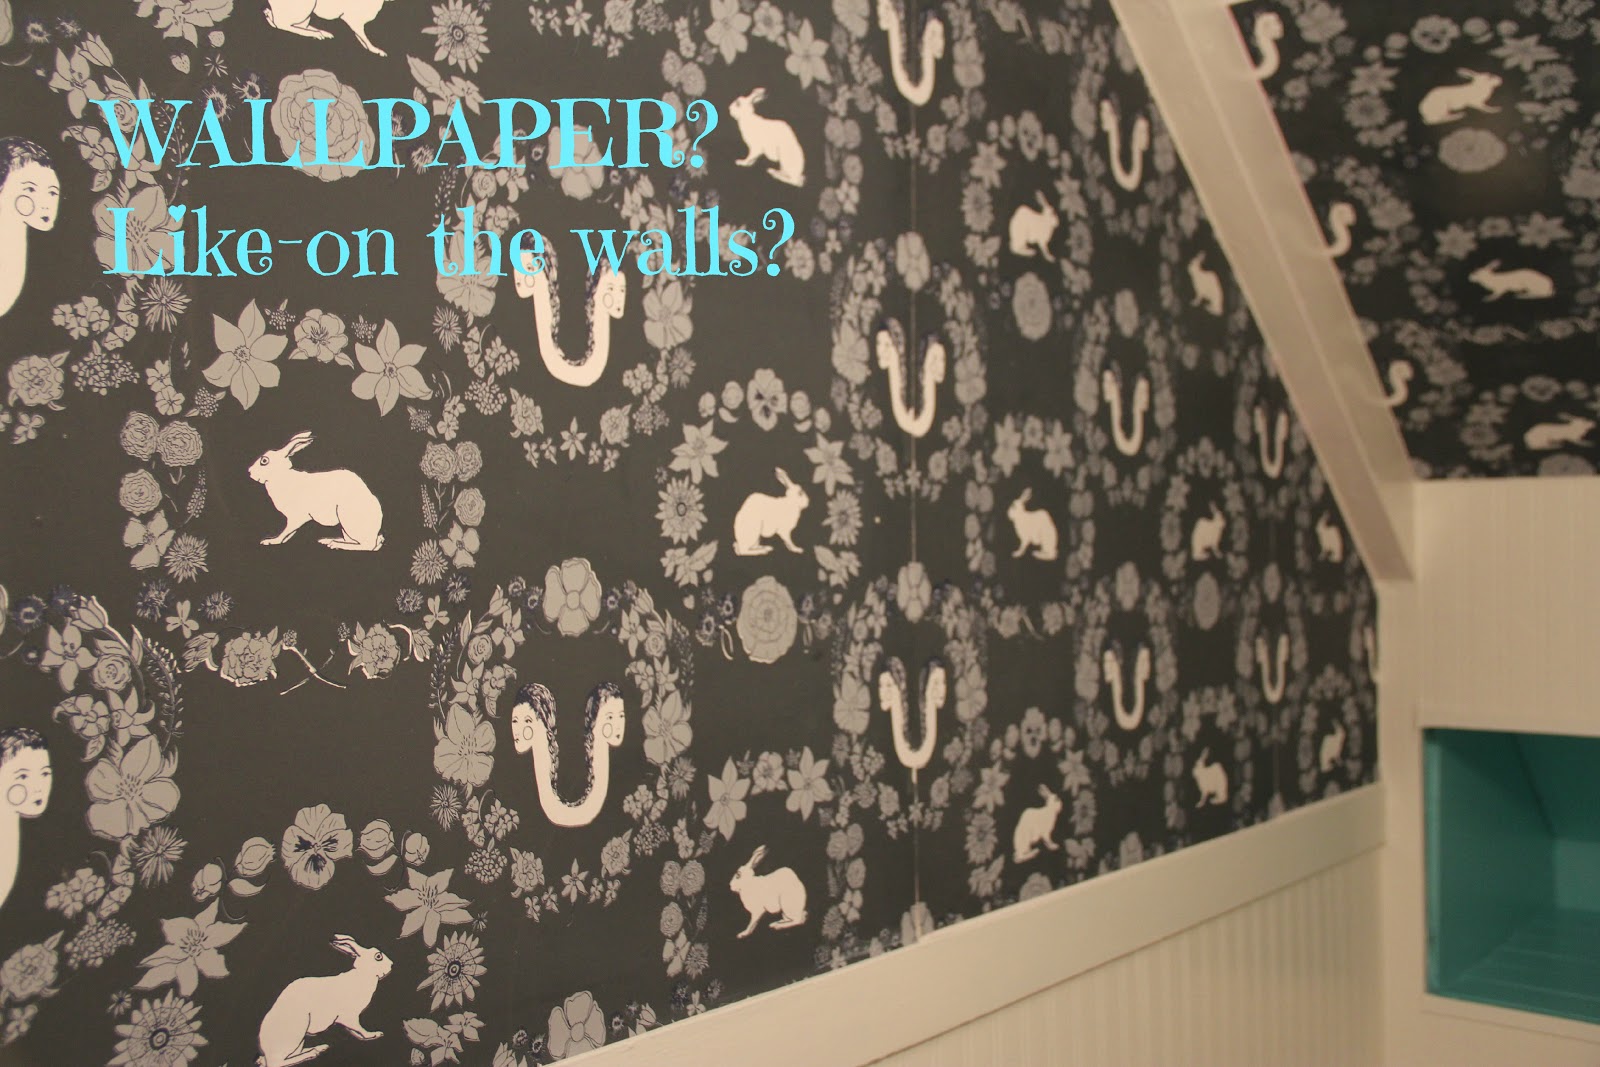
I fell in love with Peyton Cosell Turner’s Designs after I stumbled upon an article about her
“Sticker Wallpaper” in Elle Decor magazine
(YOU MUST visit her site HERE)
I love her off beat traditionally based but in NO way traditional designs and colors and themes.
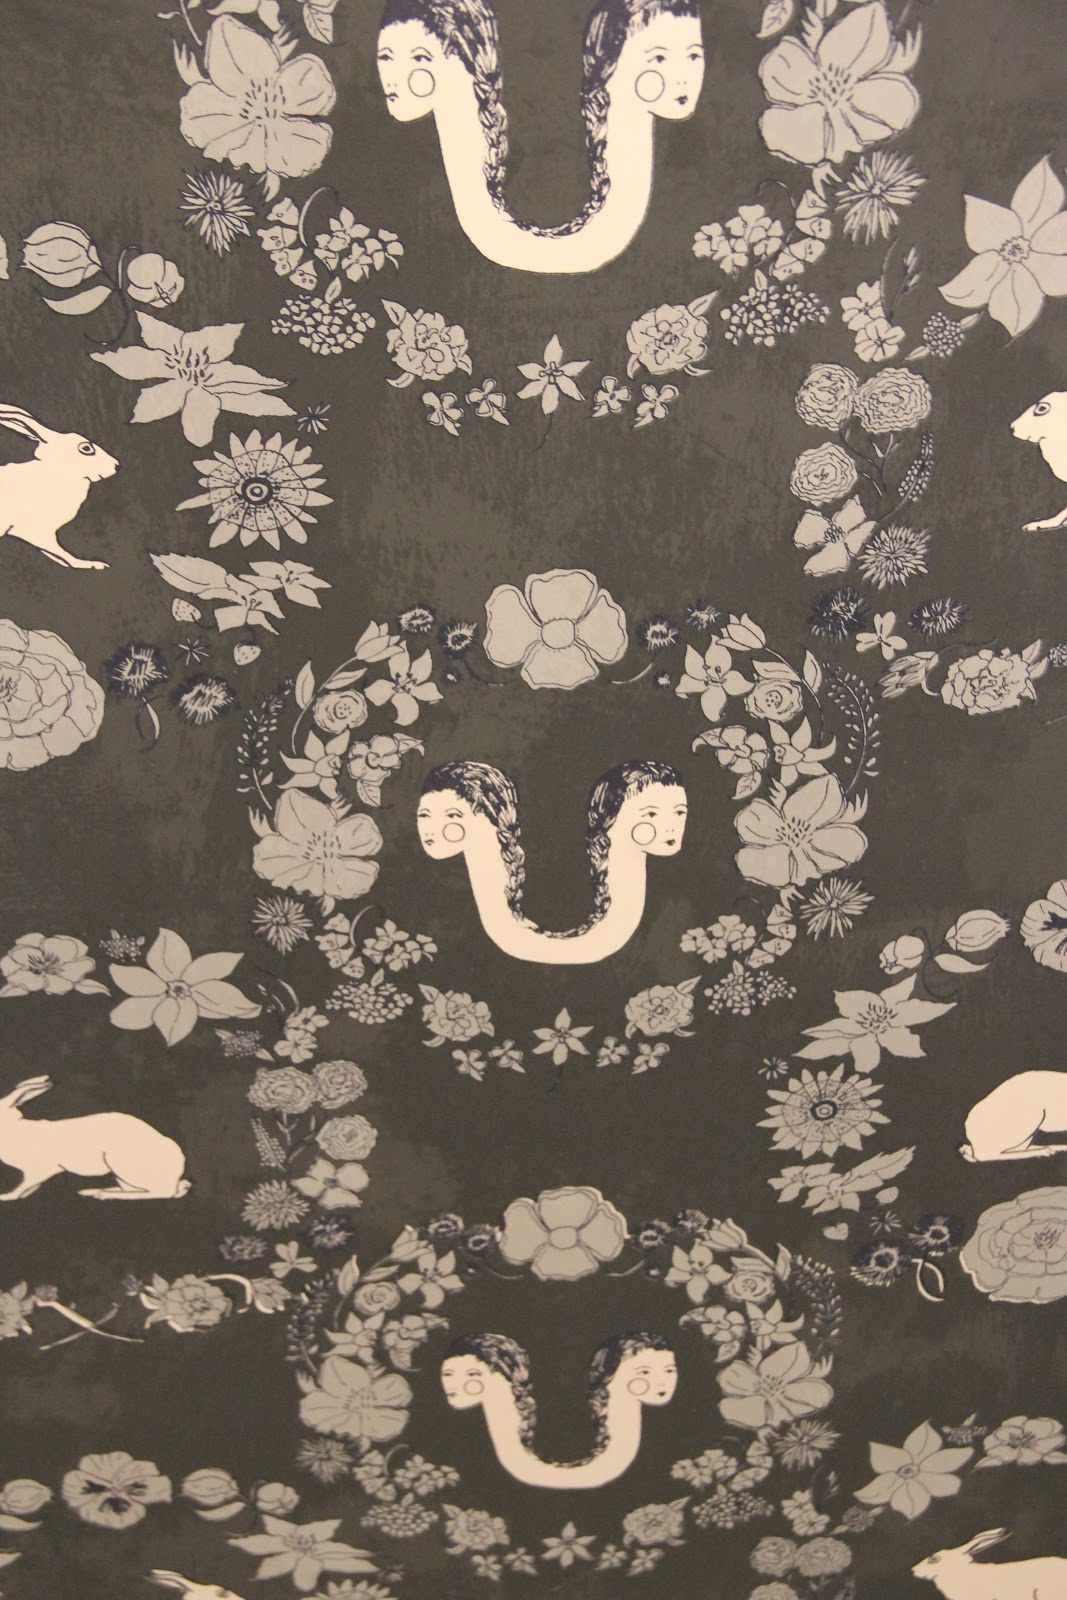
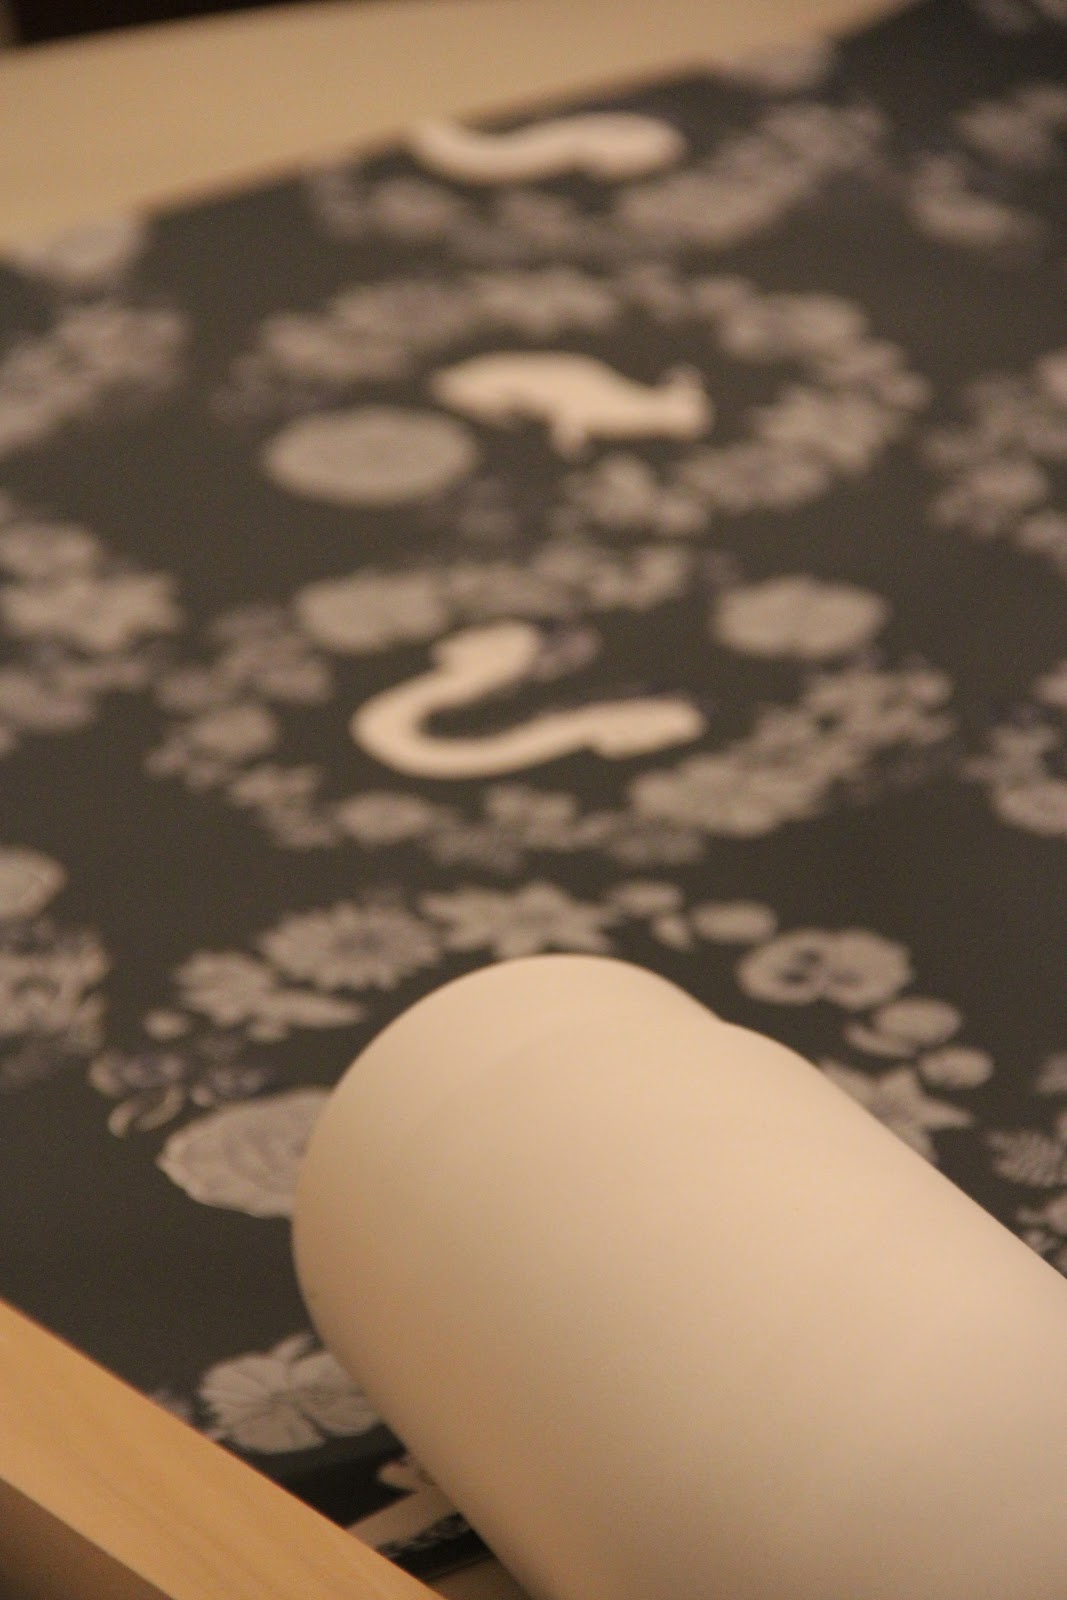
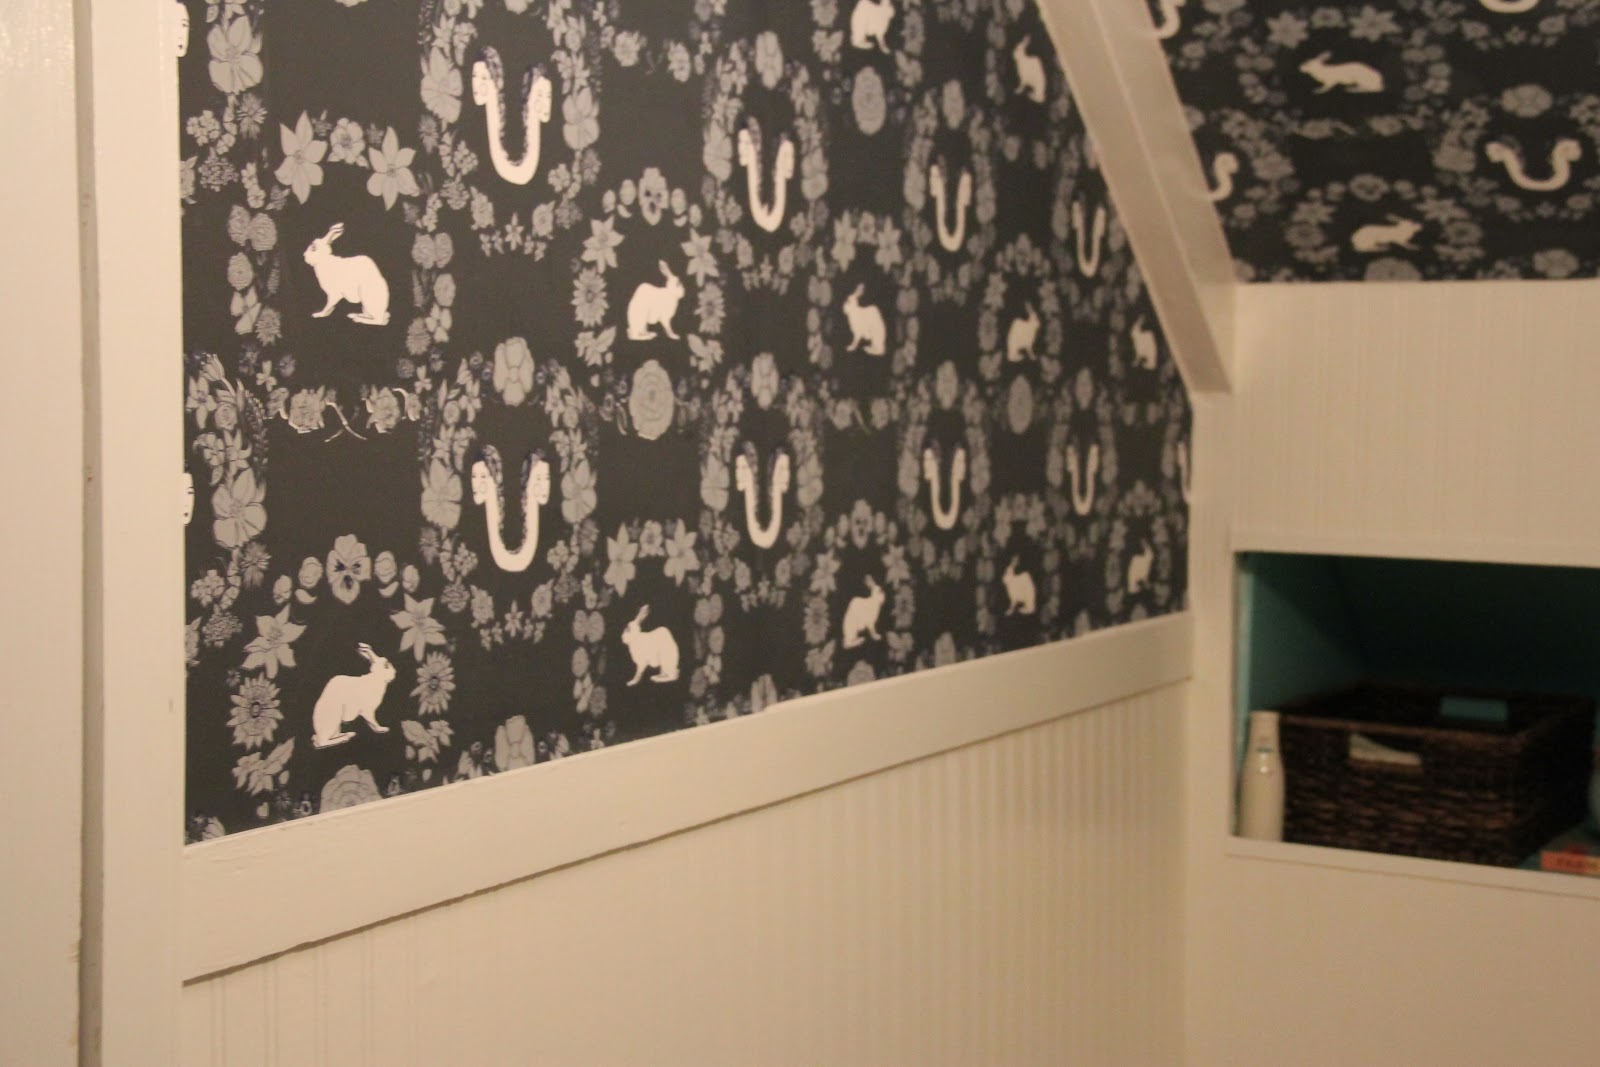
In particular , I fell head over heels in love with a pattern called
“Dollface” ….in a color called “Phoebe” (duh!).
I HAD to have it!!!..
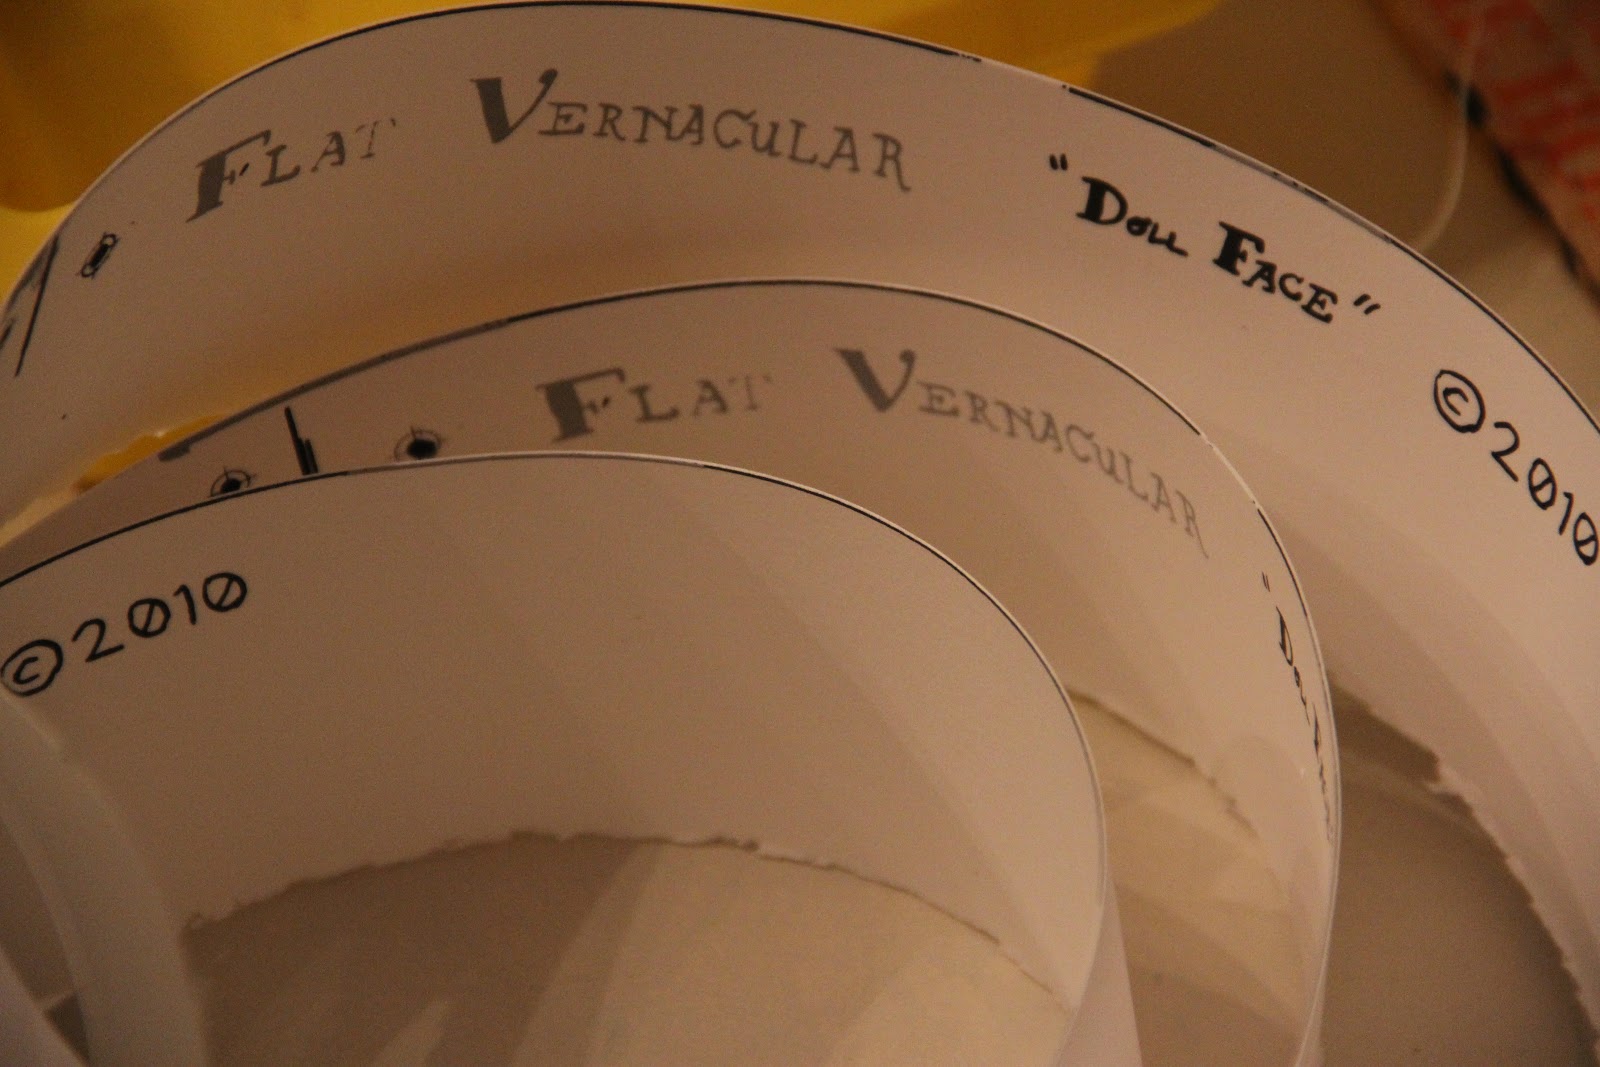
But, it was $175 per single roll. Now, I am a HUGE proponent of Artists being paid for their craft, but I just did not have the reserve to afford my beloved “Dollface”. So, I wrote to Peyton and I told her I loved her and that if ever she had any scraps or pieces that could not be sold that I hoped she would let me know. A while later, when the pattern was discontinued , the lovely Peyton emailed me I was able to get some random pieces…for a very fair price, enough to do my tiny Powder Room!
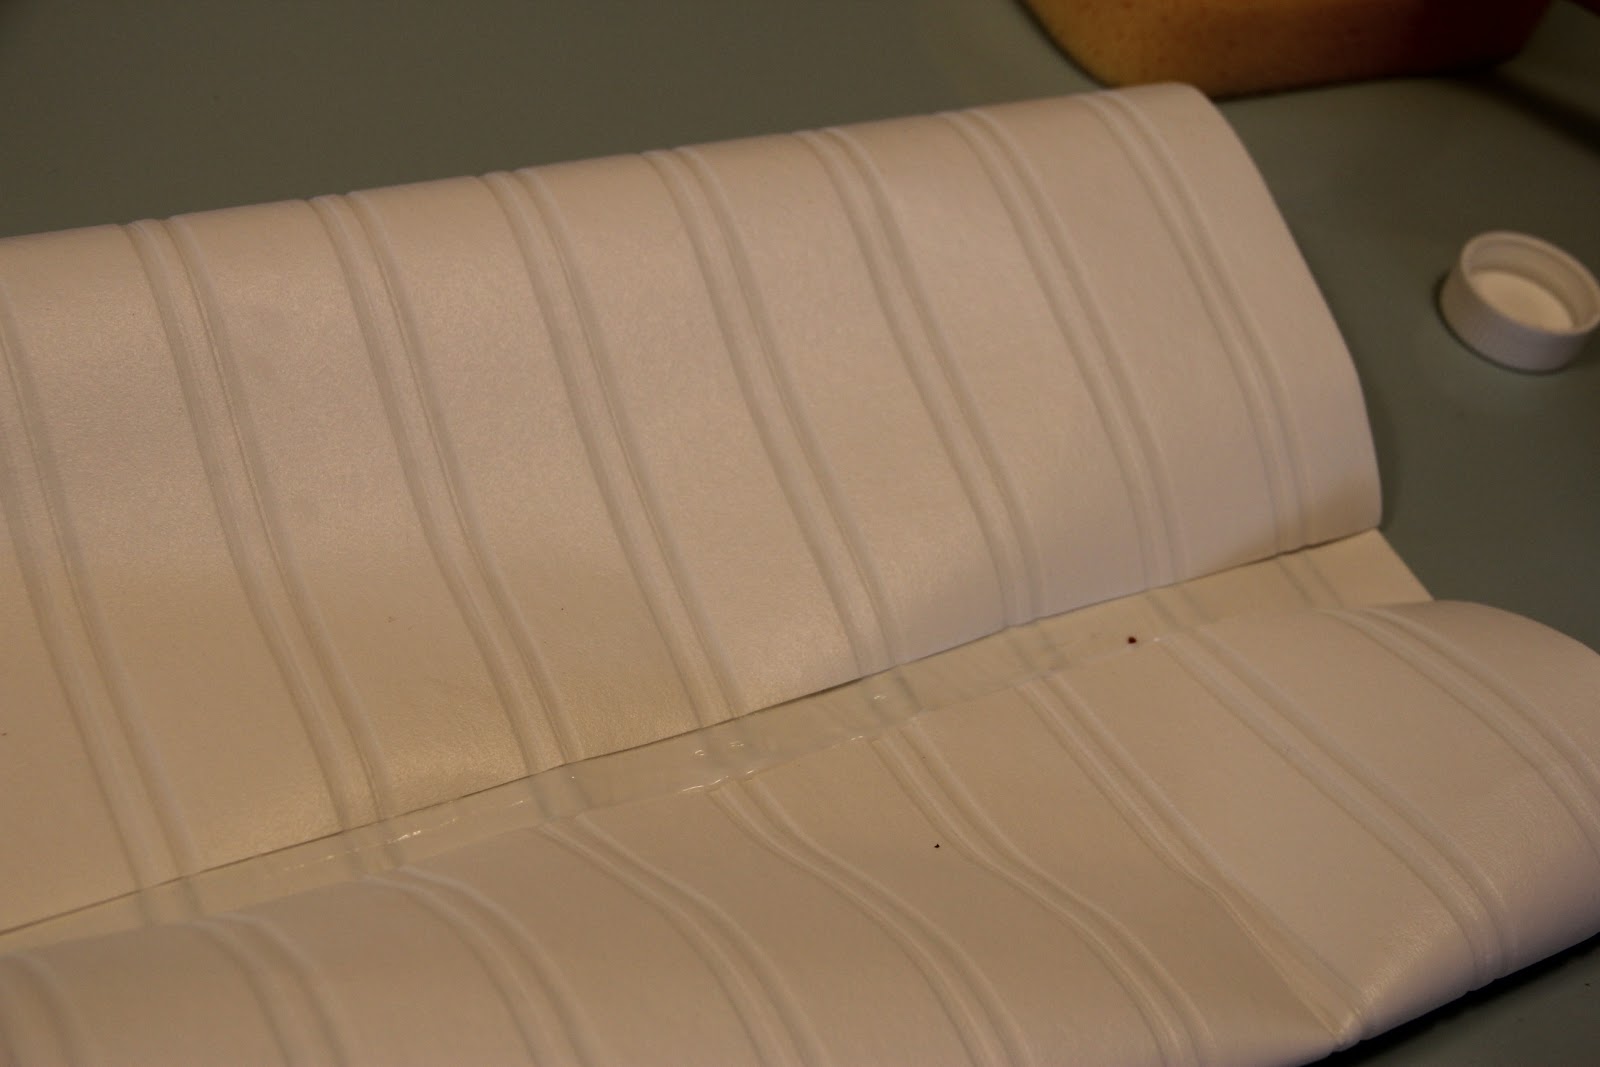
Flat Vernacular wallpaper comes un cut, vertically as well as horizontally…
so I first had to prepare and process it by carefully trimming the sides.
I knew I had my work cut out for me…
no pun intended!!!
To cut the paper Vertically, I used a metal yard stick and followed the edge line as perfectly as I could and then made one straight cut with my mat knife. It is important NOT to stop, mid cut, or the slighted miss cut will show when you try to line up your papers.
There are many rules about when you cut your papers to hang etc, and I by NO MEANS am a professional so when I tell you how I did my wallpaper, I hope you remember that this is what worked with me…
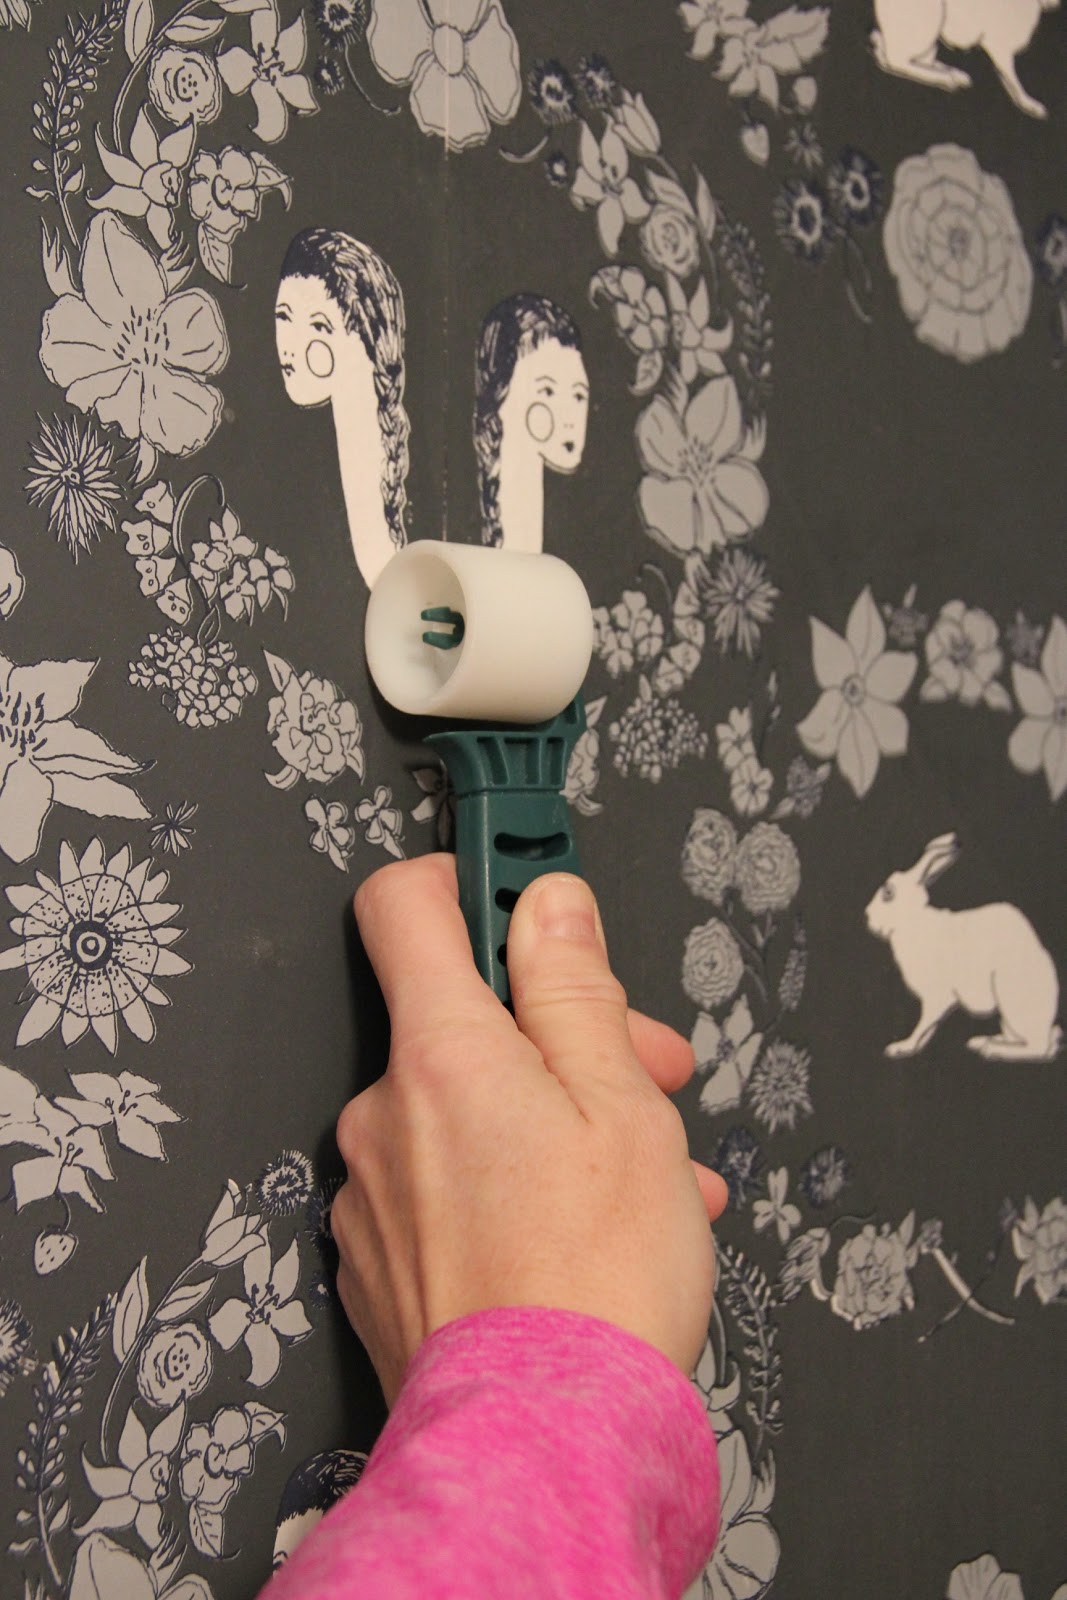
“DOLLFACE” has a huge repeat, meaning the pattern goes on for nearly 2 feet, before it starts again.
The bigger the pattern, the bigger the waste, because you will have to line up the pattern so that it continues not just vertically but also horizontally. My bathroom is tiny and when I saw all the wallpaper Peyton sent I thought
“WOW, maybe I should do a bigger space!” But in the end I barely had enough, because much of the paper went to waste as I had to line up the pattern. Still, I used almost every inch of paper I had…and made it work…
I found this information on THis Old House to be extremely helpful. I was too caught up in the DOING, that I did not take many photos of the process. But I am going to talk you through what I did!
I was working with NON pre pasted, good old fashioned WALL PAPER.
I used this paste I got at Home Depot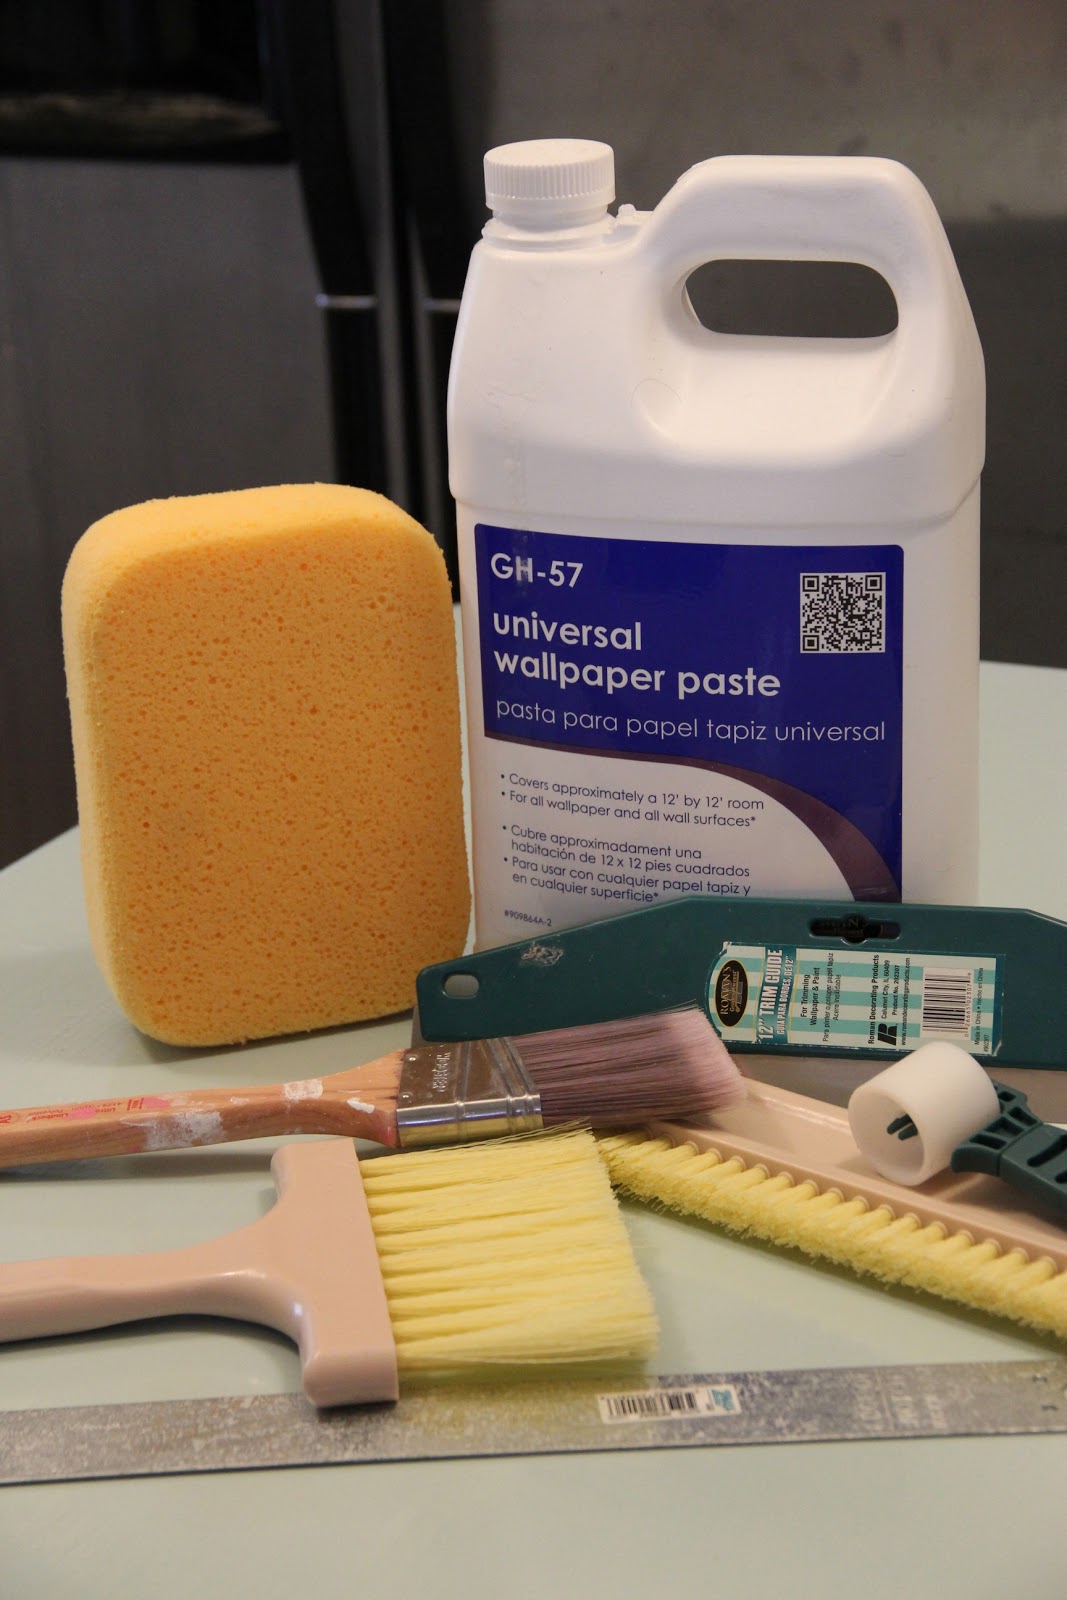
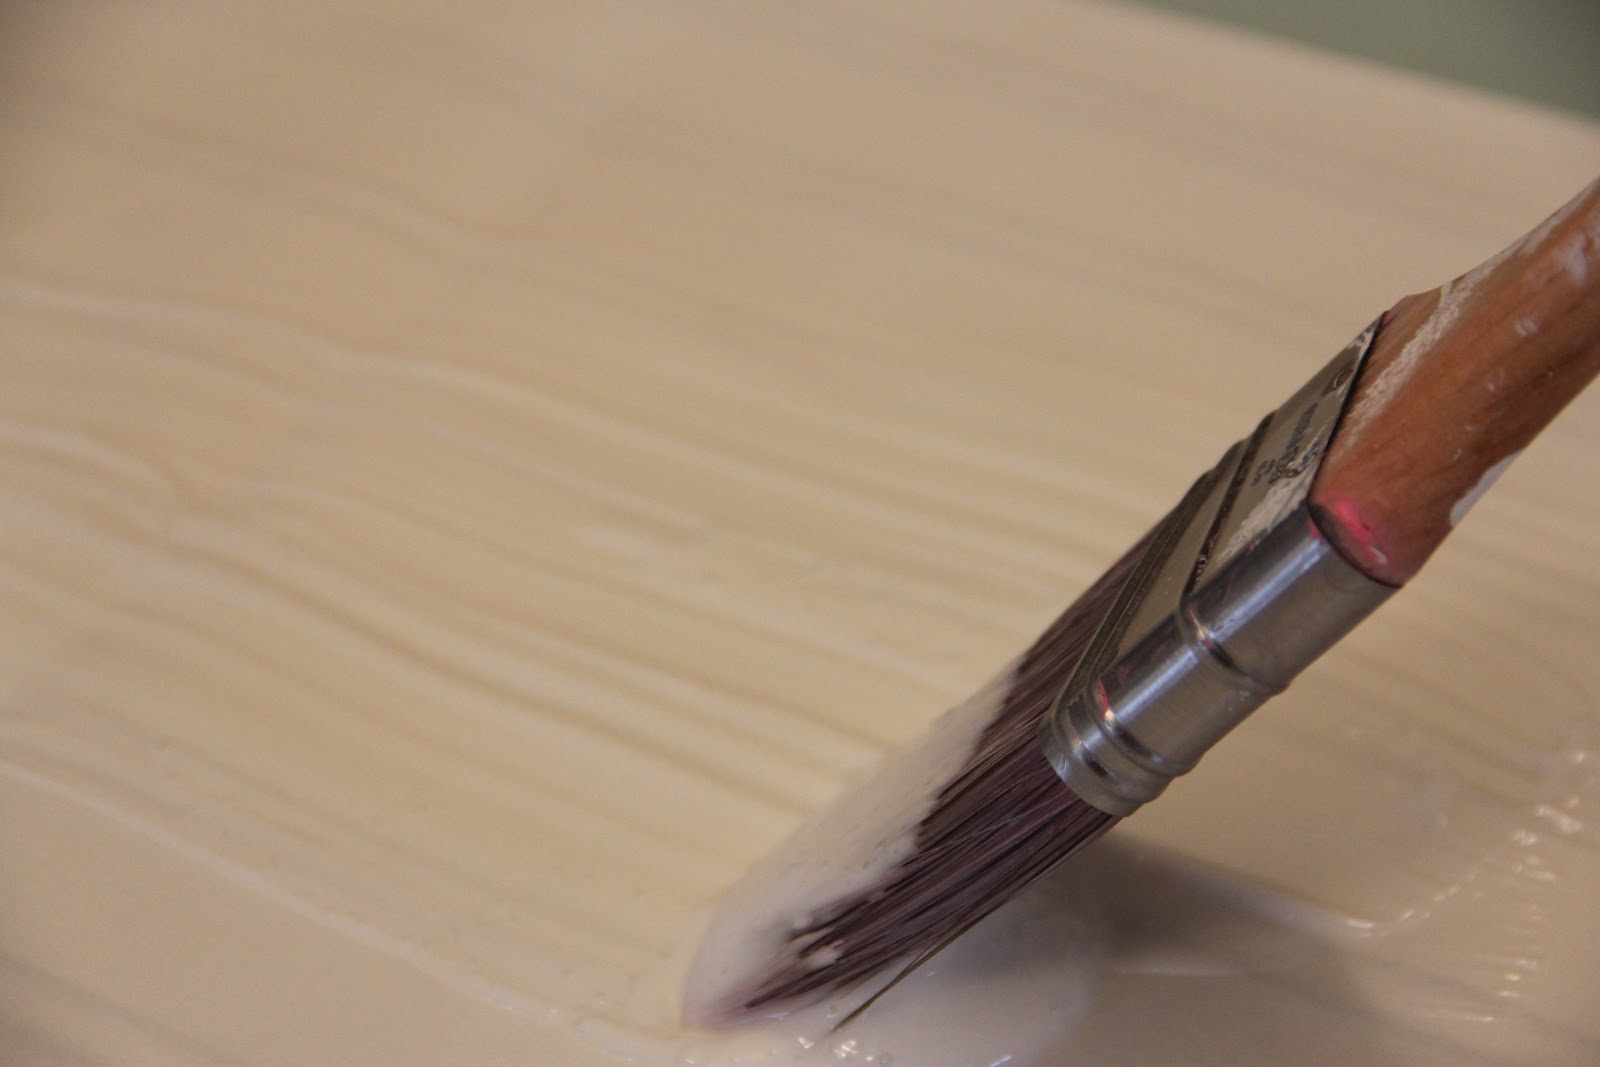
1. Prepare your surface, clean and patch any
existing holds.
2. Measure and Cut wallpaper (described above)
3. If you were using pre-pasted this is where you would immerse the paper in water. My Mom taught me to always use paste…even with pre-pasted.


7. Smooth out your seams.
If you have never wallpapered before, I suggest you start with a very basic pattern
pre pasted wallpaper. And there is also no shame in hiring out this kind of work, especially considering the investment in the wallpaper. When we wallpapered our first house we had a huge yard sale and we used all of that money from the yard sale to pay a professional wallpaper hanger.
In the end, I am in love with my powder room!!!!
And even though I made mistakes here and there, I still am VERY proud I did it!!!

..XO
Can you tell me more about your original wallpapering? My 1920s house is like this – tons and tons of wallpaper (even on the ceilings), that has already been painted over. I have been thinking about removing it to start fresh because:
1. The plaster is bubbled underneath (some bubbles as large as a quarter)
2. The wallpaper seams are extremely visible beneath the paint
3. Some of the wallpaper is textured – even with paint making the color uniform, the texture is noticeable from a difference
However, I have the exact same worries as you state: that the wallpaper is holding the plaster walls up, and I can’t afford to fix the messed up plaster.
What do you think – paint over it again and forever brood about the bubbling/seams, or give removal a shot?
From my little bit of research, you might want to look into something that was suggested to me. Instead of pulling off the wallpaper, they have this horizontal paper that is the weight and feel of like artist canvas. that is applied to the walls, like a new base, almost like the top layer of dry wall, and then you go from there. I guess it can be skimmed…and then painted, or you can wallpaper over it. We have one room where they did that. Our walls where I have taken them down to bare wall are actually not suitable for painting, they are too crumbly and porous. Good luck, keep me posted.
Thank you Lesli!
When we bought our slightly middle aged city house, we swore up one side and down the other that the dining room wall paper (the only bit of color in the rest of the all white house) had to go. Then we realized it was probably installed not long after the house was built in the mid-1940’s. It had been installed right too – you had to look quite closely to tell where the seams where. Having removed 1935 era wallpaper from my parent’s plaster walls, I knew that paper wasn’t coming down easily – after all, if that stuff had stuck to the walls in Virginia summer humidity over the last 60 years, it was tough stuff. We just learned to embrace the wall paper. It is just now, 15 years later, starting to look like it might to be replaced, but I think I have a few more years before then. I’m totally calling you when it’s time though. Fantastic job.
wonderful!!!!
So glad you clarified the wonderful wallpaper – from the earlier post it sounded like you got it at Lowes or Home Depot and all I could think was “Hey, they’ve sure improved things there – will have to take a look!”. Right. Not. Thanks for the intro to FV – spectacular paper! Love your little spit of a powder room.
Just like the flooring, I too am hoping for wallpaper in my bathroom! I love following this project!! I just found out that my favorite fabric designer, Amy Butler is offering wallpaper! So I ordered some samples and want to try to do one wall of the bathroom in it (to save $ because it’s 85 a roll with a big repeat!) There is a window on that wall-do you have any tips on how to cut around special things like windows/trim?
oooohhh I am super excited about The Amy Butler wallpaper!! Have to check that out!
for trimming, what I did was do all my cutting dry and I would just measure, and cut a little, then go back, measure the next corner, cut etc. It is worth the time. Esp if you are using expensive paper. One other thing I have done is us plain paper and make a pattern of the corner then lay if out and trace it onto the wallpaper.
If I were going to wallpaper a lot, I would get an angled measuring tool that could be moved and adjusted to mark angles….and I did finally break down and get a HUGE level, like 48″ long, one of those plastic ones, but it has been invaluable!!!! Please send pics when you do it!!!
Lesli, it looks absolutely adorable! You should be very proud and I love that you learned some new skills! Congratulations. My husband and I tore up and put back together 2 bathrooms this last year and learned so much and had so much fun doing the work together! I can really appreciate and understand how great you must feel!
Way to go!
Theresa