
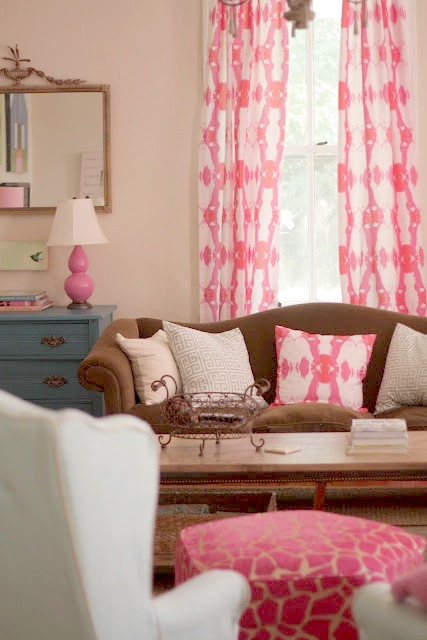
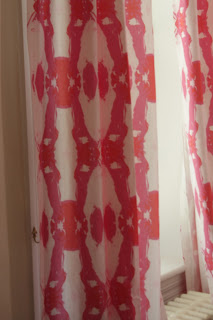
SPOONFLOWER FABRIC…DESIGNED USING ONE OF MY PAINTINGS!
YOU CAN BUY IT HERE!
These are about as easy as it gets…
….they LOOK very Polished when done.
my motto is
To me, all that matters is what is SEEN.
TUTORIAL:
- Supplies:
- Fabric
- Thread
- scissors
- measuring tape or yard stick
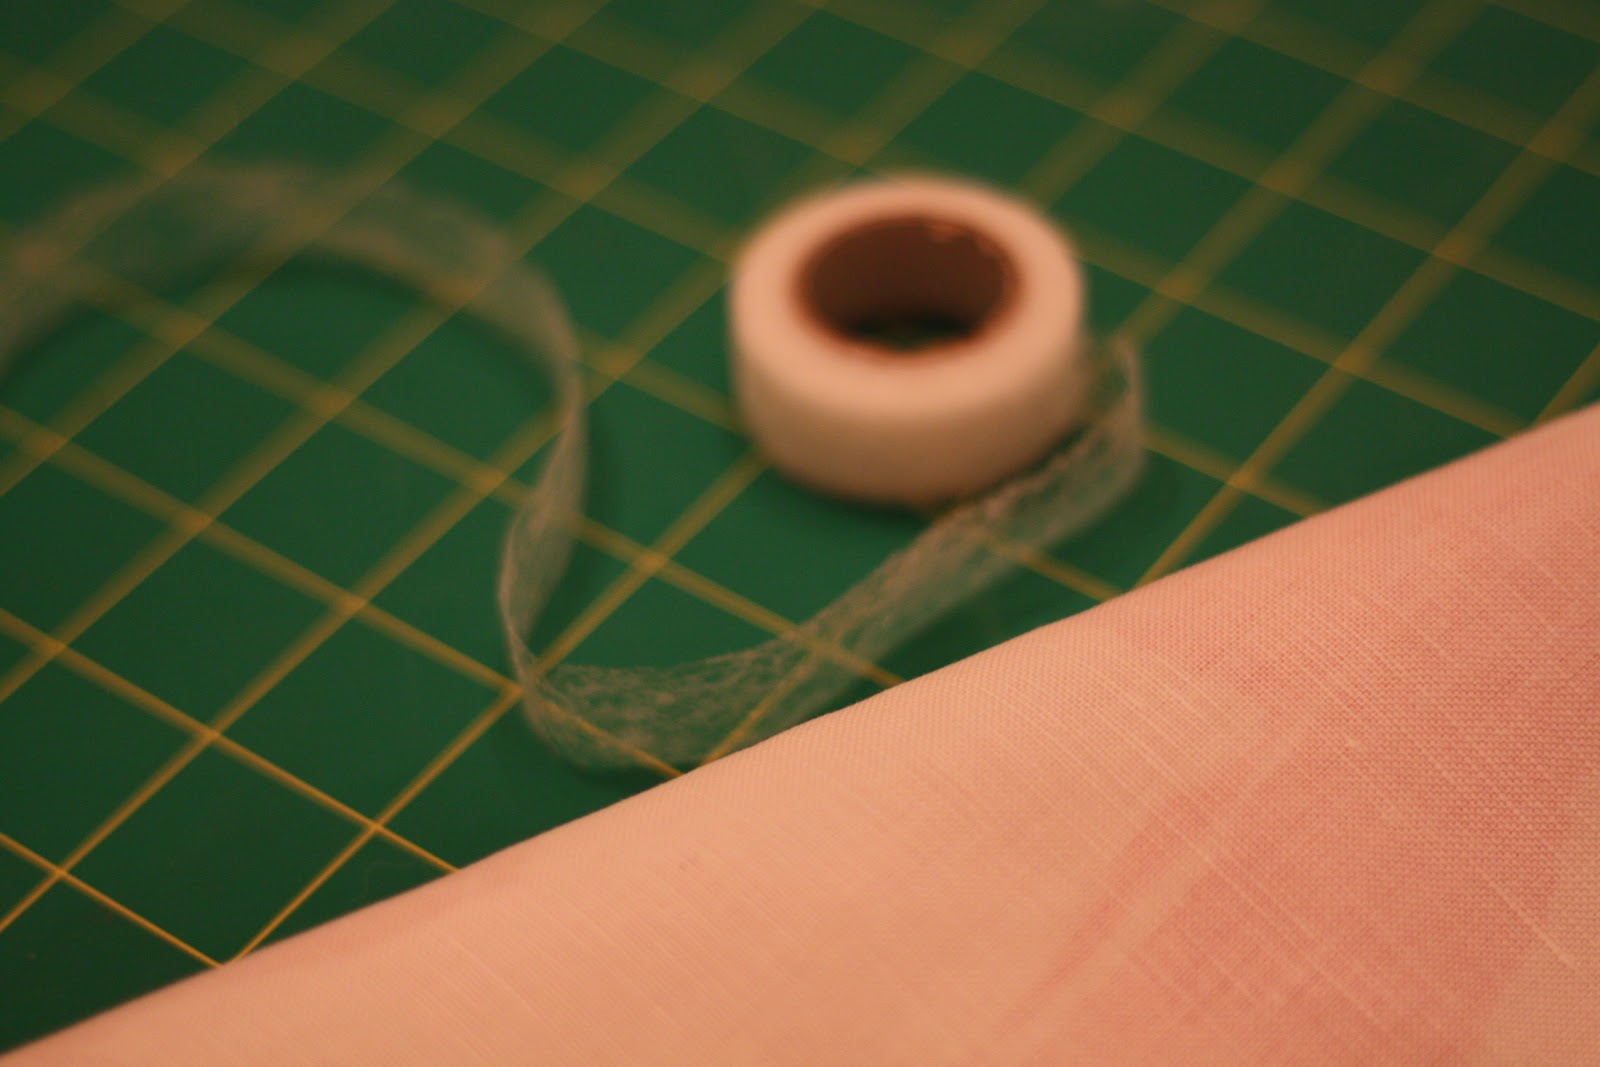
- “Stitch Witchery”!
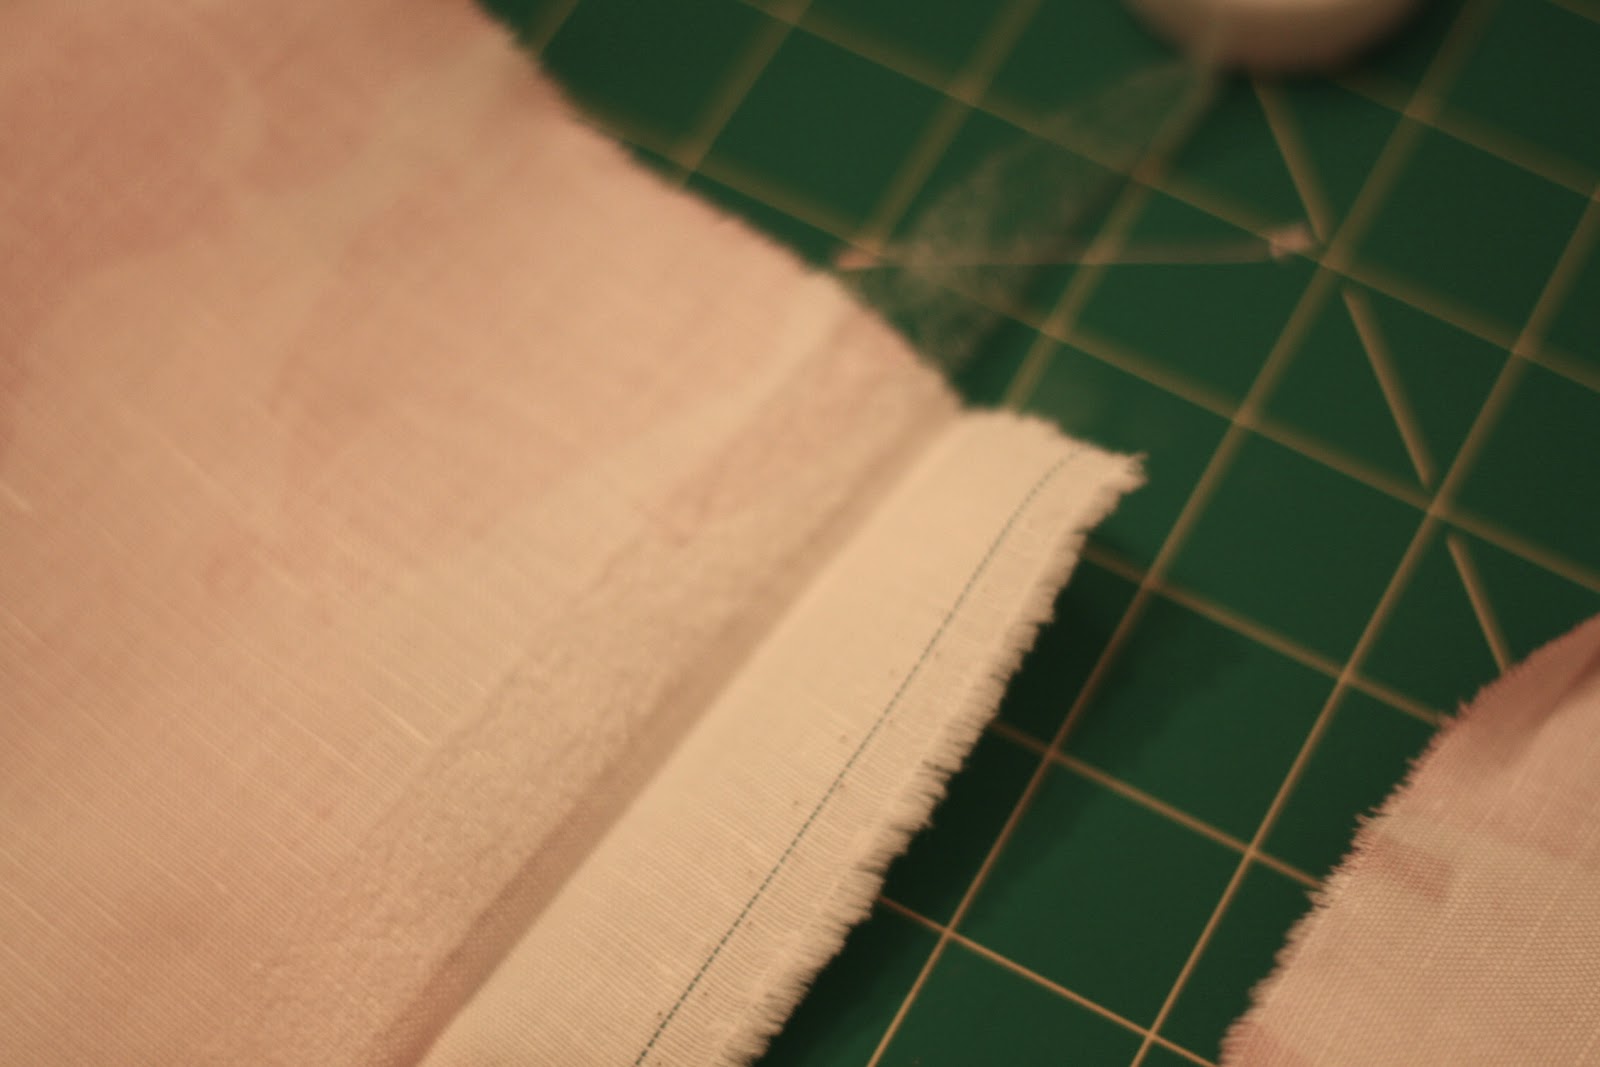
I like to take advantage of the finished edges (the selvage on the sides of fabric)
so EACH panel is the WIDTH the fabric comes – 58″
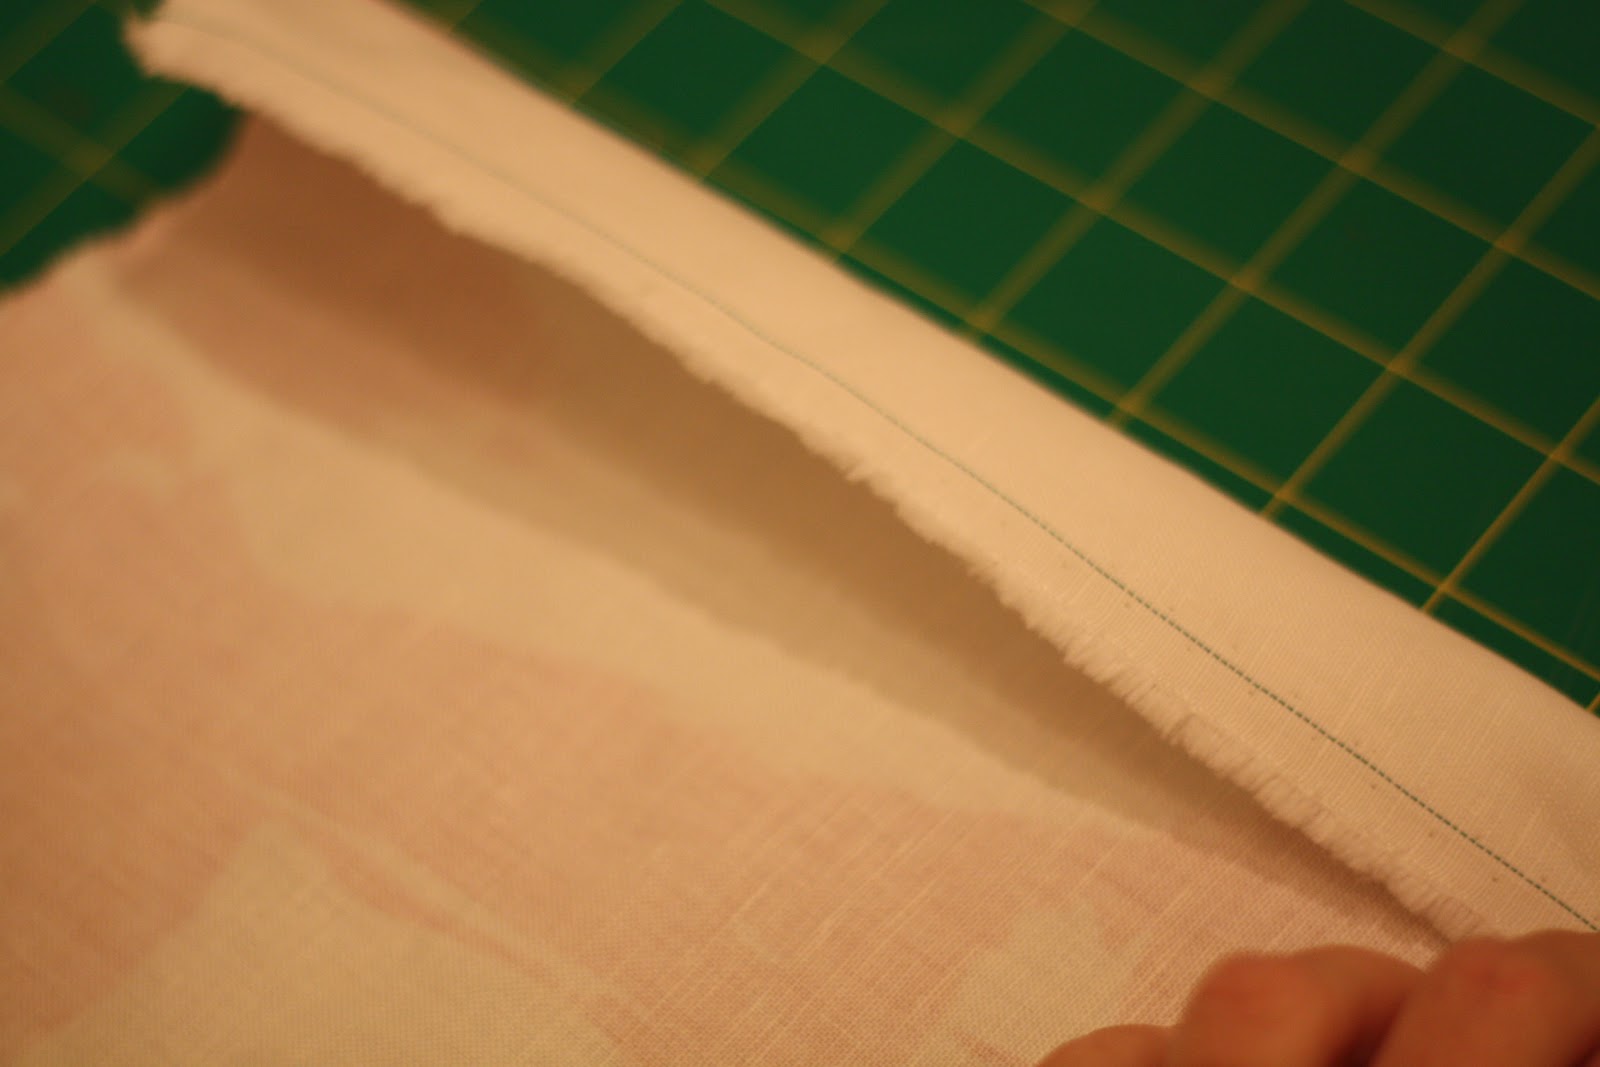
I folded down 1. 5 ” on each side, leaving the FINISHED width
55 inches.

Snip and rip a piece the entire WIDTH long.
Each strip yields abut 11 TABS.
Each of my Panels used 11 TABS
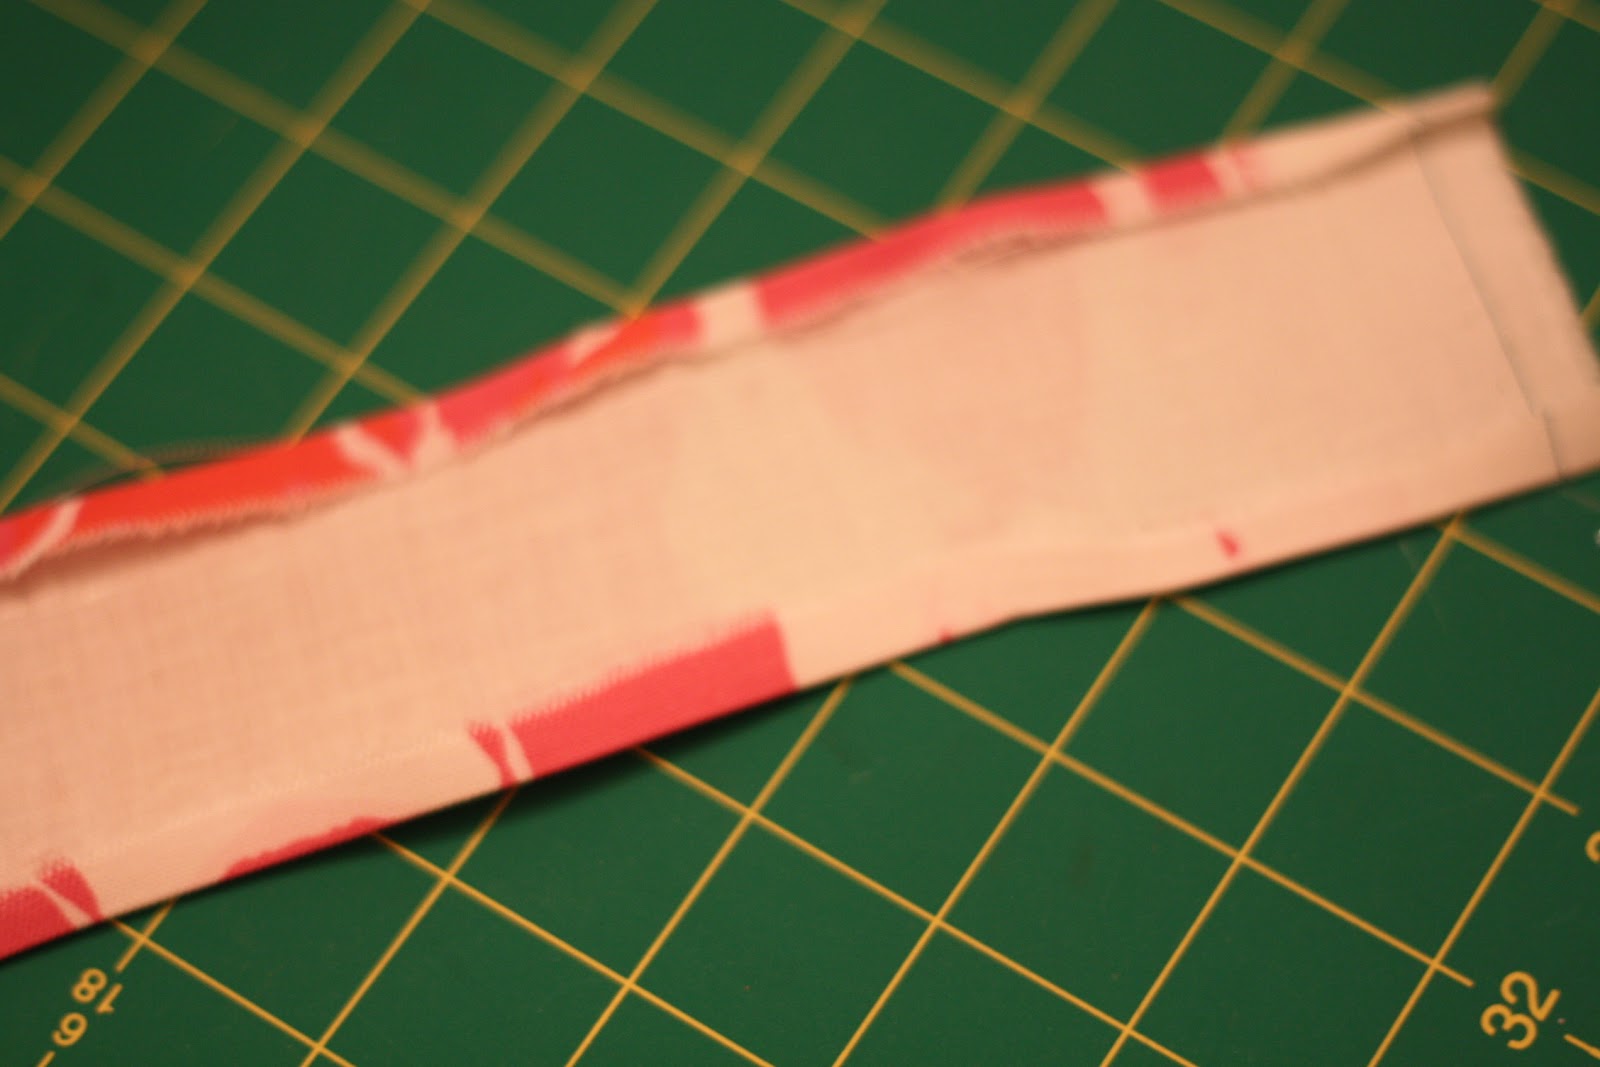
Top stitch along the edges
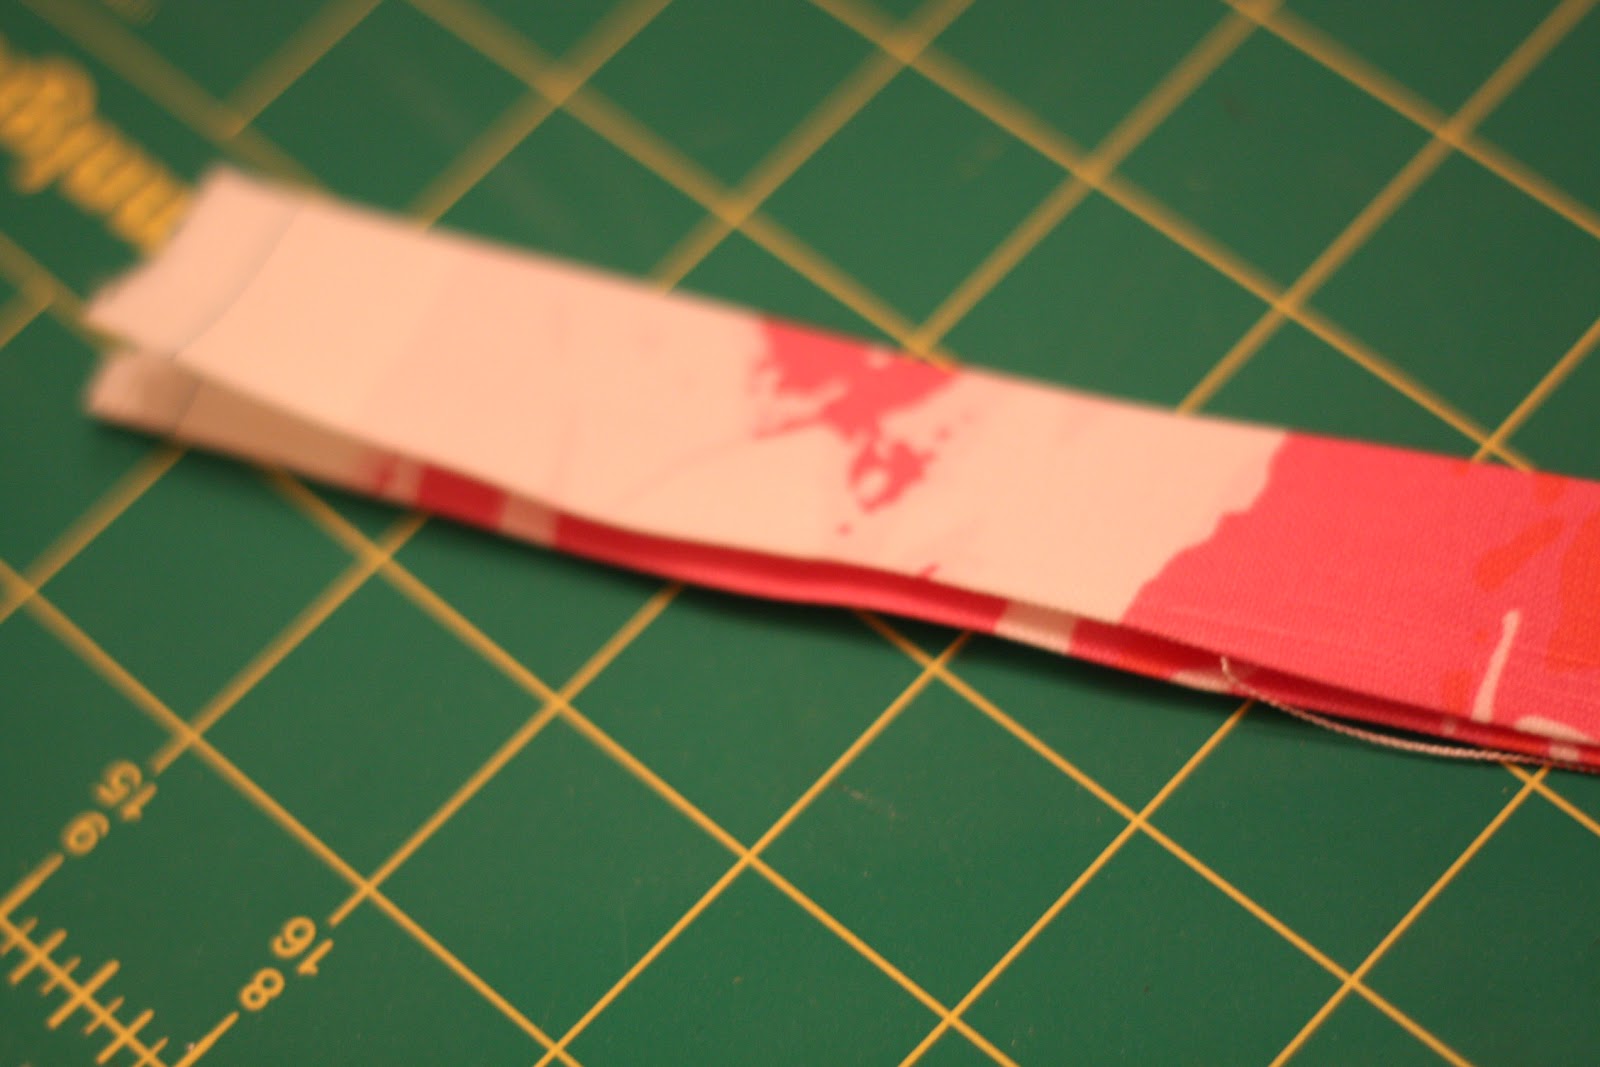

Finish one EDGE and CUT the full length into
CUT long strip into long pieces
Oh, if you don’t know SW is a mesh tape made of a substance that when ironed…turns to glue and bonds fabric together.
GENIUS!

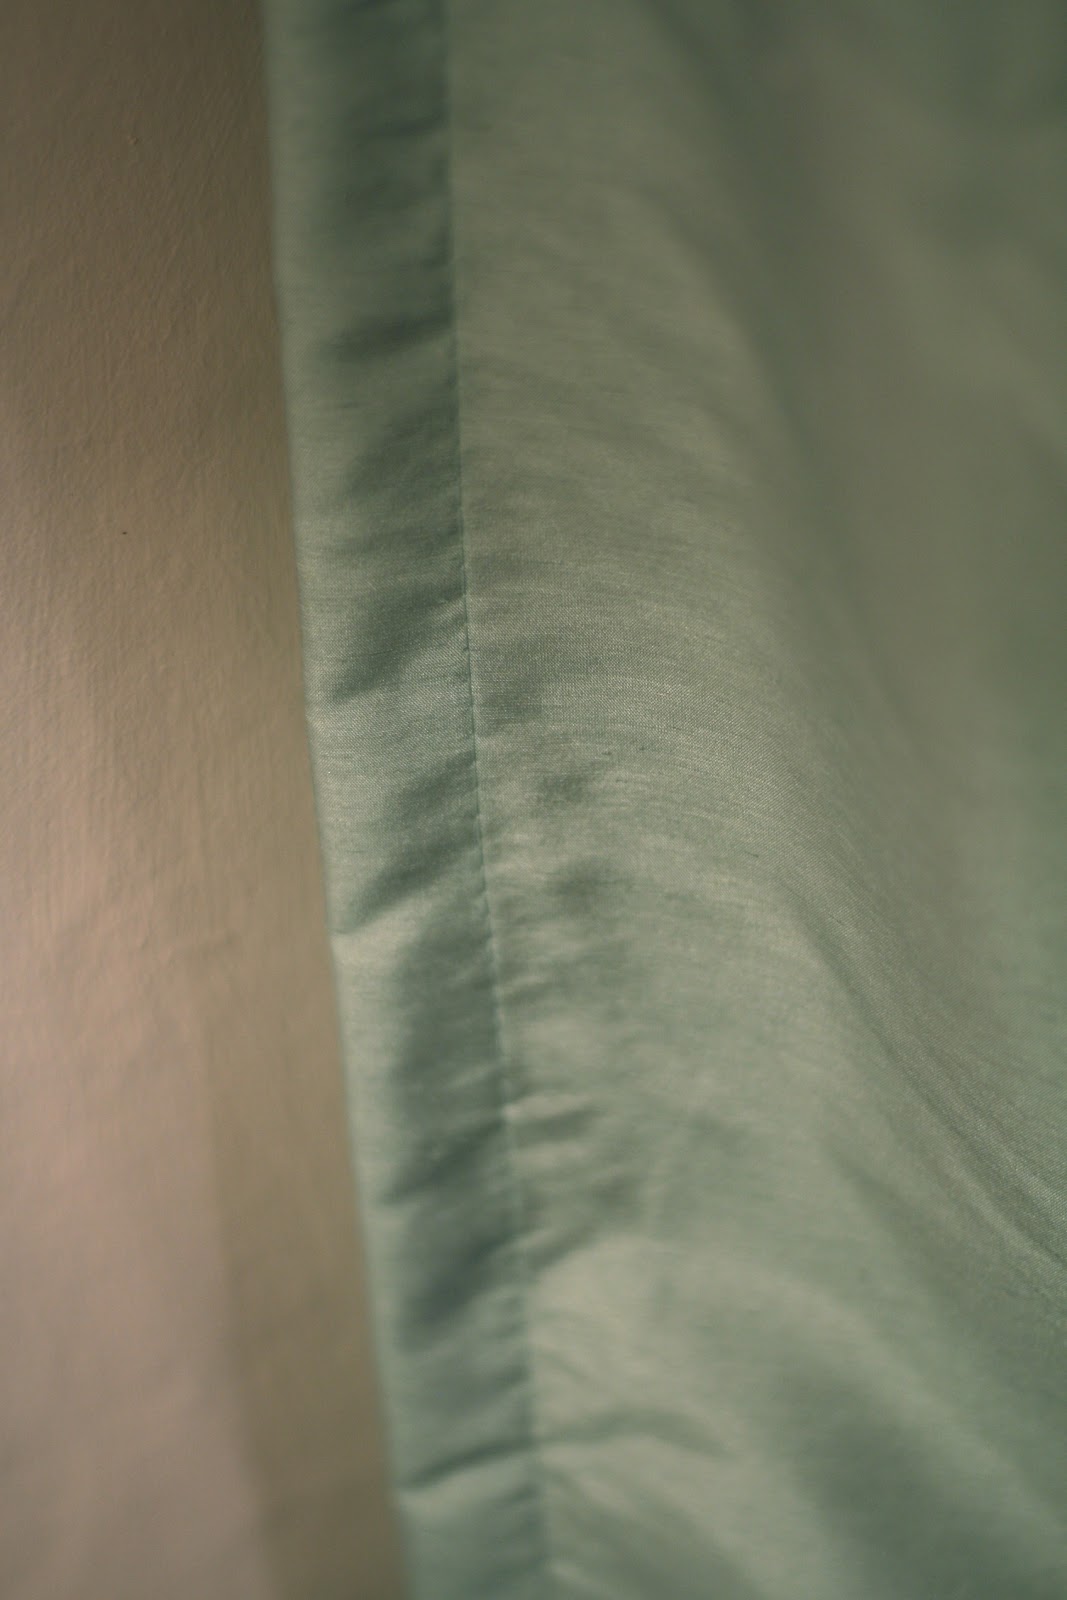
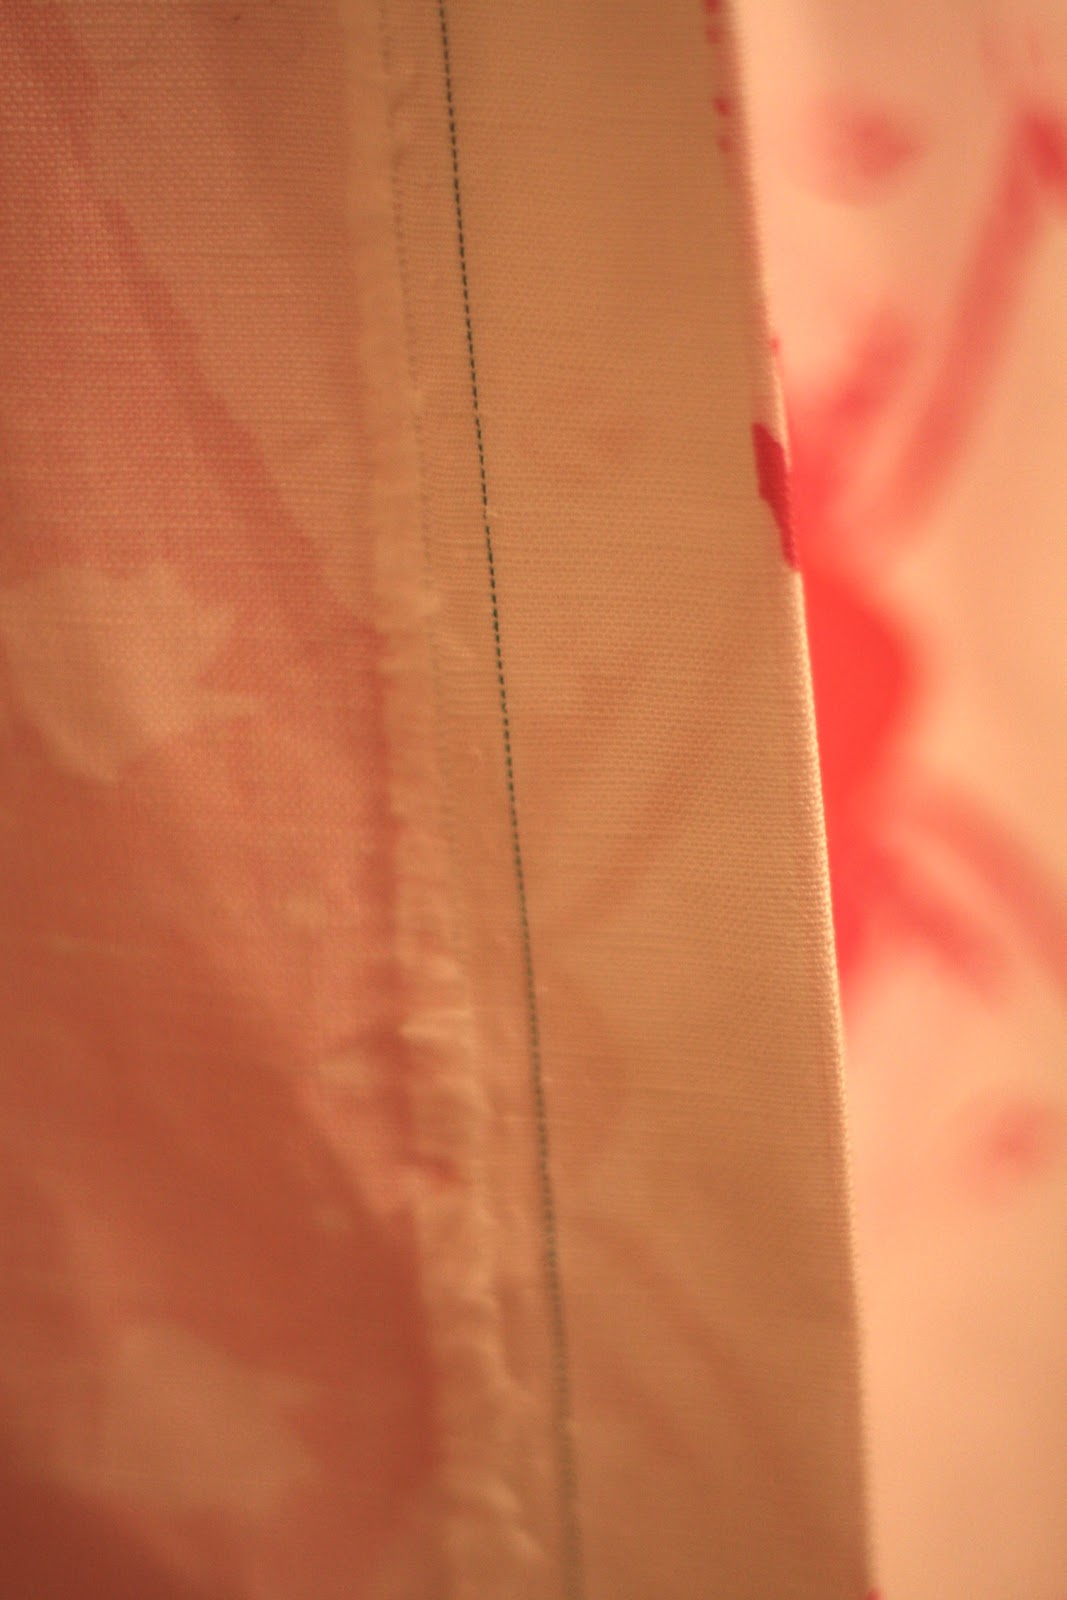
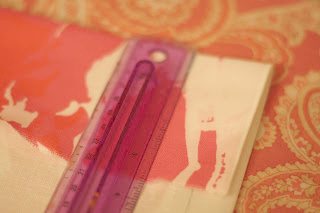
FOLD AND IRON YOUR SELVAGE SIDE SEAMS FIRST
 THEN insert the SW and iron it DOWN.
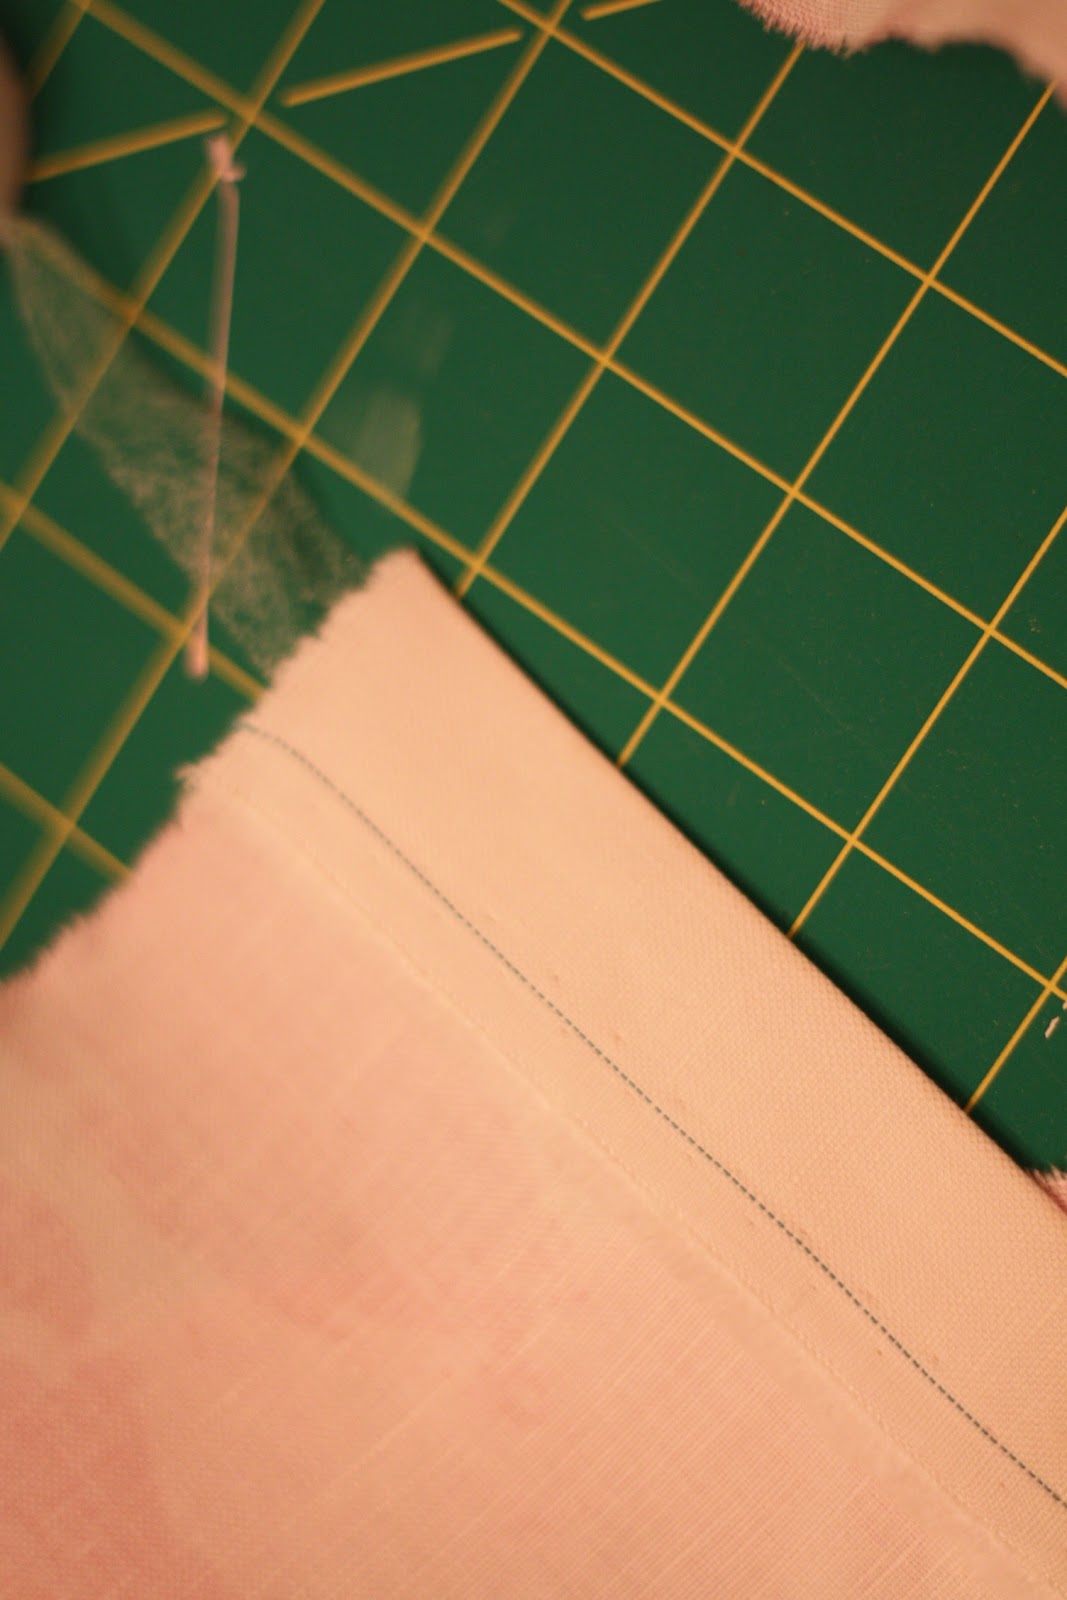
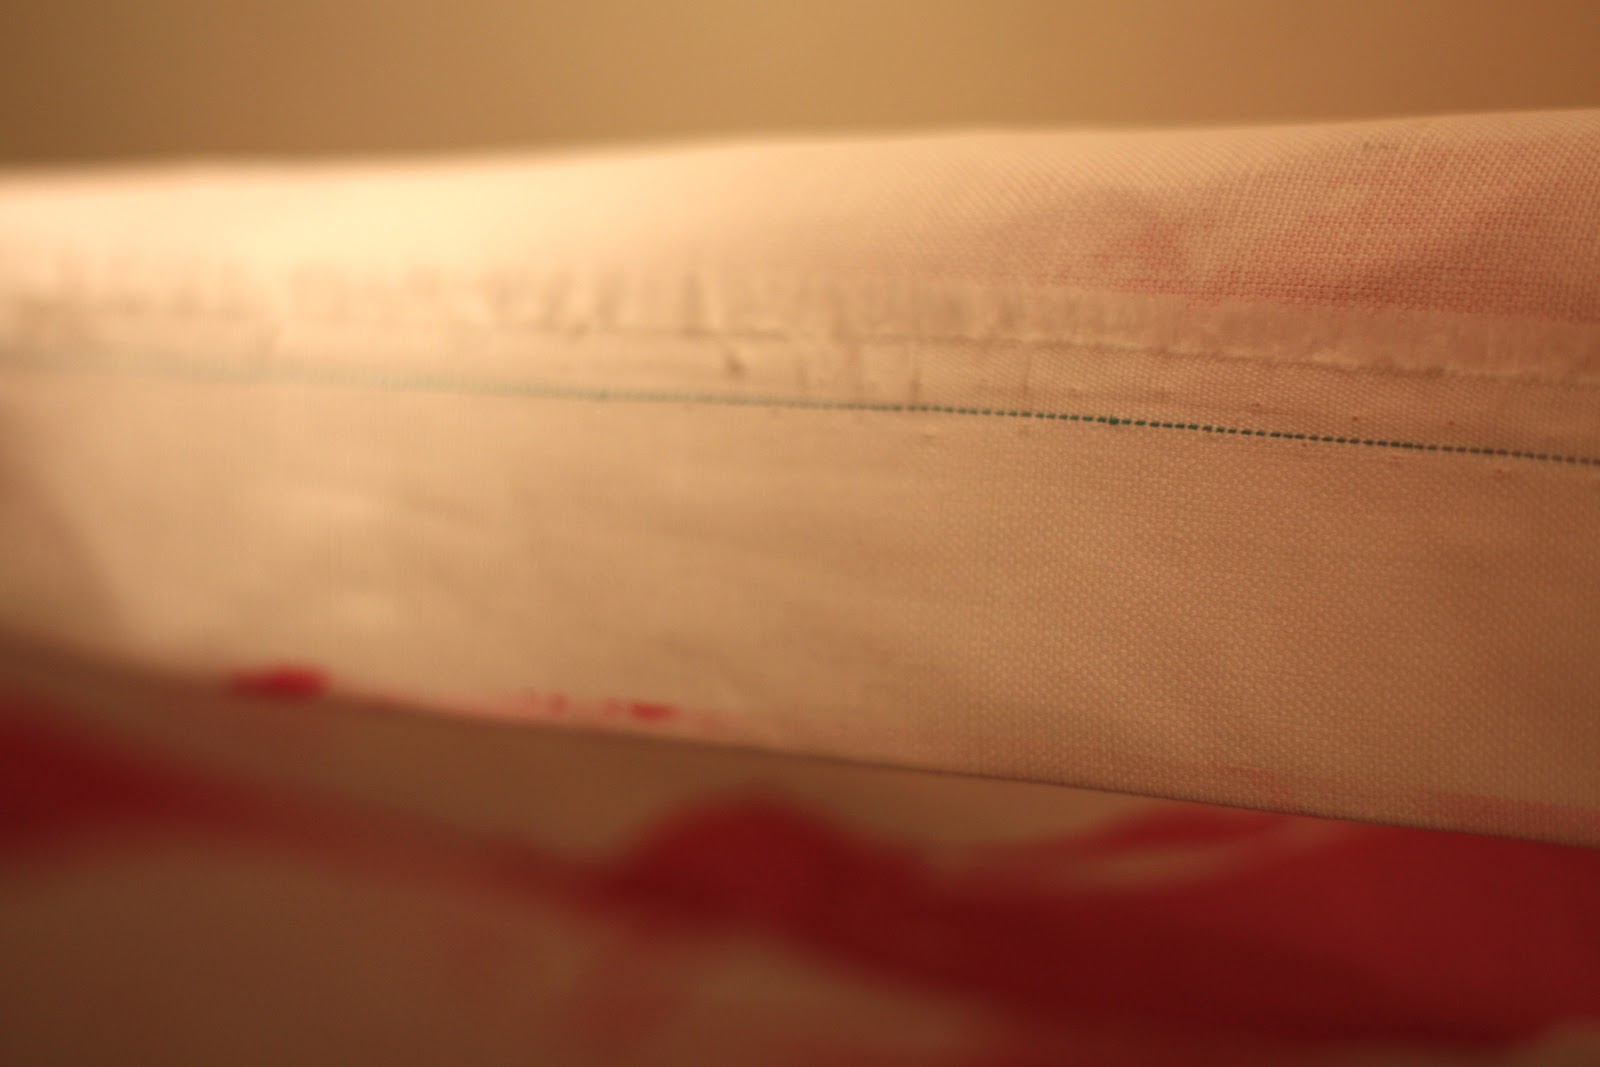 |
| SEE…NICE AND SMOOOOTHHH |

APPLYING THE TABS
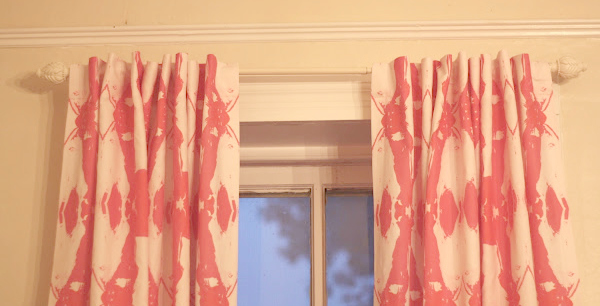
I like to have my tabs about 5 inches apart. This way,
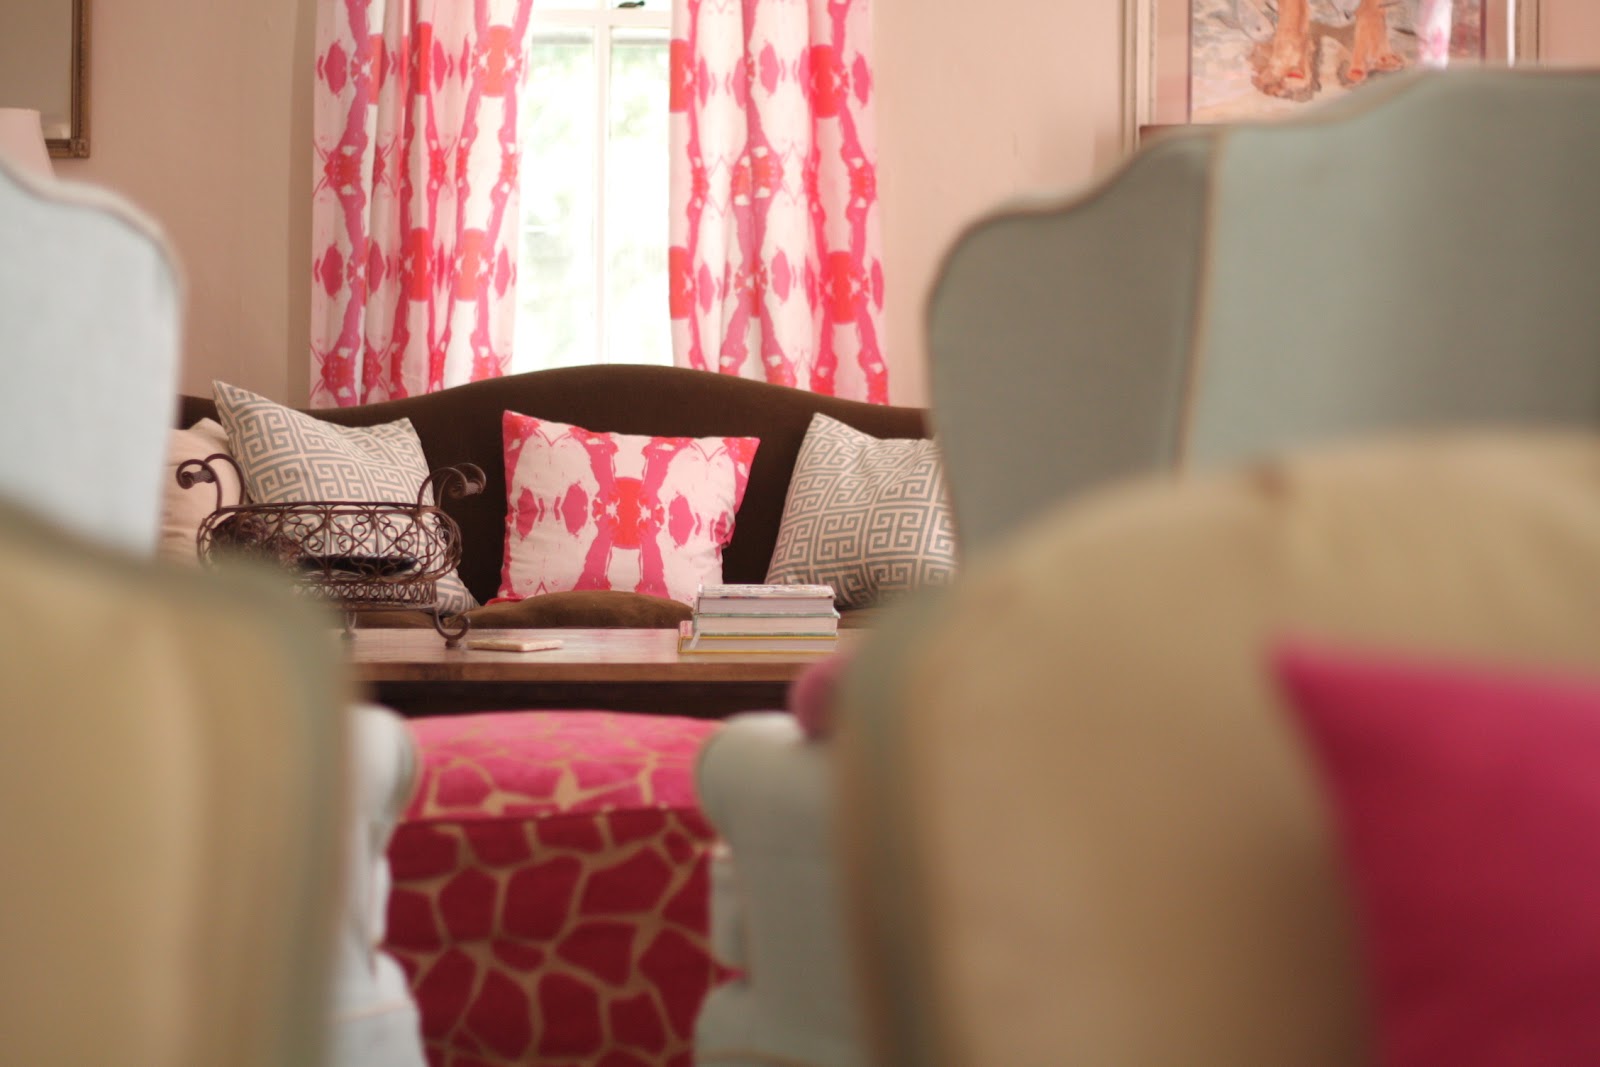
when the Drapes fold up, they look like this from the front…
1. Measure the top and fold over 4 inches…
2. NOW Open at you IRONED CREASE…and along that crease, pin each tab, equal distance apart (I pinned mine 5 inches apart).

3. Along the TOP of each Tab, with your fabric opened and laying flat, right side up, stitch along the top of each tab…
4. Then KEEPING the fabric flat down, stitch along the BOTTOMS of each tab. ONCE all the tabs are securely in place. You can flip your fabric over and do ONE nice line to attach that folded part down. 
THE sides and hem are DONE with the SW so guess what…
YOU ARE DONE!!!
SPOONFLOWER FABRIC…DESIGNED USING ONE OF MY PAINTINGS!