
I LOVE YOU FOR LIKE EVER!
The running joke around here is that
“Mom is the only NON Italian in the family”
Ha, Ha, LOL, very funny.
My husbands’ family is 100% Italian,
my children are 50% Italian
and me…
well my maiden name was
“SMITH”…
so, lets just say…
“I’m British”!
So in honor of Thanksgiving and my heritage
I thought I would finally tackle a project
I have been contemplating for a while.
The UNION JACK DRESSER MAKEOVER!
I can’t remember where I first saw it….
One article said that
“Union Jack is the New Black!”
or how I got the idea…
maybe Design Sponge?
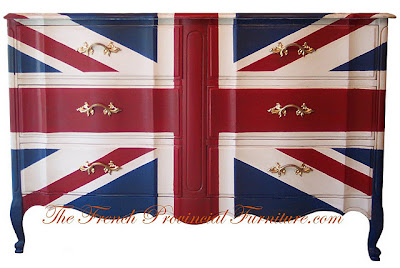
These photos below were from
but I think they originated someplace else…
didn’t we all!
 |
| PURE HOME …wait I found it!…the dresser specifically is by the fantastic interior designer Betsy Burnham and is from her teenage daughter’s room …which not to stray too far from the topic at hand…. is to die for… and Betsy’s entire site and aesthetic is hands down one of my favorites out there. lets look at the dresser close up. 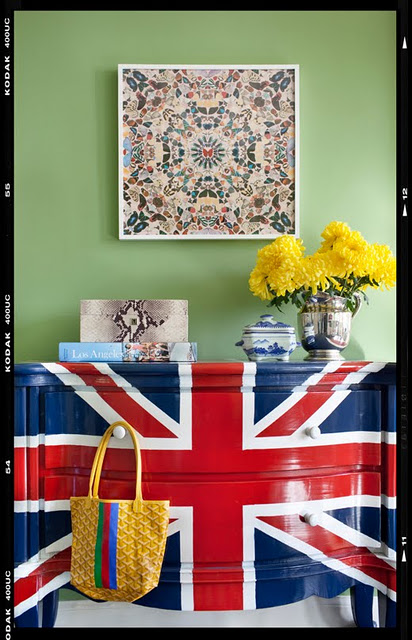 so perfectly perfect and shiny! random fact… (it is actually signed by the actress amanda bynes)! |
…and then… of course…I saw this one on
Miss Mustard Seed
Miss Mustard Seed
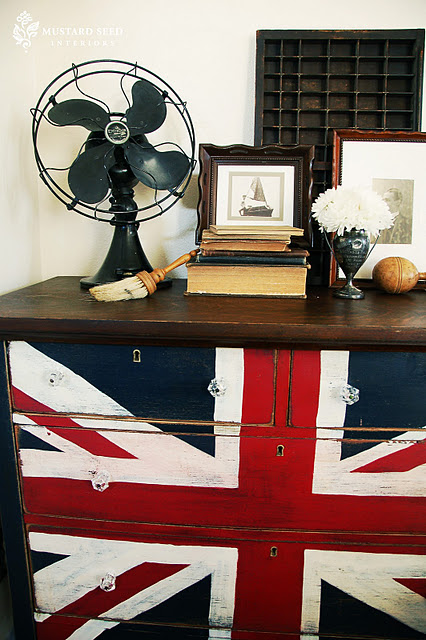 |
| MIss Mustard Seed distressed to perfection! love the glass knobs! and the styling. |
THE MAKEOVER
So time to talk about my own makeover and
Union jack Dresser Transformation.
It was an easy makeover, as far as makeovers go…
but it was time consuming,
but it was time consuming,
….lots of taping and
fixing little bleed throughs,
and RE-taping…etc., etc., etc..
and RE-taping…etc., etc., etc..
…but OH SO worth the time!!!
TOOLs and supplies :
1. Painters tape – in 3 widths – 1″, 2″ AND 2.5″
3. Ruler and Measuring Tape for curved places
4. Scissors and razor cutter for trimming tape
5. Level to keep it straight
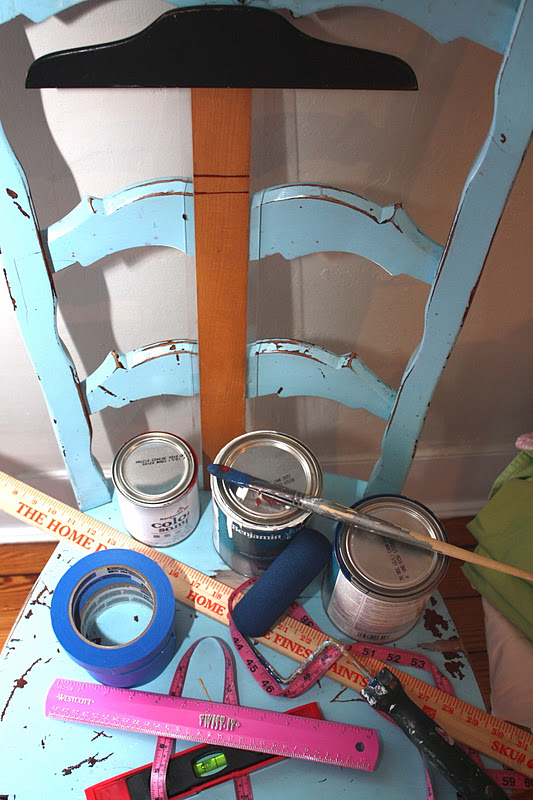
6. A protractor might have been helpful for the angles. Oh well….Live and learn.
then…these were good tutorials on
Design Sponge
Tabletonic
Miss Mustardseed
 |
|
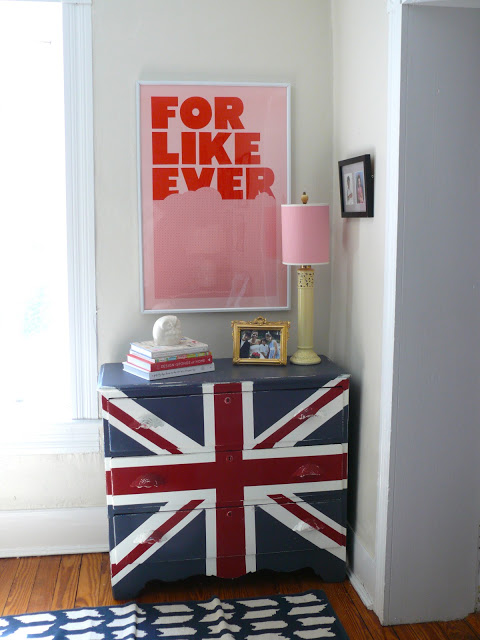
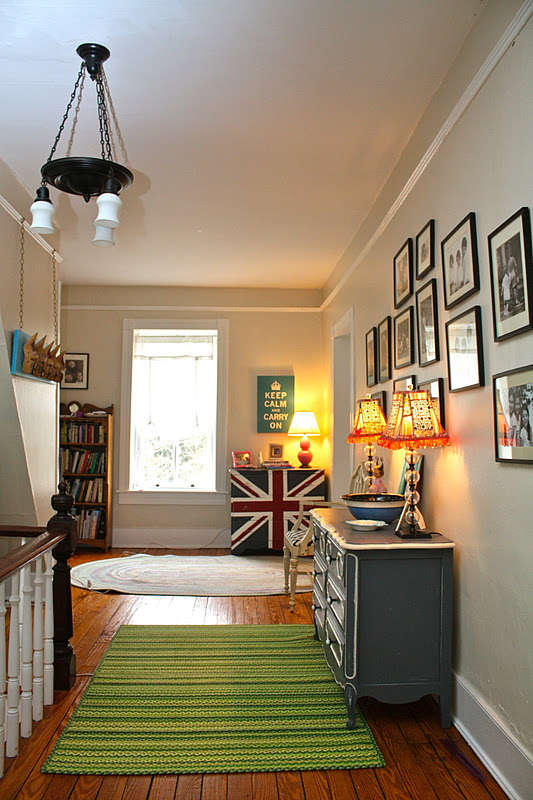
this is the Before view…the dresser
(the gray one at the end of the hall)
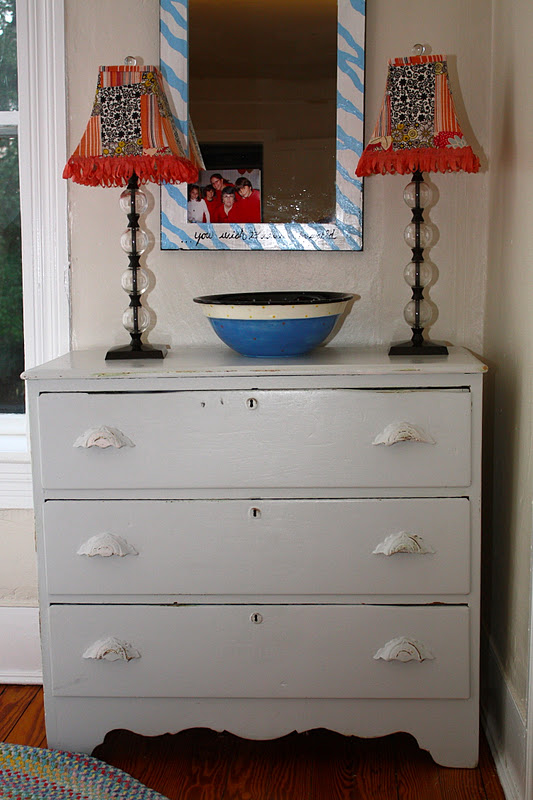 was sweet…but a tad… BLAH
|
Taping
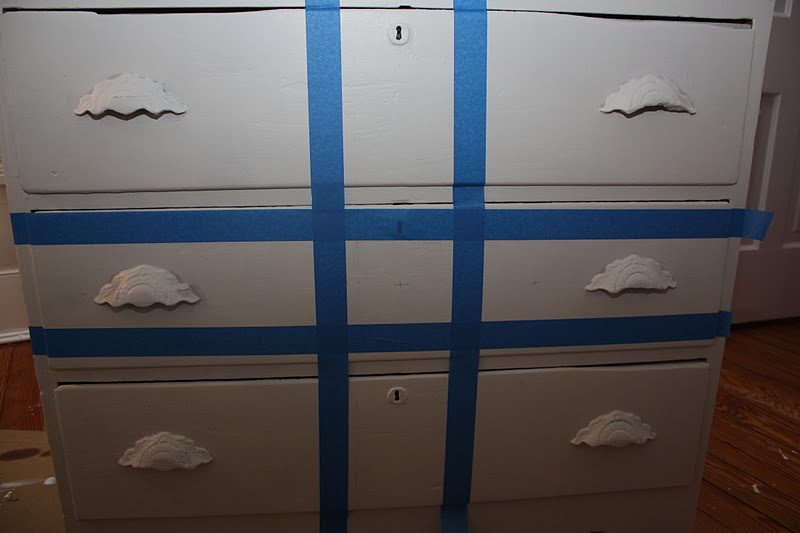
…there are many ways to go about this,
depending upon which color you want to paint the entire dresser
or at least the front first.
depending upon which color you want to paint the entire dresser
or at least the front first.
I went with Cloud Nine white first and began my taping.
I had to start and re-start 3 times as I had the proportions all wrong…
and then I found this link which was sooooo helpful!

turns out this dresser is kind of a square!
all good…
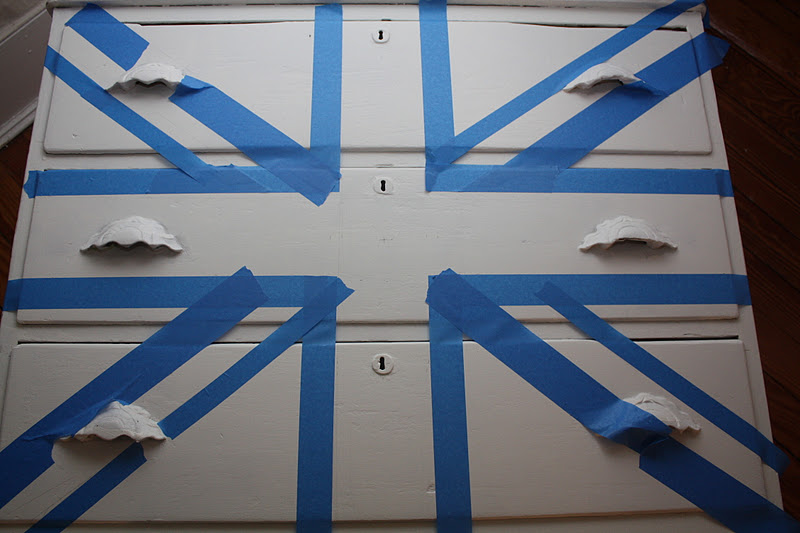
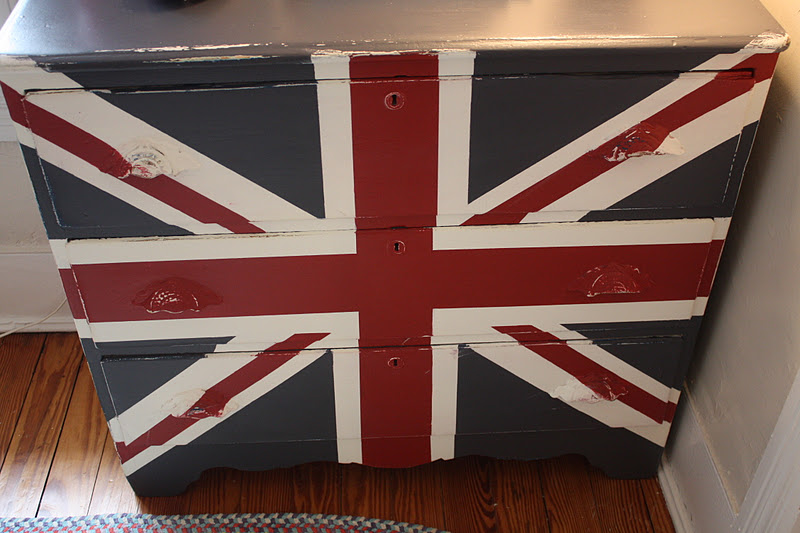
I then painted inside the boxes, Caliente Red or Mysterious Navy
as it called for…
and then took off the tape.
I had to touch up little areas where bleeds came through.
but finally, FINALLY I finished!!!!
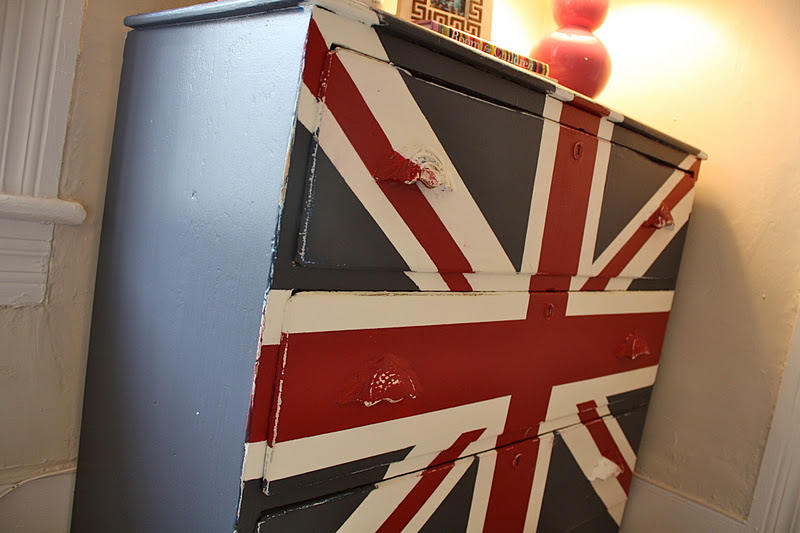
I love the bright shiny look of the dressers above
but this dresser is already pretty
aged and distressed
so
I followed it’s lead and further distressed it.
I then put a coat of clear wax on it,
polished it up and here she goes!
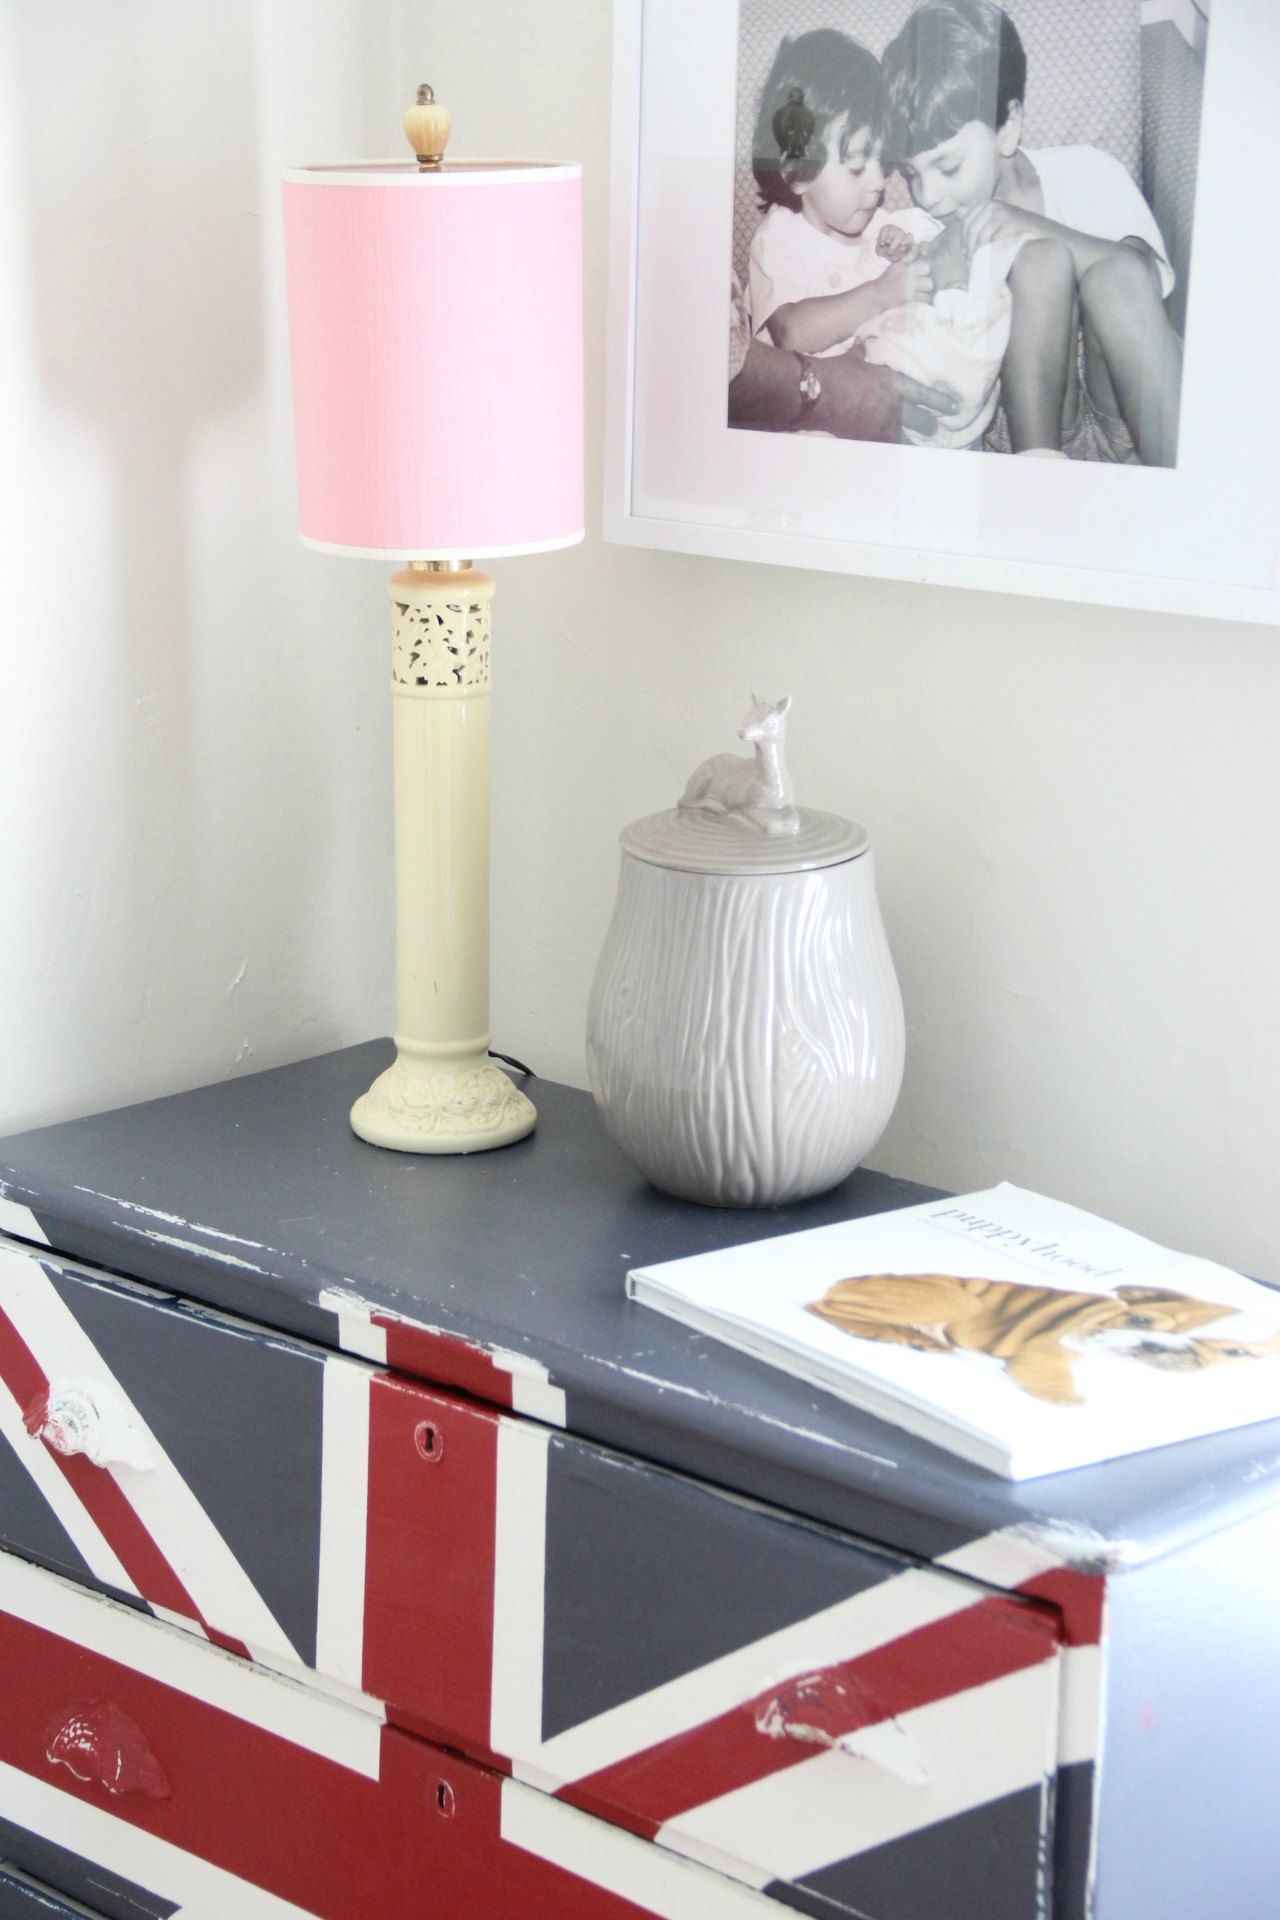
THE REVEAL
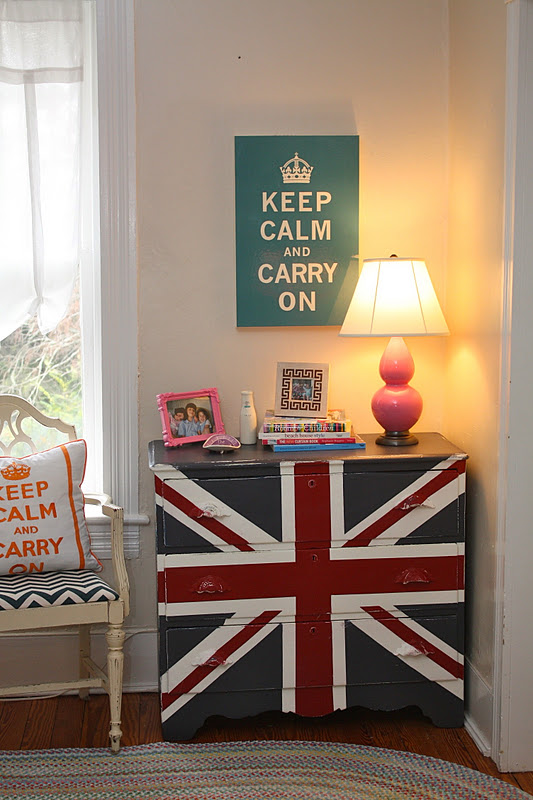 |
| I get these “Keep Calm and Carry” items as gifts, you think people are trying to tell me something? |

Now the view down to the end of the hall is
anything BUT Blah!
…so there you have it!
was it worth the wait???
and another version…..
……and finally….
SO, Now I Eat, Drink and be Merry!
HAPPY THANKSGIVING TO EVERYONE!!