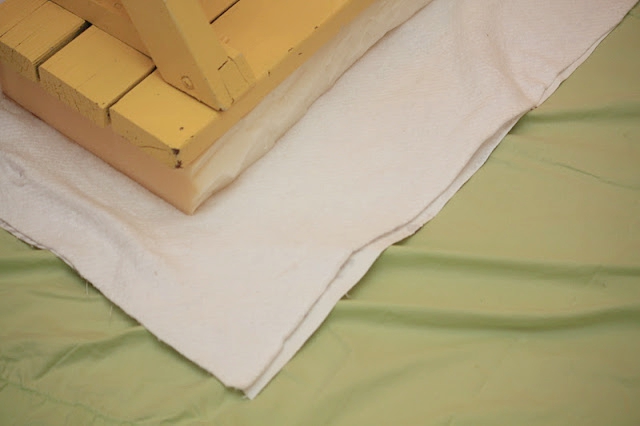
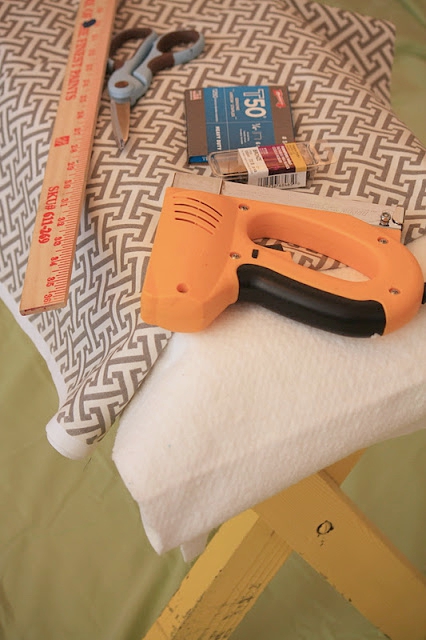
Gather all of your supplies:

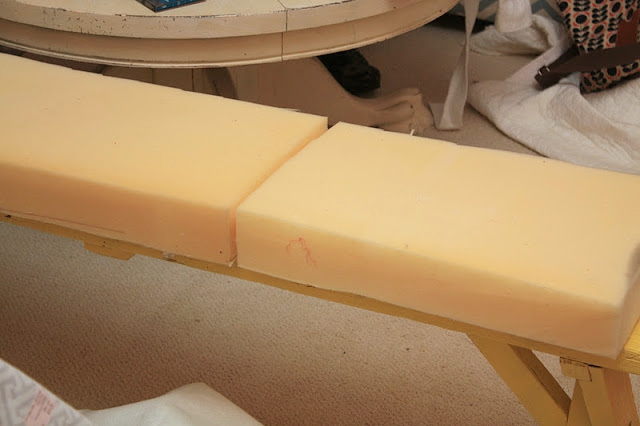
I cut and pieced it together. Reduce – Reuse- recycle!!!


2. batting next and then lay the
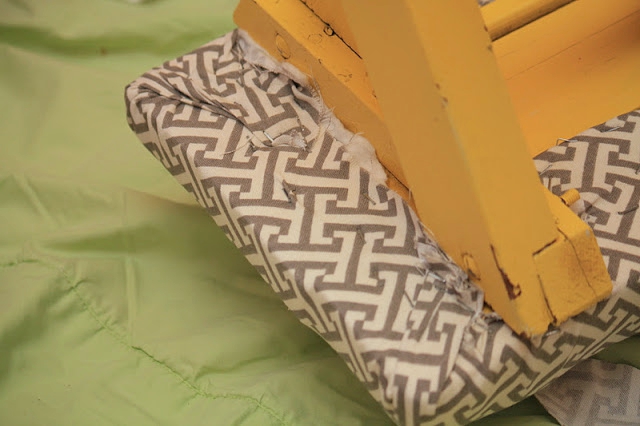
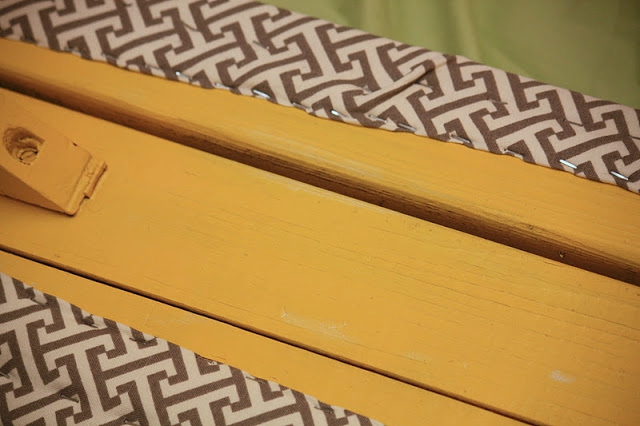
when I got to the end, I wanted to cover up the area where I had lots of stapling…I took a piece of the batting and glued it on top.
|
|
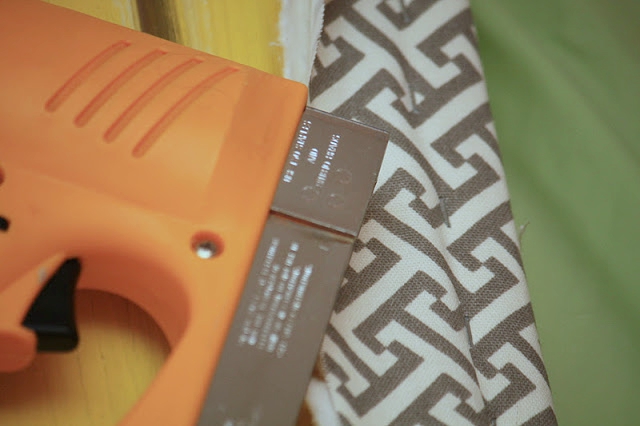
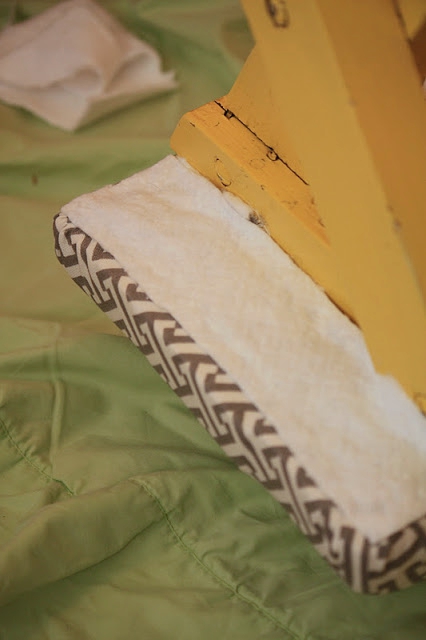
| I took the fabric and folded it over and stapled it down underneath. |
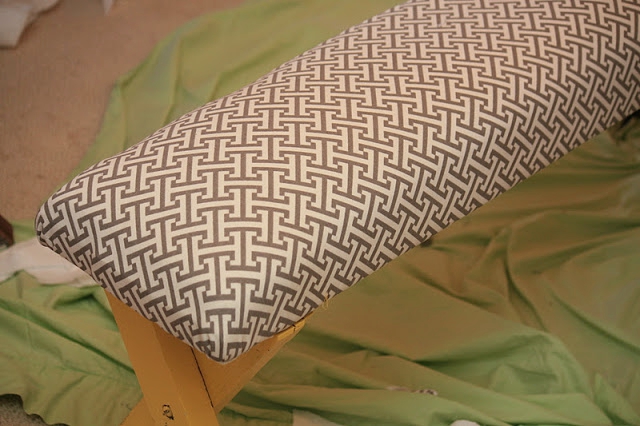
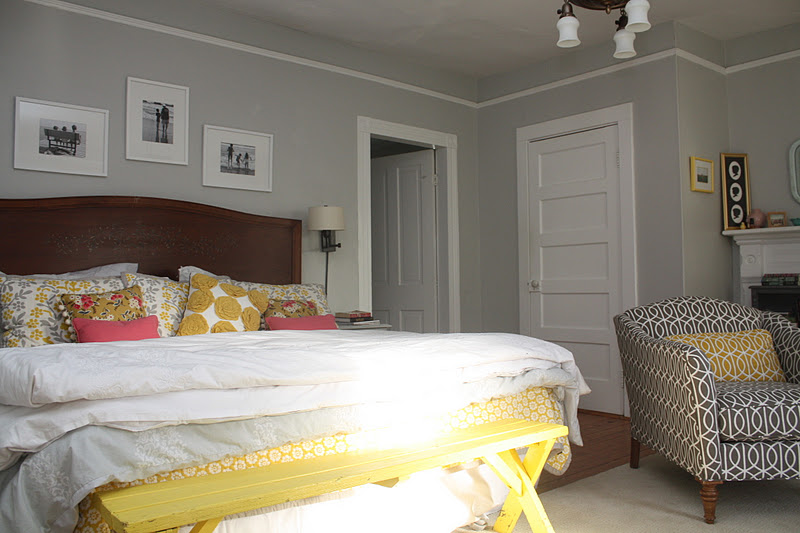
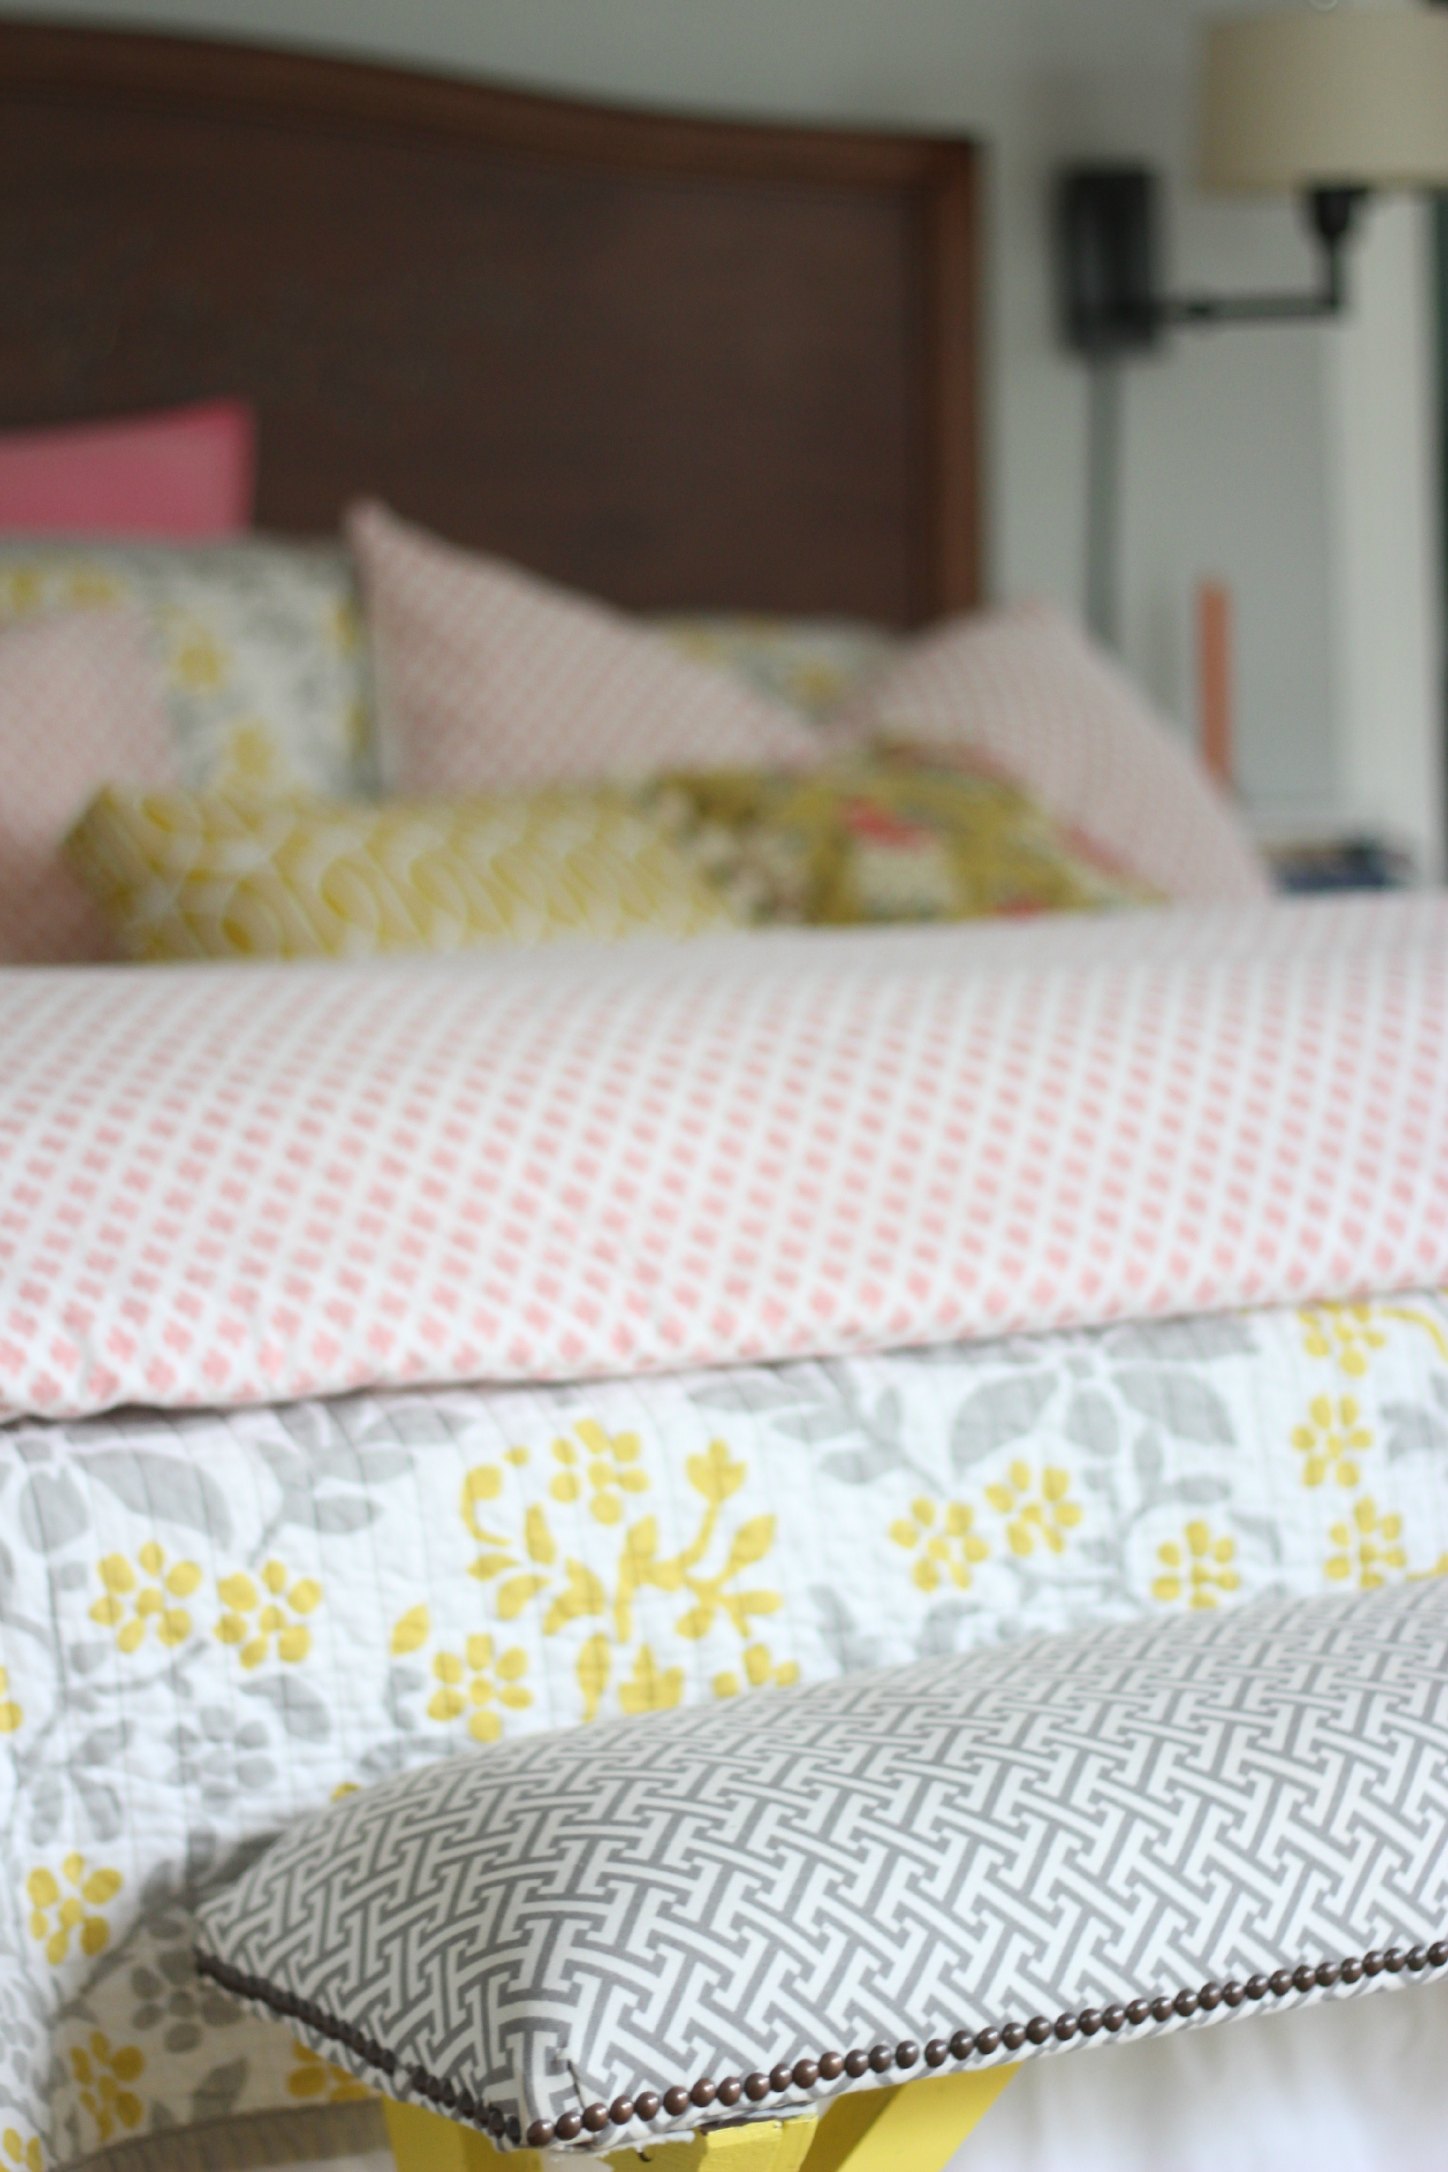
View of the bench, PRE NAILHEAD TRIM…I love the gray and yellow!!!!
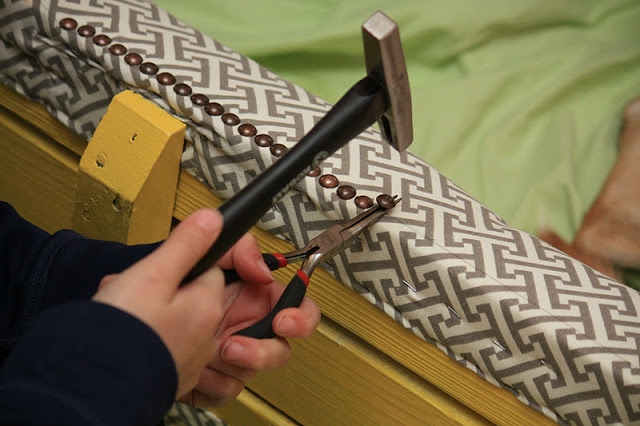
hitting my fingers with the hammer. (OF COURSE SHORTLY AFTER COMPLETING THIS MAKEOVER I FOUND OUT THAT THEY SELL NAILHEAD IN A LONG STRIP….OH WELL)
TOOL TIP!!!
I purchased a magnetized tack hammer for this project
($6.50@ Lowes ) and I am IN LOVE with the difference it makes!
Because I pieced together two pieces of foam, I ended up with a teeny lump, but hey, this is going in MY bedroom, and NO ONE will notice it…In fact…my husband may not even notice that I upholstered it to begin with!!!!
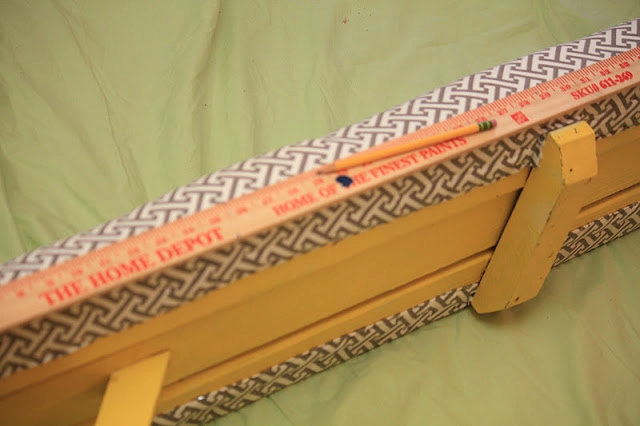
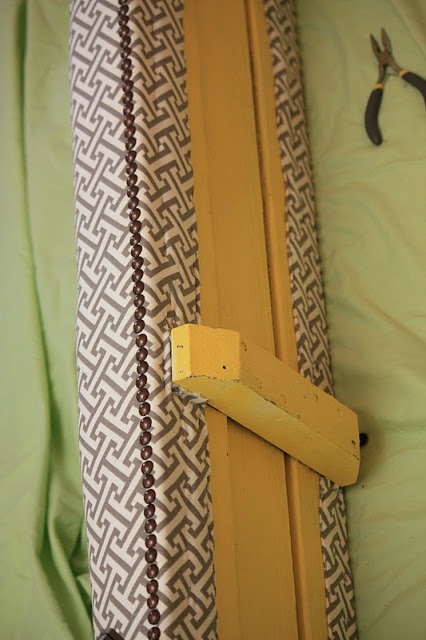
It made a difference following the pencil line, I have done it without…
and I would not recommend it.
 I love how it looks, especially, when placed at the foot of my/our bed!!! I am so excited about how great it all looks together.
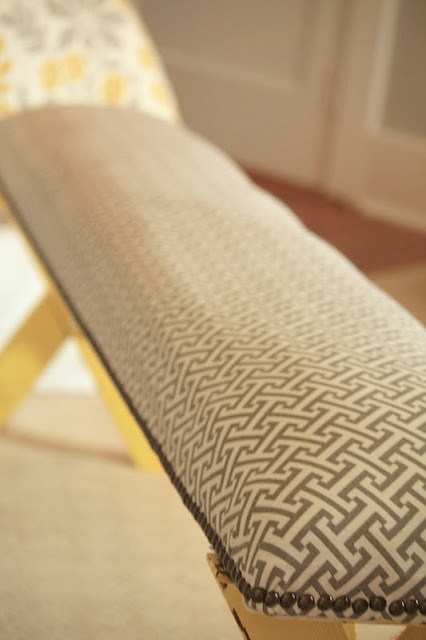


AND EVEN LATER…NEW LAMPS FOR NEW BED AND BENCH!

that never materialized (HAH…no pun intended!!!).
Total time2 hours, and it probably could have taken less time… had I not had to take breaks to pick up kids from school, teach a drama class, drive to my daughter’s Track Practice, take my son to a hair cut appointment, make dinner (okay… so I ordered pizza!!!)…but I did get it all done in one day!
It is most assuredly a great weekend project!
Take a look around… do you have any benches that might be improved with upholstery?
I am already looking for my next project.
AS I PONDER THIS PROJECT…
…..it strikes me as a funny thing…I used to do projects like these all the time…often to save money and create something I needed…for less..and often just because I needed to be creative…..and I wonder if since I am painting so much now that the creative NEED is being satisfied…and HEAVEN KNOWS I don’t NEED anything else in this house…if anything I want to have LESS…I already am mentally distributing things amongst the kids in their apartments one day….I yearn to simplify…But I also do not want to rush time…IN TIME – IN TIME…there is a TIME and a season for everything…am I right? ….maybe my season of little projects is behind me…I say that ….but who knows what COOPER”S BEDROOM MAKEOVER holds in store!
I start his room next Monday…Just in time for his 15th birthday on the 11th!!!! HOLY MOLY!!!