
(original AIR date – November 2013)
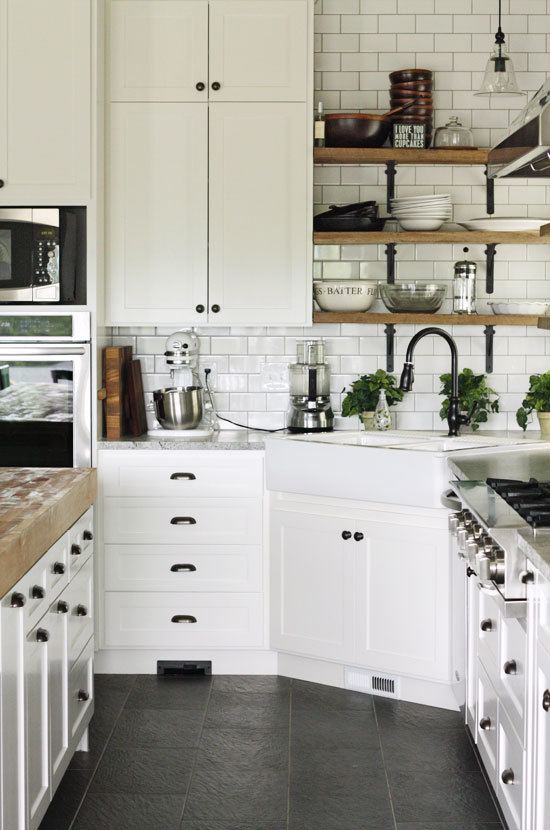
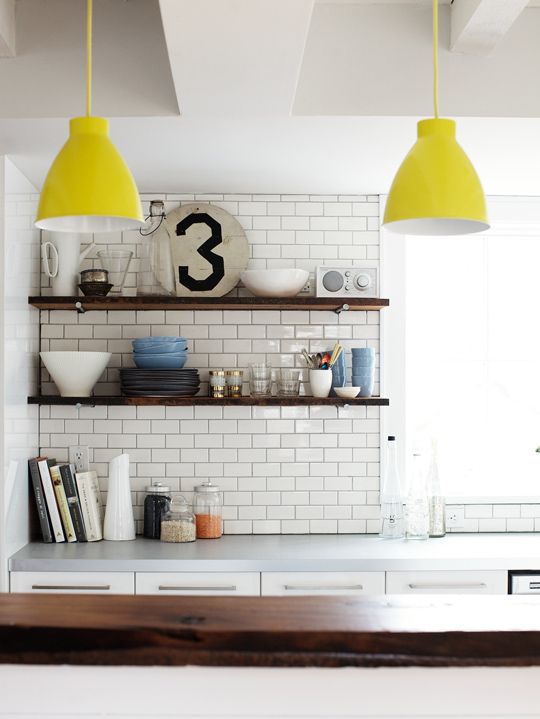
I LOVE SUBWAY TILE….
I have Loved it for years..
….ever since my New York City Subway days…
….ever since my New York City Subway days…
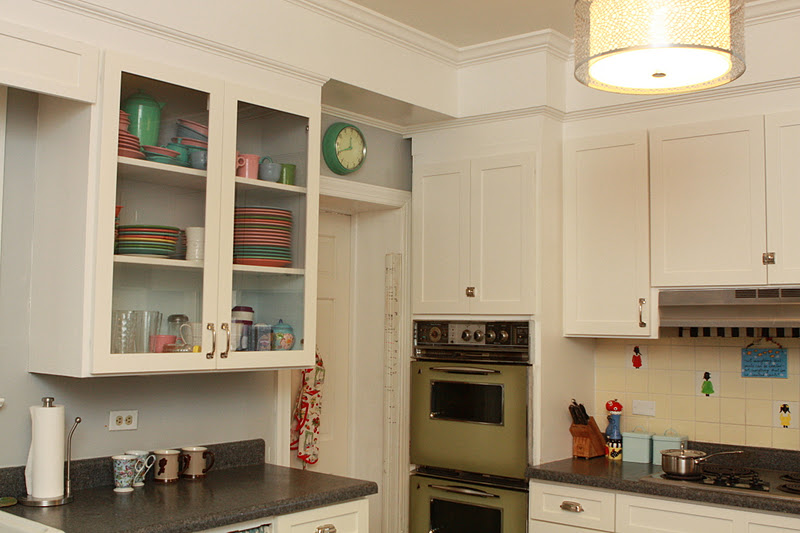
In 2012 – I was “HOUSE CRASHED”

In preparation for the photo shoot…I was like my own little “While You Were Out” extreme makeover show…literally running from room to room, making curtains…touching up paint…cleaning like nobody’s business.
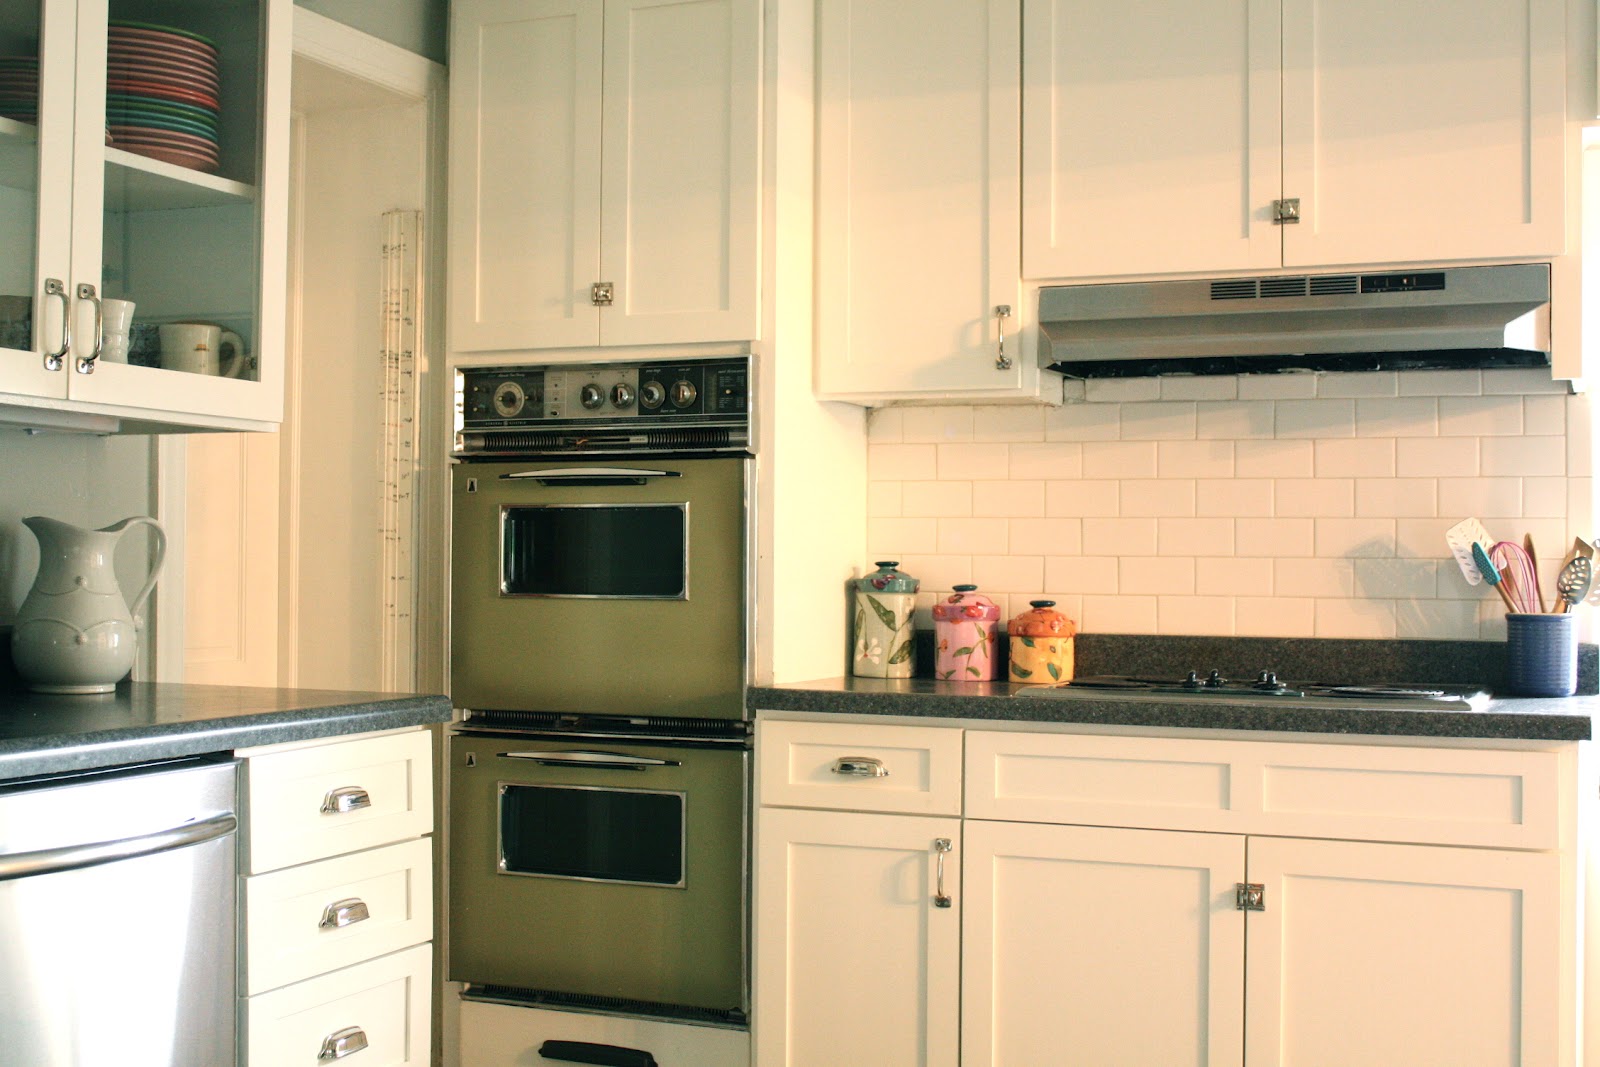
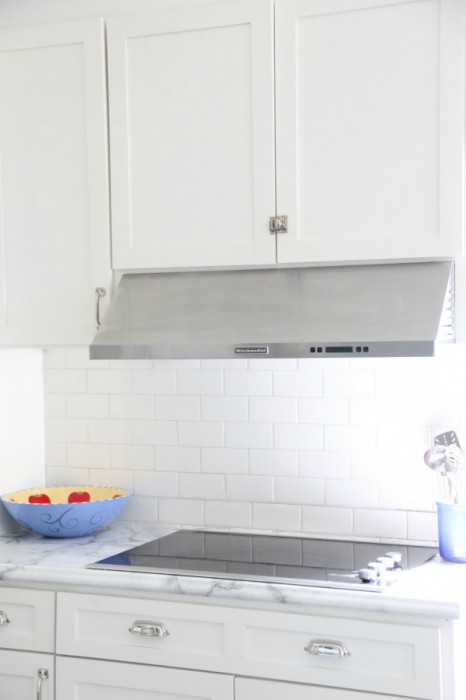
The kitchen was still awaiting new countertops and appliances…it was what it was…and I planned to do subway tile backsplash when I got the new countertops…
but the area behind the stove needed something for the photo shoot…anything!
I decided to do a quick and easy
SUBWAY TILE BACKSPLASH
behind the stove..:
DILEMMA– I knew that if I ripped the old tile out…I risked creating a MUCH bigger job than I had time to tackle…
so I did some sleuthing and found out that YES, YES, if the proper steps were taken…I could put the NEW tile, over the OLD!!!
to freshen the look… and to HIDE the
current 40 year old tile…OLD TILE
and
NEW TILE
WHAT A TRANSFORMATION!!!
..after trying white grout (too WHITE) and then dark gray (too DARK)
I settled on a pale tan grout.
TUTORIAL
I consulted this site for reference
and I did it myself!
SUPPLIES: I just bought a
TUB at Home Depot with all my supplies in it, and then added a tile sander (looks like a big nail file)
Here are my VERY BASIC Instructions:
1.Prep area by washing surface, cleaning thoroughly (use a strong DE GREASING SOAP) and then sanding lightly (steel wool is easiest to work with)
to make the surface less slippery.
2. Begin your pattern from one corner, (I did not use spacers) working across, checking with your level.
3.Apply the adhesive to the wall with the trowel..making little grooves, so it can dry.
4. I did not have an electric tile cutter (which can be rented and I HIGHLY recommend if you do a big job) BUT only had to cut 3 tiles – in half for 6 end pieces. I scored them with a mat knife, then used the
nipper, and then used the sander with the tile in water, to smooth the edges.
5. I let the tile set for about 8 hours, then I applied the grout. I got a tad excited and I used a tan colored sanded one, by mistake but I actually like the look. Apparently the rule is – thin space between tiles – no sand and floor or deep groove – SANDed because the sand prevents the grout from sinking down. makes sense.
I did this whole thing in ONE HOUR!
…have you ever put tile over tile?
XO
Addendum…
VOILA!!!
The kitchen is finished! see the completed Renovation HERE!!!
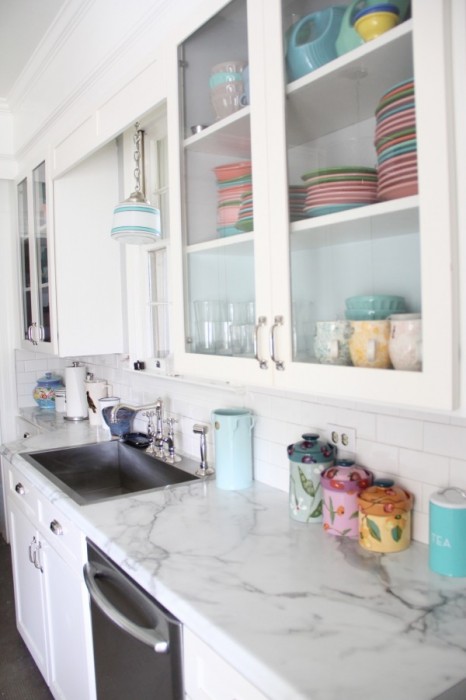
so don’t wait…go find some ugly tile and TILE OVER IT!!!
HAVE YOU EVER PUT TILE OVER TILE?