
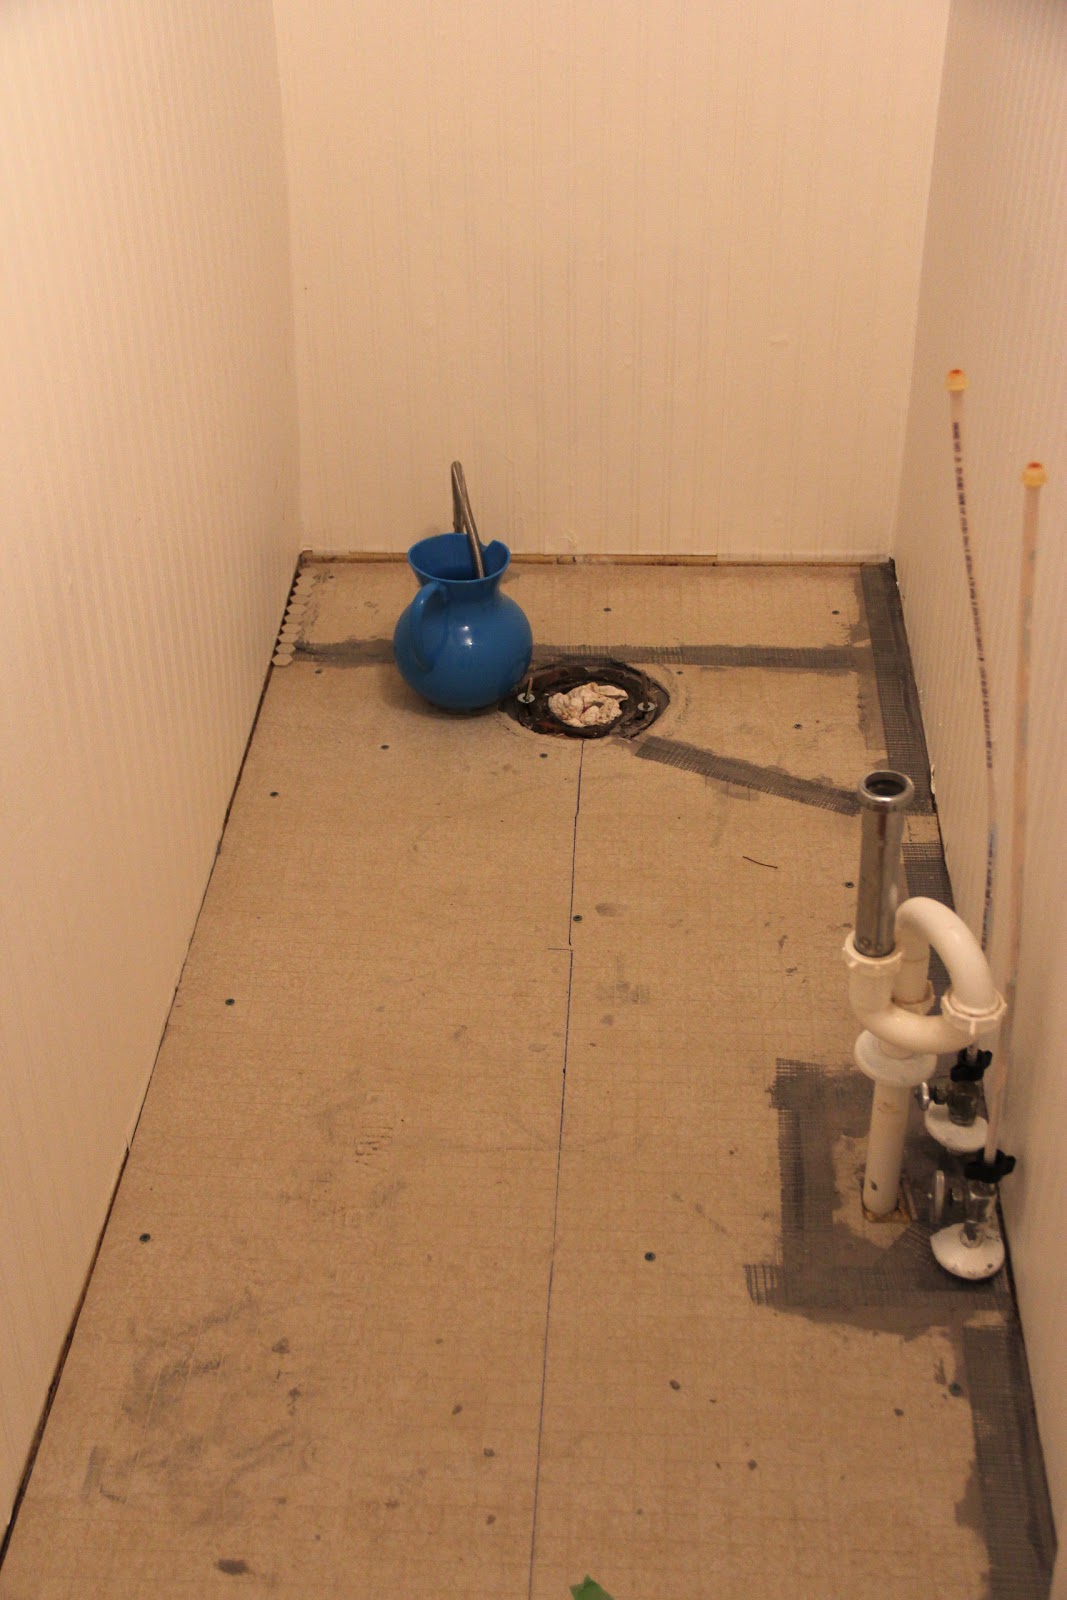
The SUB FLOOR is DOWN
Now What?
1. CLEAN YOUR SUB FLOOR
START in a place in the room which is the least visible
| TOOLS these are MY TILE tools….  Clockwise from the bottom – Floor and Wall adhesive, nippers, tile saw, tile brush, 2″ putty knife, notched trowel and 4″ putty knife…. |
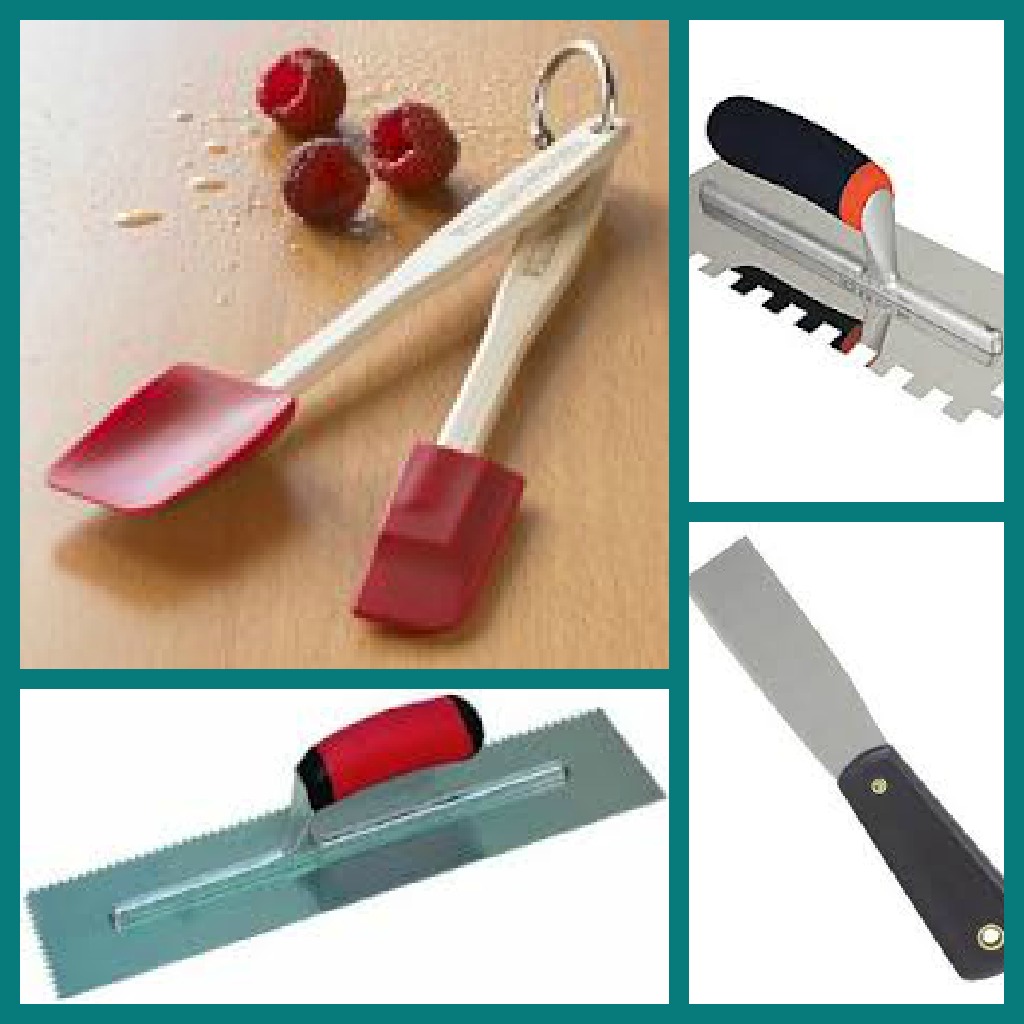 These are the tools I DID use!!! |
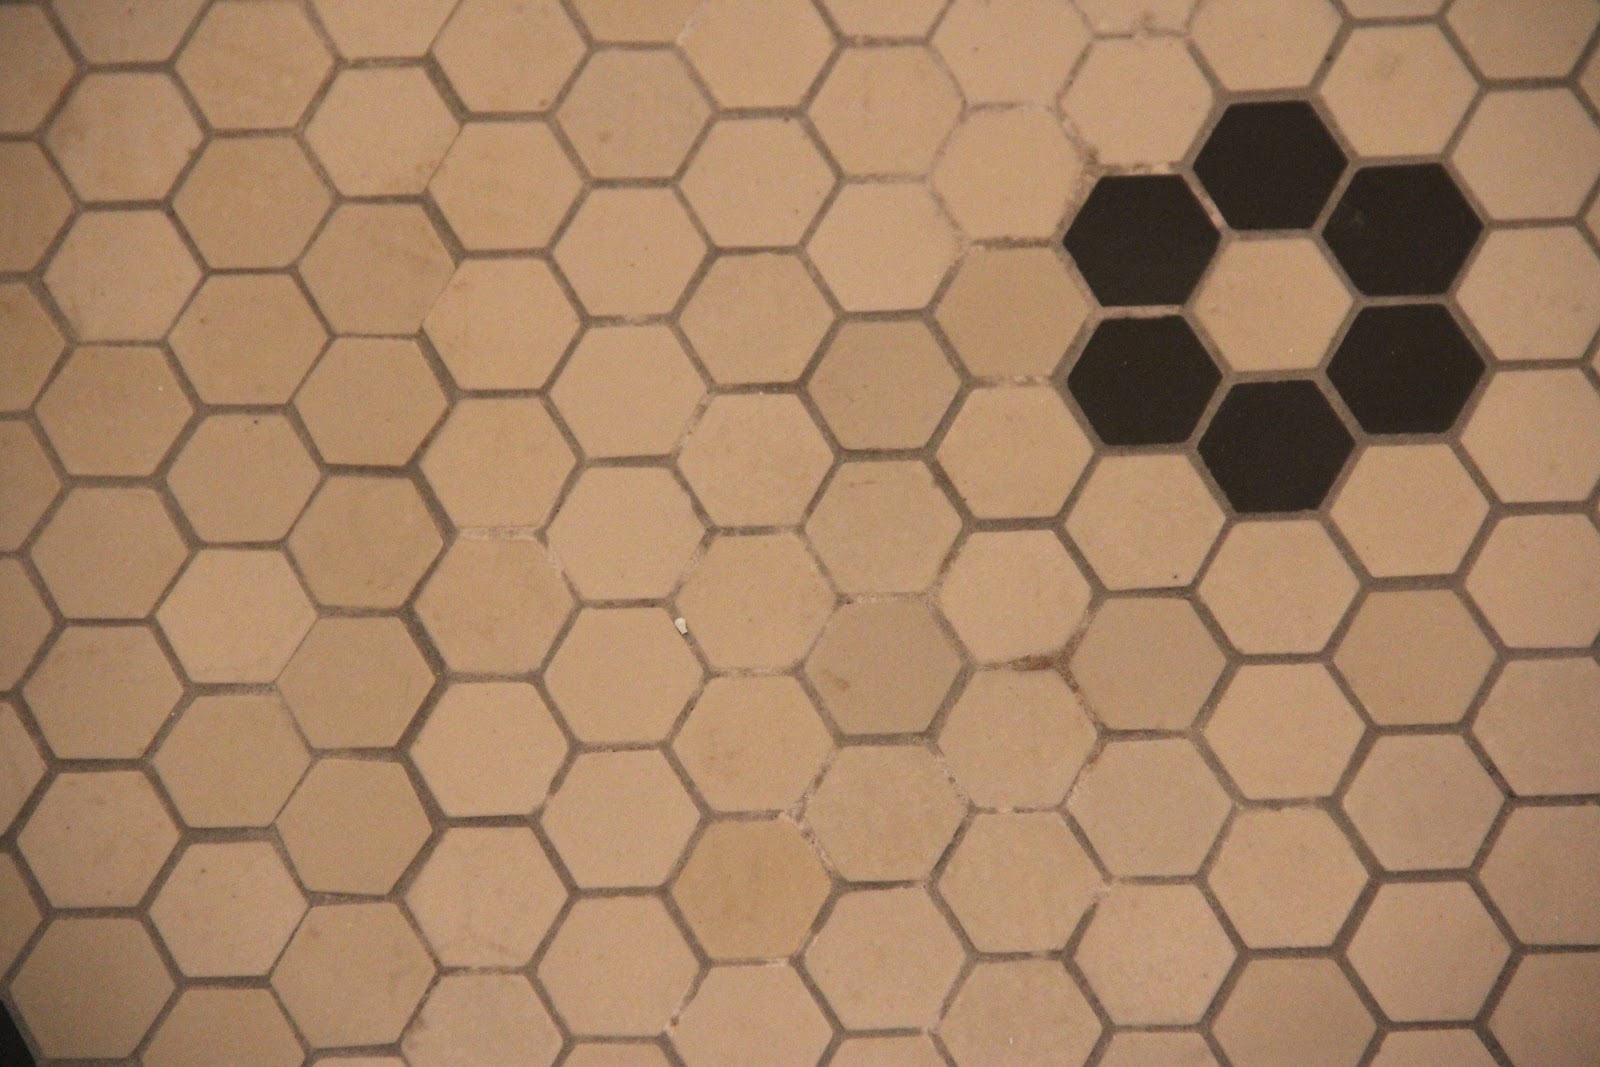
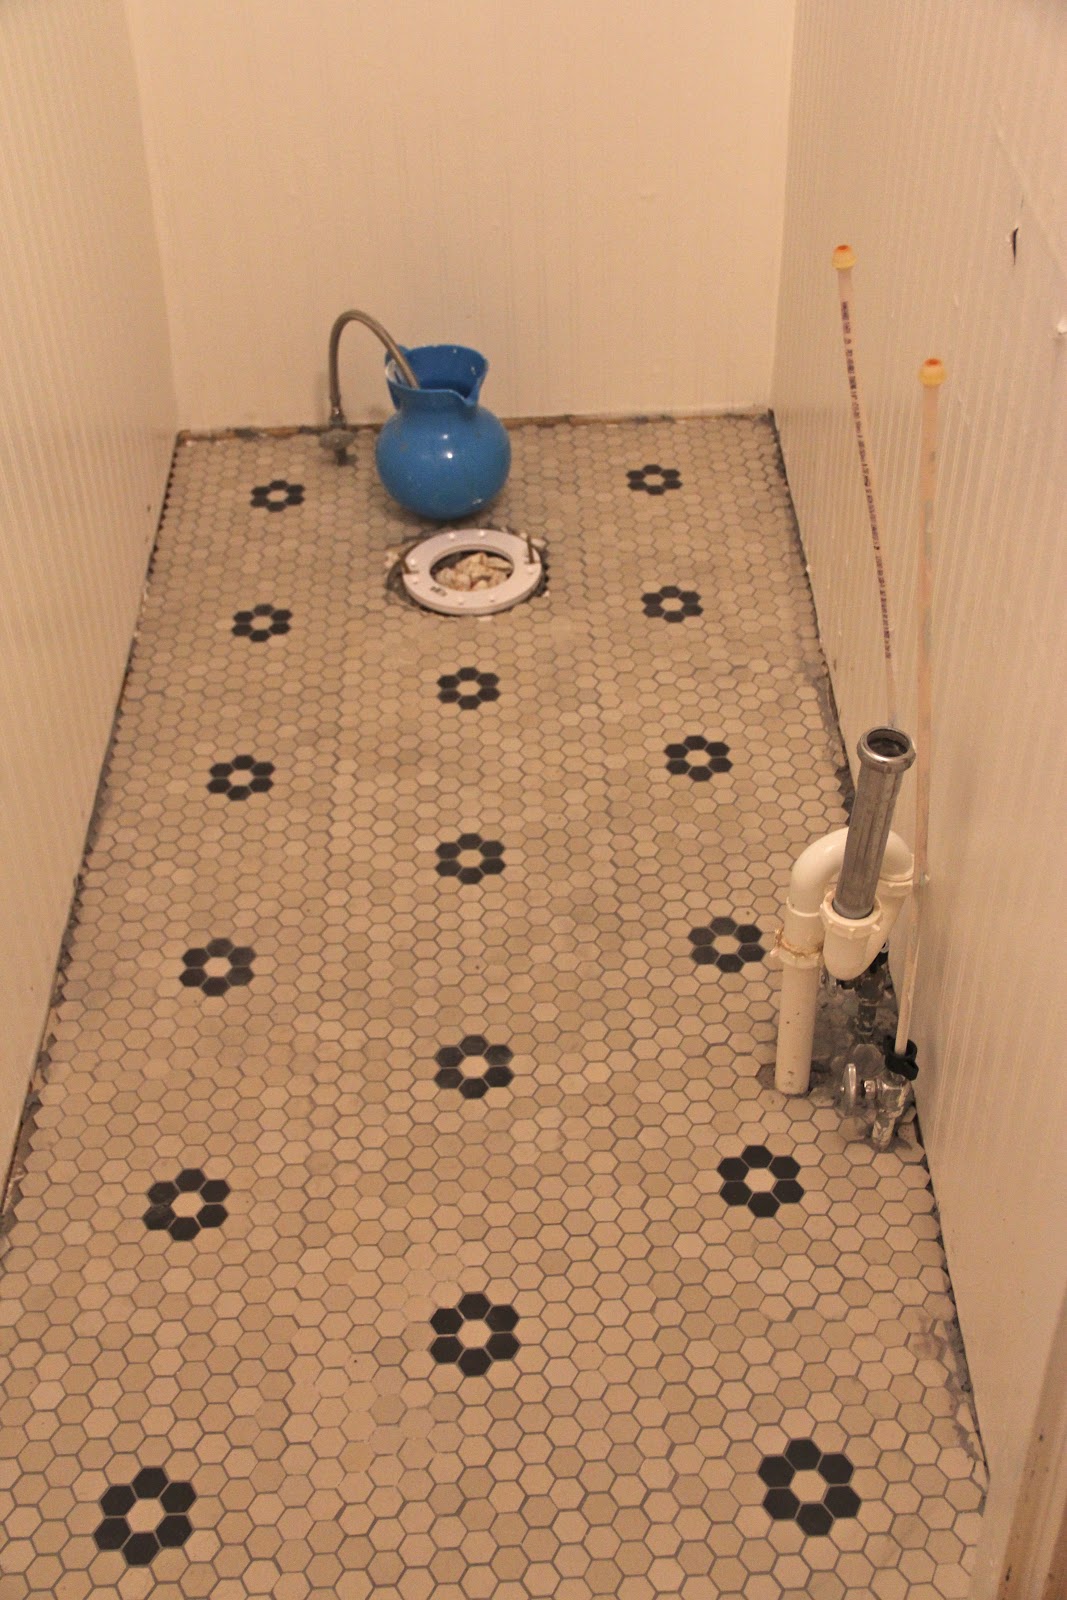
 THIS HEXAGON TILE
 that I got from HomeDepot.com…
is more “Antique” looking
than the photo (right) led me to believe,
but no matter, I actually think it works perfectly in my OLD OLD house…in fact, my friend Jess thought it had been here all along!
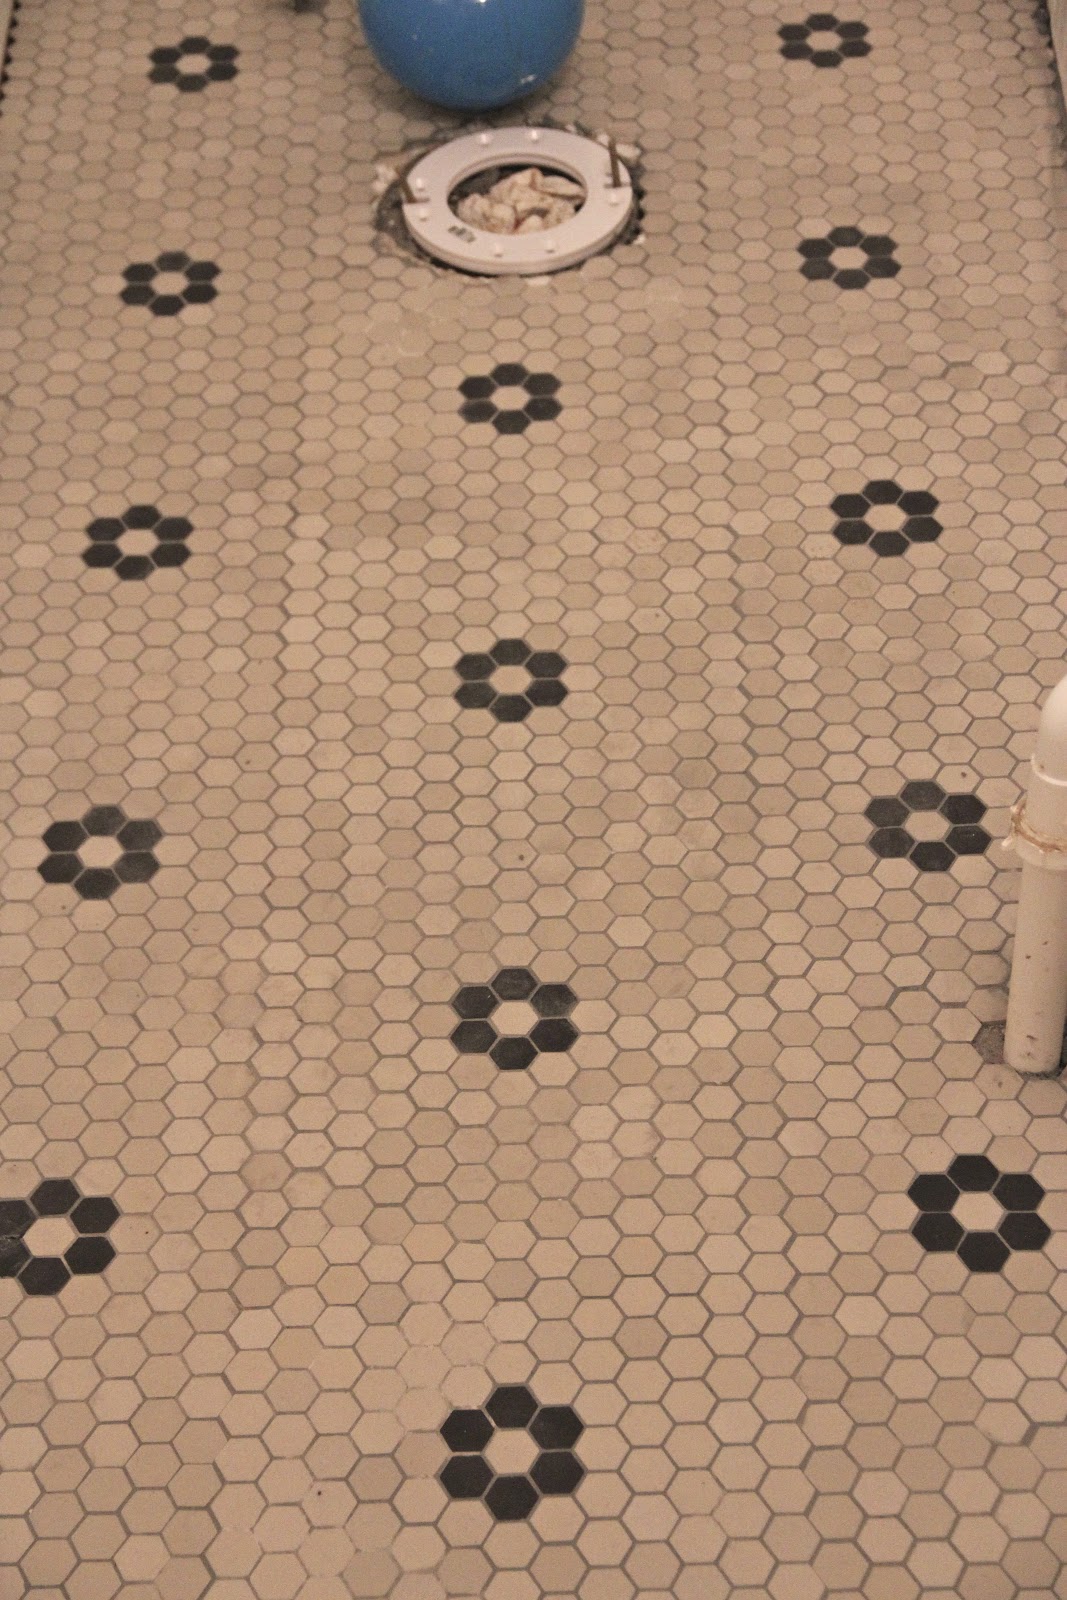
I n my prep I also trimmed 2 complete rows of tiles from the inside row of each exterior tile. Make sense?
So basically there are three rows of tile sheets across-
and the first and the last row had the right and the left side trimmed respectively to fit and keep a pattern…
do you get out your adhesive.
 |
| Make sure your floors are LEVEL! Lay a flat piece of ply wood down to level the surface. |
It was 8pm, I had 3 square sheets left…
I found this tip out on another blog.
Great tip, with Hexagon tile…there is minimal tile cutting usually unless you have a straight edge like a tub or a wall where the tile will show.
one last tip. Before you leave your tile to dry, make usre there are no BLOBS of thin set in nooks and crannys, this stuff is basically cement and when it dries, it will be VERY difficult to remove…
and will potentially interfere with putting in other things…like base board and utilities…
SEALING THE TILE
After the Thinset was allowed to dry for 6 hours I sealed the tile, by soaking it with this:
 |
| home depot |
and then again when it was all sunk in…until no more seemed to seep in. This keeps the tile from staining with the grout. I really did not believe this one, but then there was an area that did stain where I did not soak it as much…lesson learned…hard way.
GROUTING THE TILE
There is one downside to Hex tile I found out when grout which I might as well tell you now. The grout cannot help but cover the tile, the cracks are so small, and so you have to wipe down ALL the tile, over and over so it wont stain the tile,
(GO GET YOUR SPATULA NOW)
BUT not too much or you wipe the durn grout right out too! It is a delicate operation.
With SMALL Scale tile make sure the adhesive and the Grout are the same color!
Some of the white adhesive seeped though and I had to wait for it to dry,
and cut it out with my matt knife and then re-grout with the “Smoke Gray” Grout from Lowes.


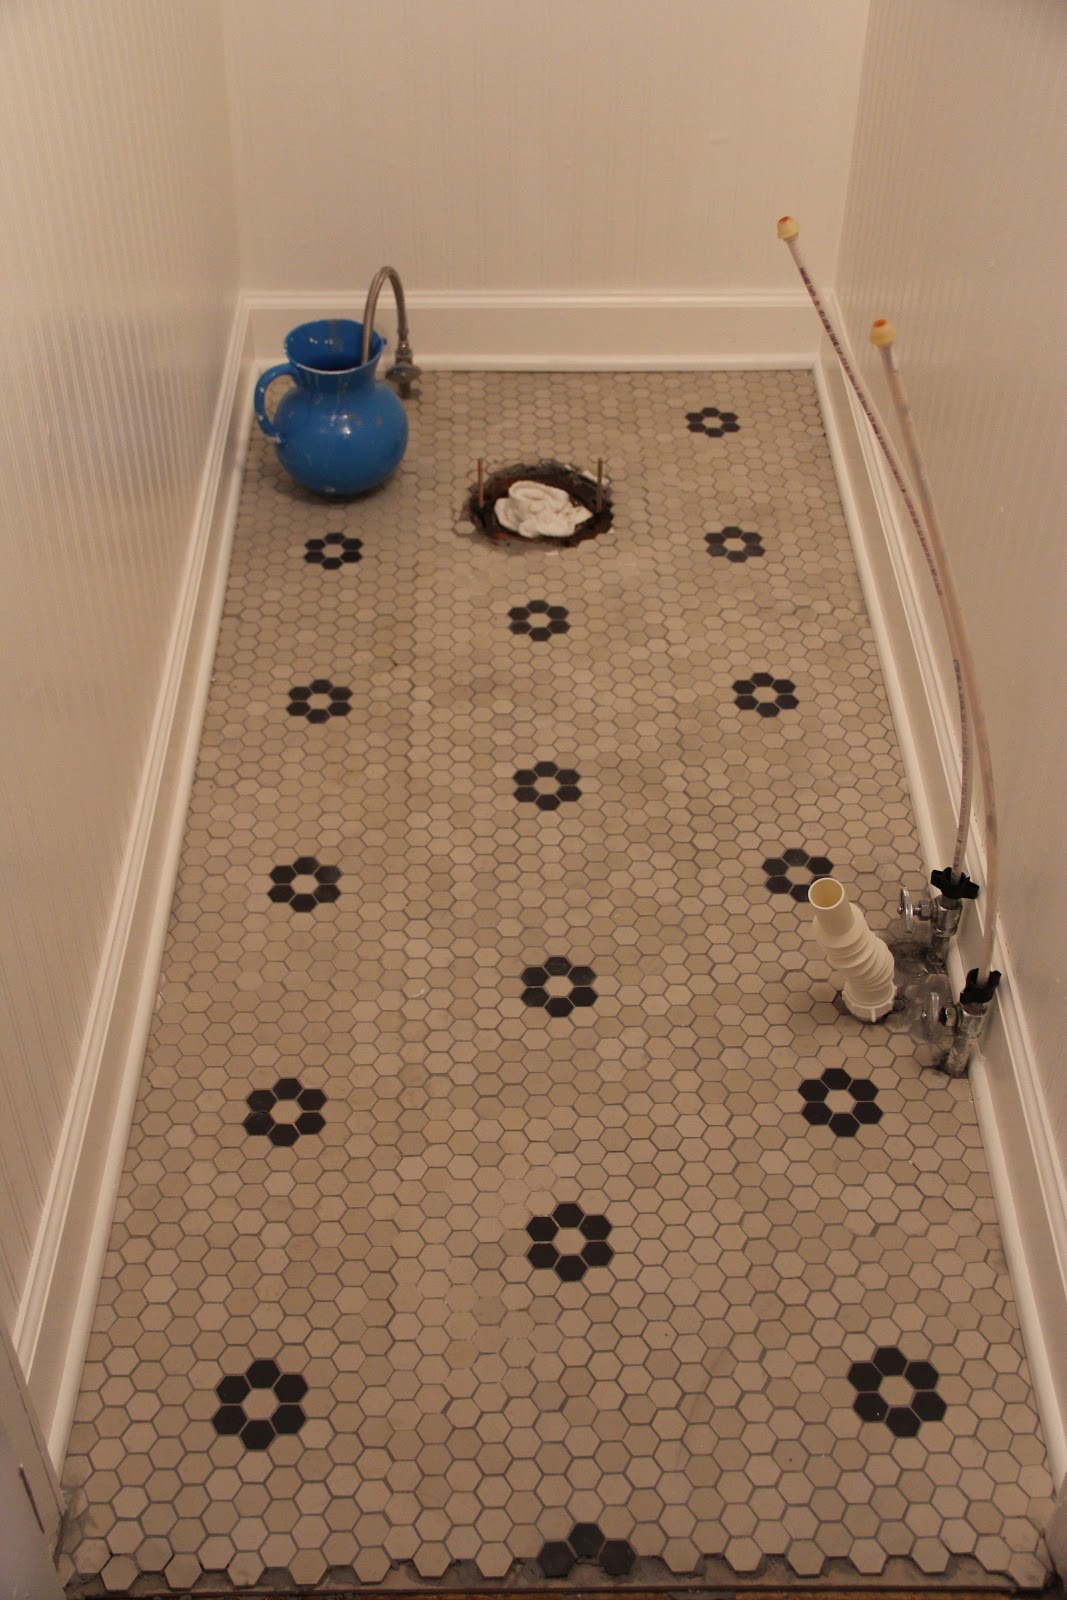
I chose Benajmin Moore
Mountain Peak White for the Trim and the Bead Board…
this is the same color as my Kitchen. This color works beautifully with the white of sinks and subway tile…
I know when I am in over my head, and so I called my friend Jess
to come over and help me cut and install the baseboard and shoe mold.
I got the 4″ baseboard and the normal shoe mold.
The base boards thoughout the house are 8″, but that seemed like to much
for a room of this diminutive size…
Le Petit Toilet
Wow! What a difference maker!
Ready for a sneak peek???

Thats all for now…
MONDAY…God Willing there will be
a COMPLETE REVEAL!!!, provided we can get the plumbing
done… I have a call into the plumber to help me…I want things to run smoothly!!!
no pun intended…

I am almost finished and
I am still the HOME PAGE of Housebeautiful.com/!!!
[…] MAY REMEMBER…I did the Powder Room Tile in early February …That room at 32″ x 60″ was a great first attempt into […]
[…] SEE it…can;t you JUST see it. I had done the research and I had practiced by doing both the Powder Room and our Master Bathroom. I can think of no better flooring for my kitchen in THIS house. But I […]
The first time that I saw your plan for the tiles, the first thought that came to mind was the amount of grouting you’d have to do afterwards. It’s really a good thing that you sealed the tiles beforehand, or it would’ve ruined some of the tiles, and probably the look that you were going for. That being said, the finished product looks great! I hope that the tiles are still in pretty good condition up to now. Cheers!