
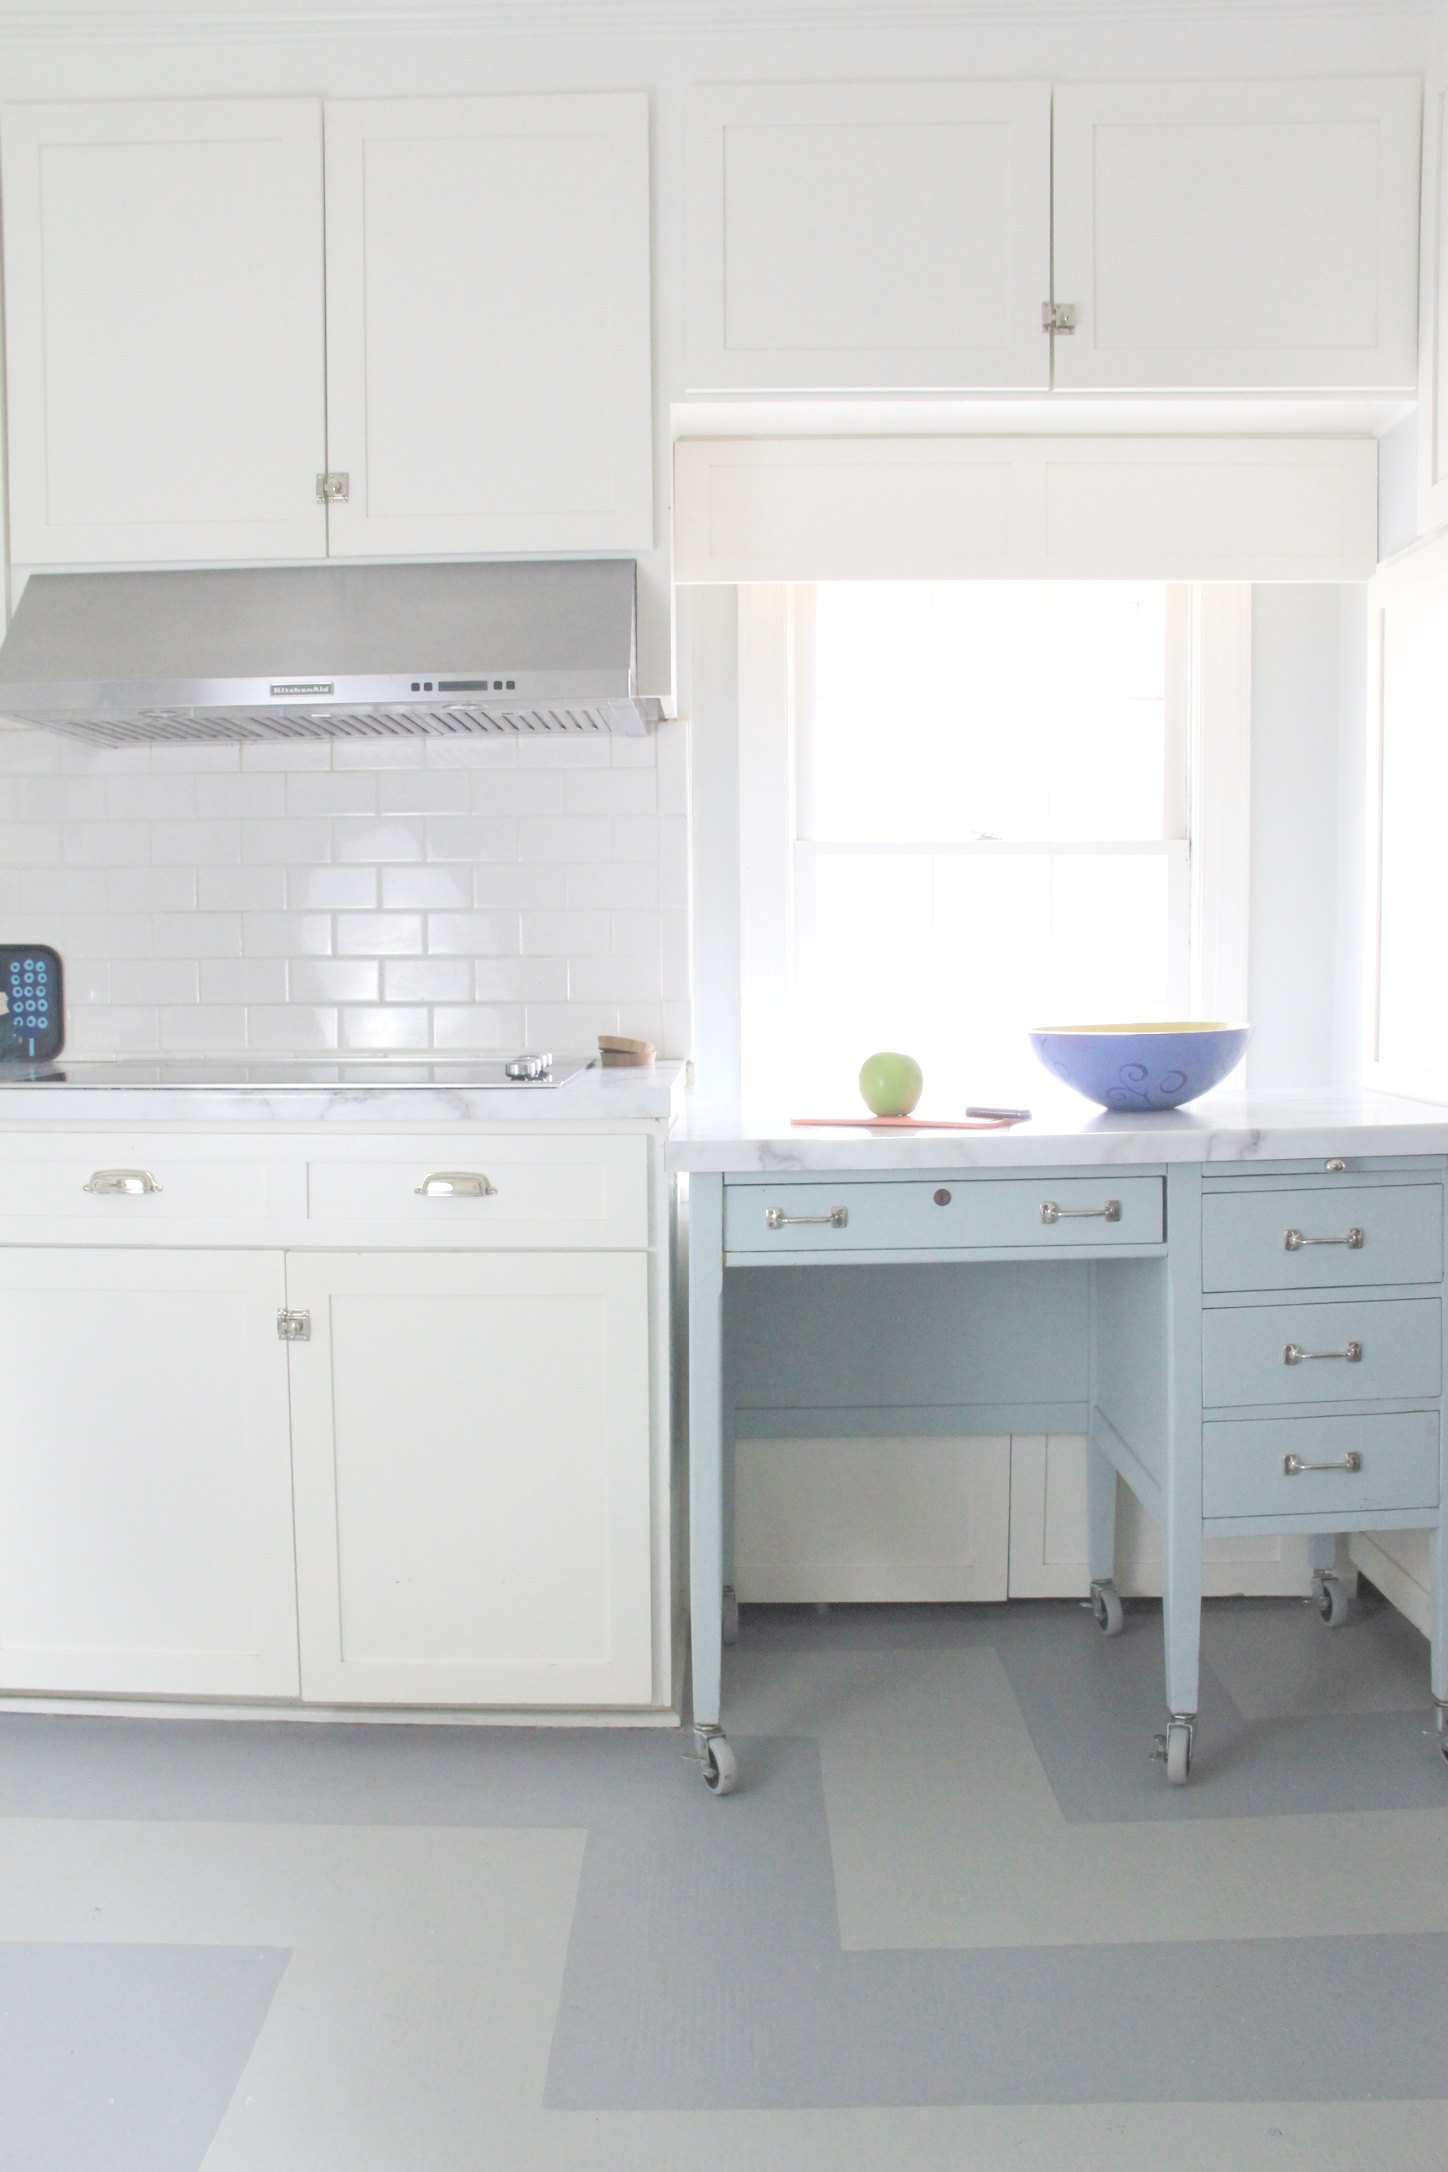
Let me introduce to you…
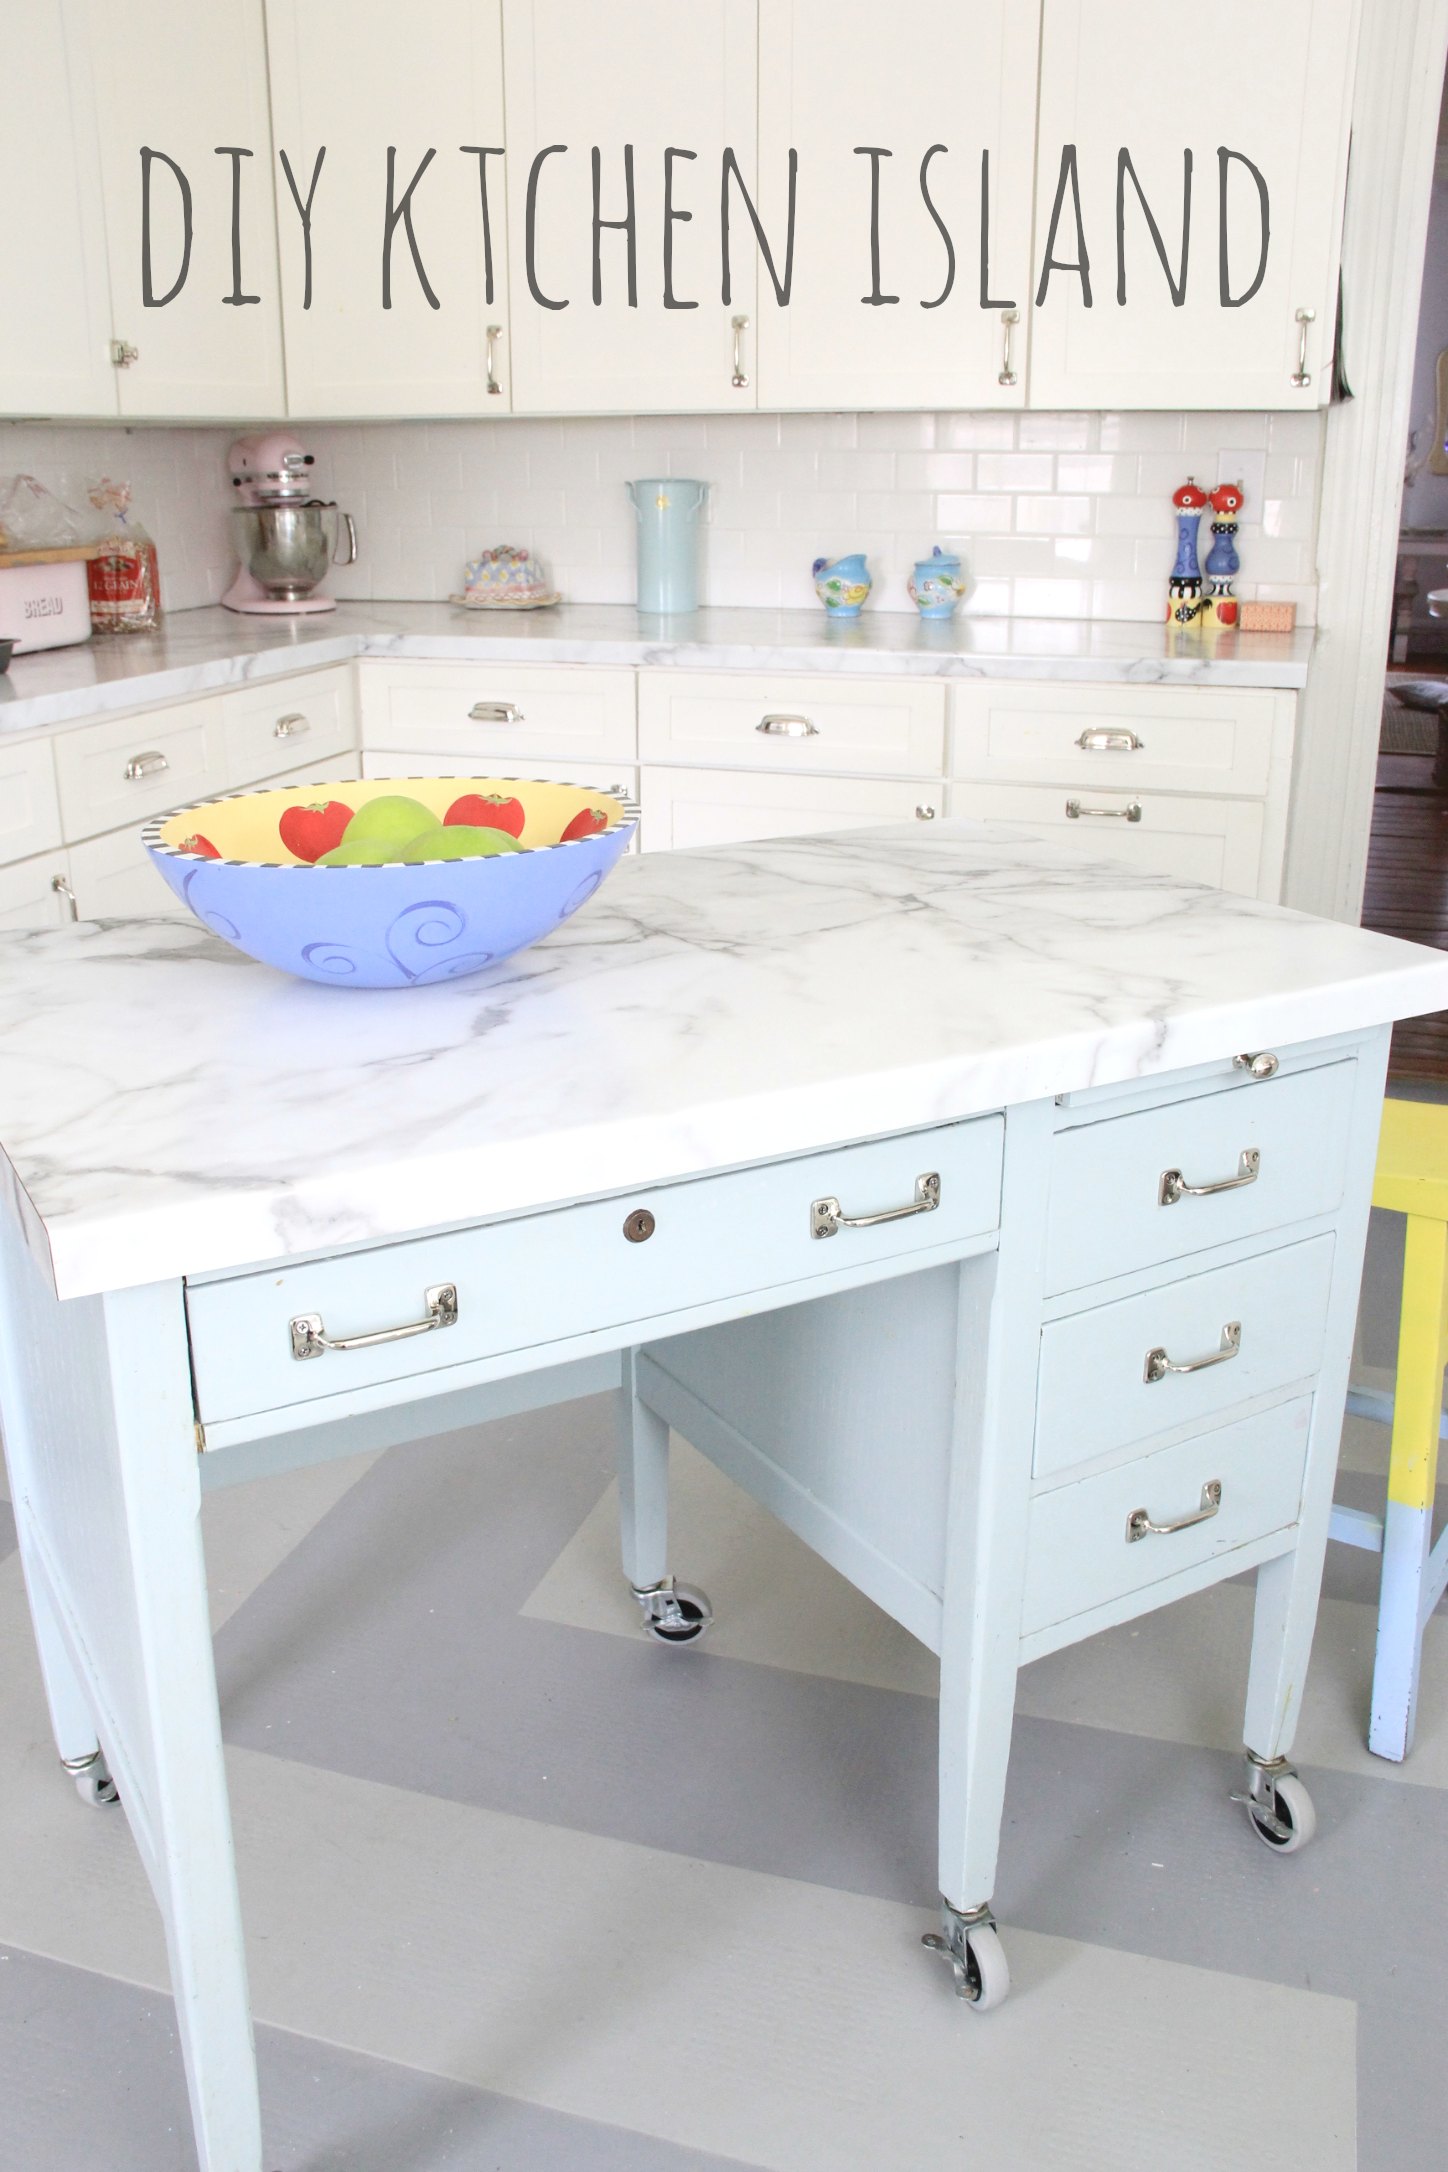
MY NEW KITCHEN ISLAND!!!!
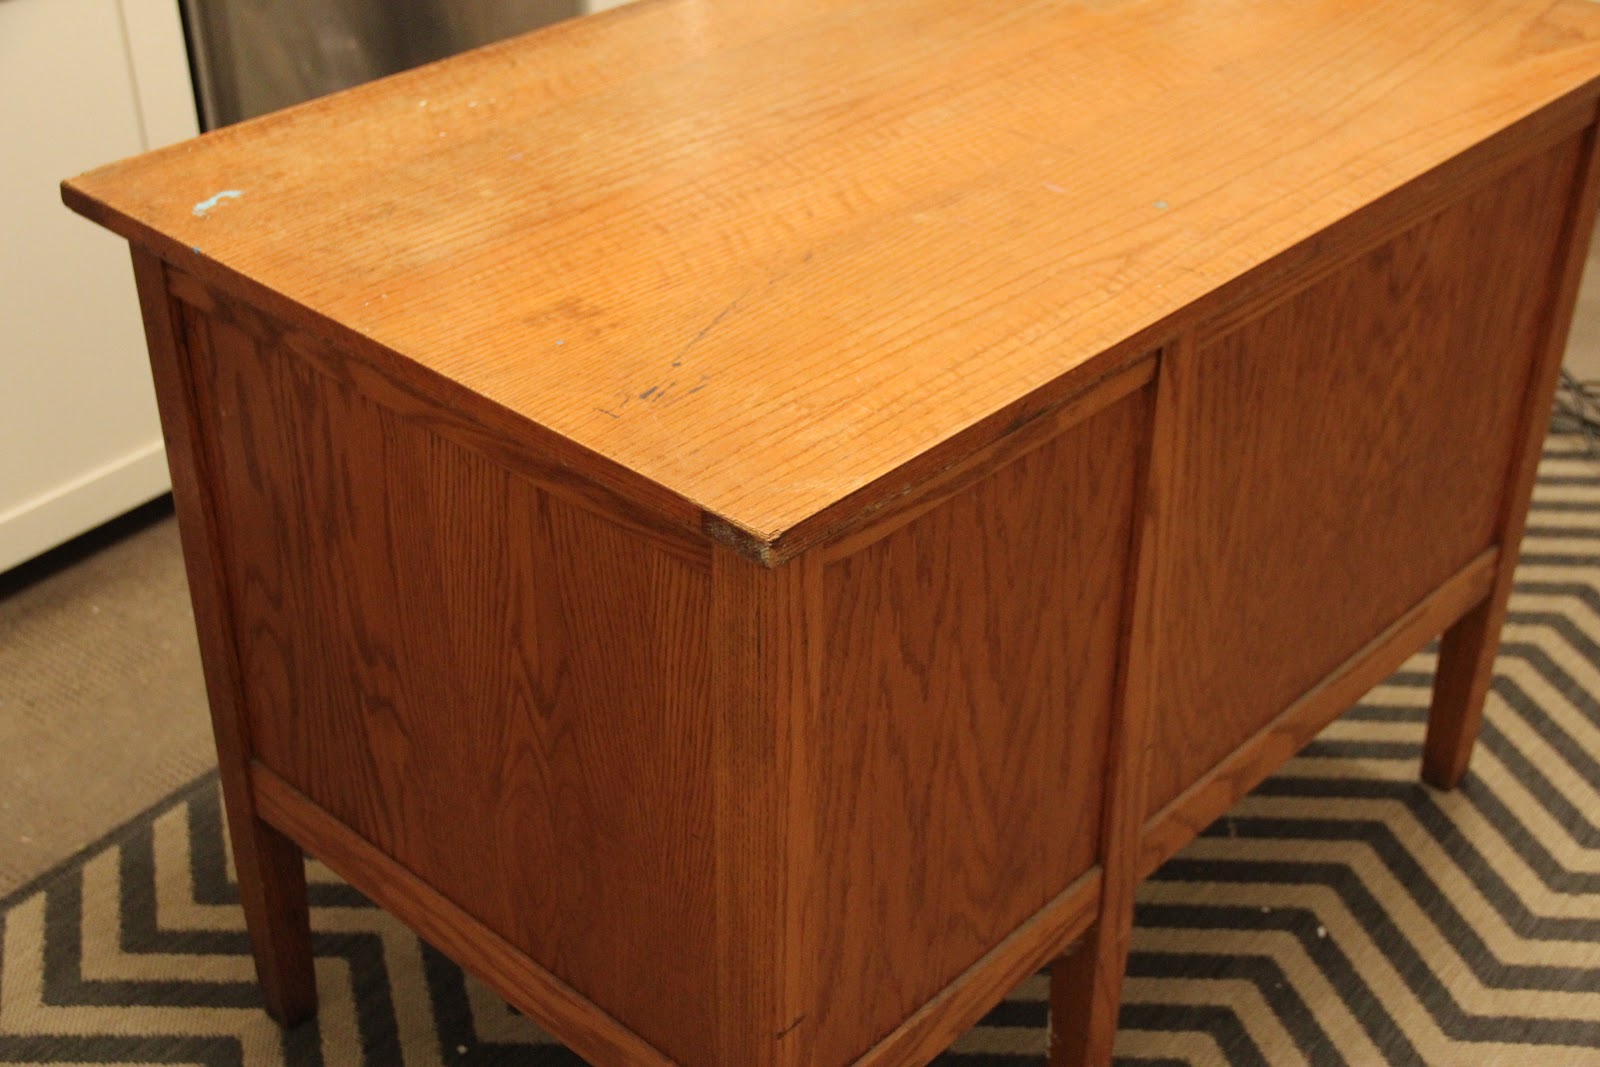
WE Have had this old school desk for 8 years.
I got it for $40 at the Greenwood Country Store and it still has the
metal ID tag on it that said…” UVA – Department of Neurology”
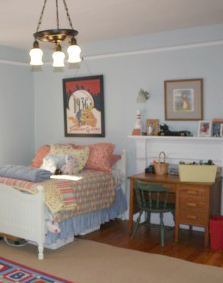
With our oldest, we began a tradition of the kids getting their own desks…when they started second grade. Eventually Tate out grew it, and it was handed down to his younger brother…and then, when the boys became roomates again, they got a larger desk..

So, the Old School Desk was put in our back room…to await it’s fate.
But I always kind of wondered if it might not make a good kitchen island for a few reasons…
1. It is a nice size for our big/small kitchen.
2. It had drawers and nice solid legs where I could add rollers…
3. As it was a school desk…the back was not up against a wall…and it was finished..HUGE BONUS
both front and back…making it perfect for an out in the open piece.
…….and finally..4. I looked and looked at PRE Made Islands and I found nothing
that was as good as what I thought this could be…for us.
I thought long and hard about just leaving the wood, but I did not like it in our kitchen. Too much is old in our house…I need fresh and new, especially in the room that tries to bring me down…daily.
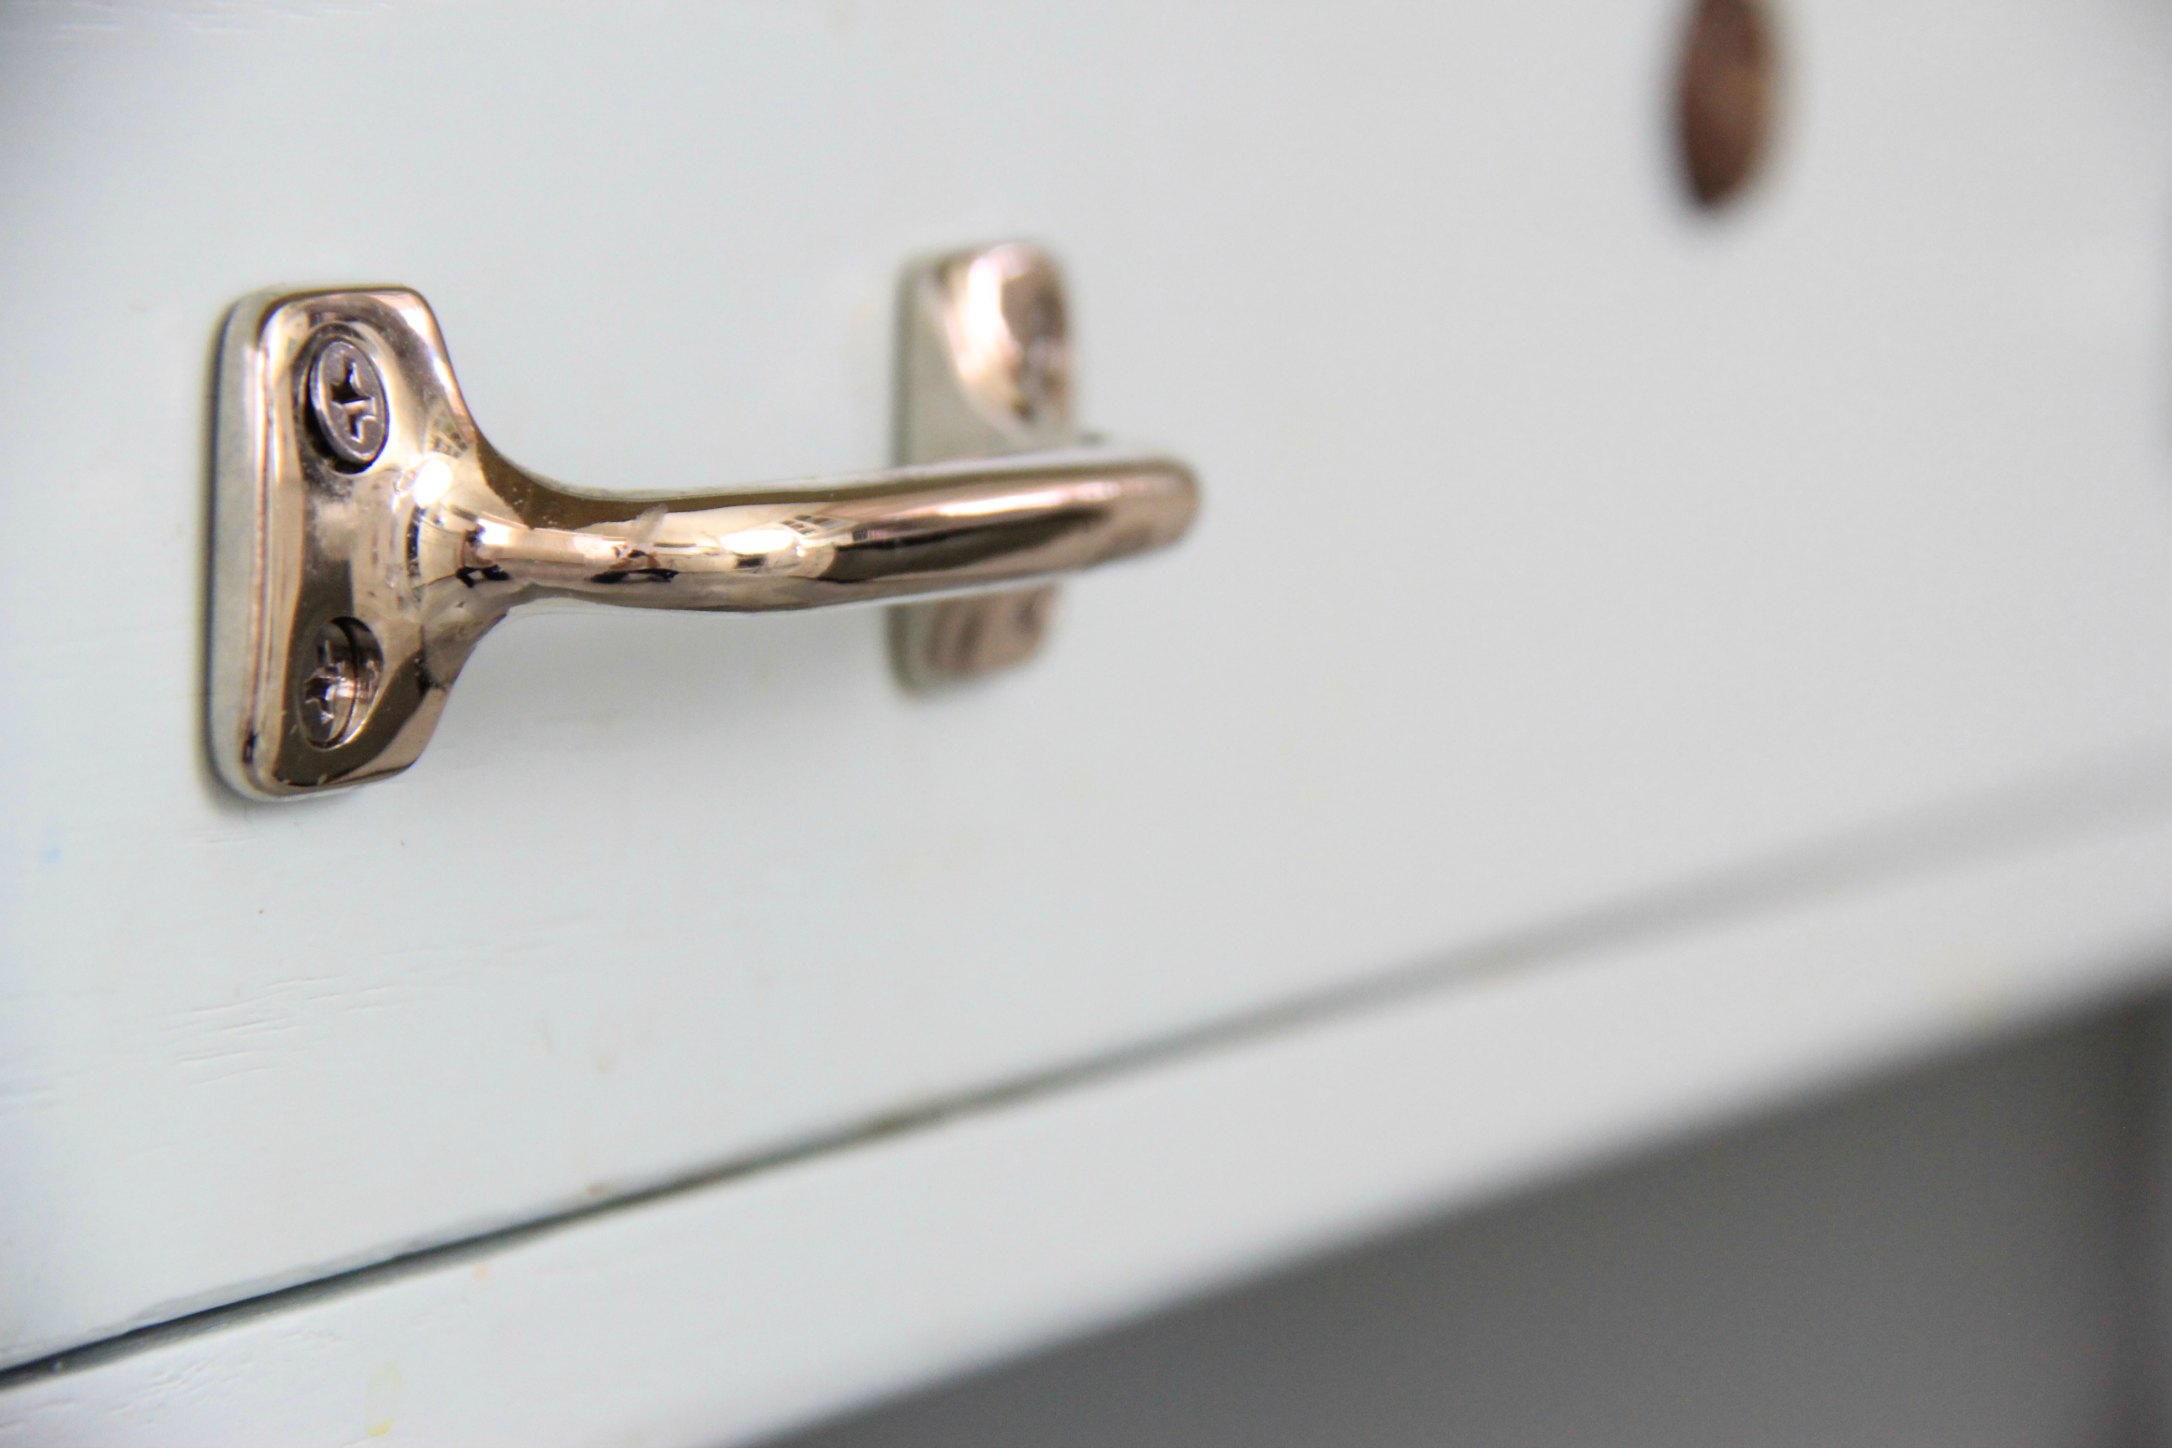
HARDWARE
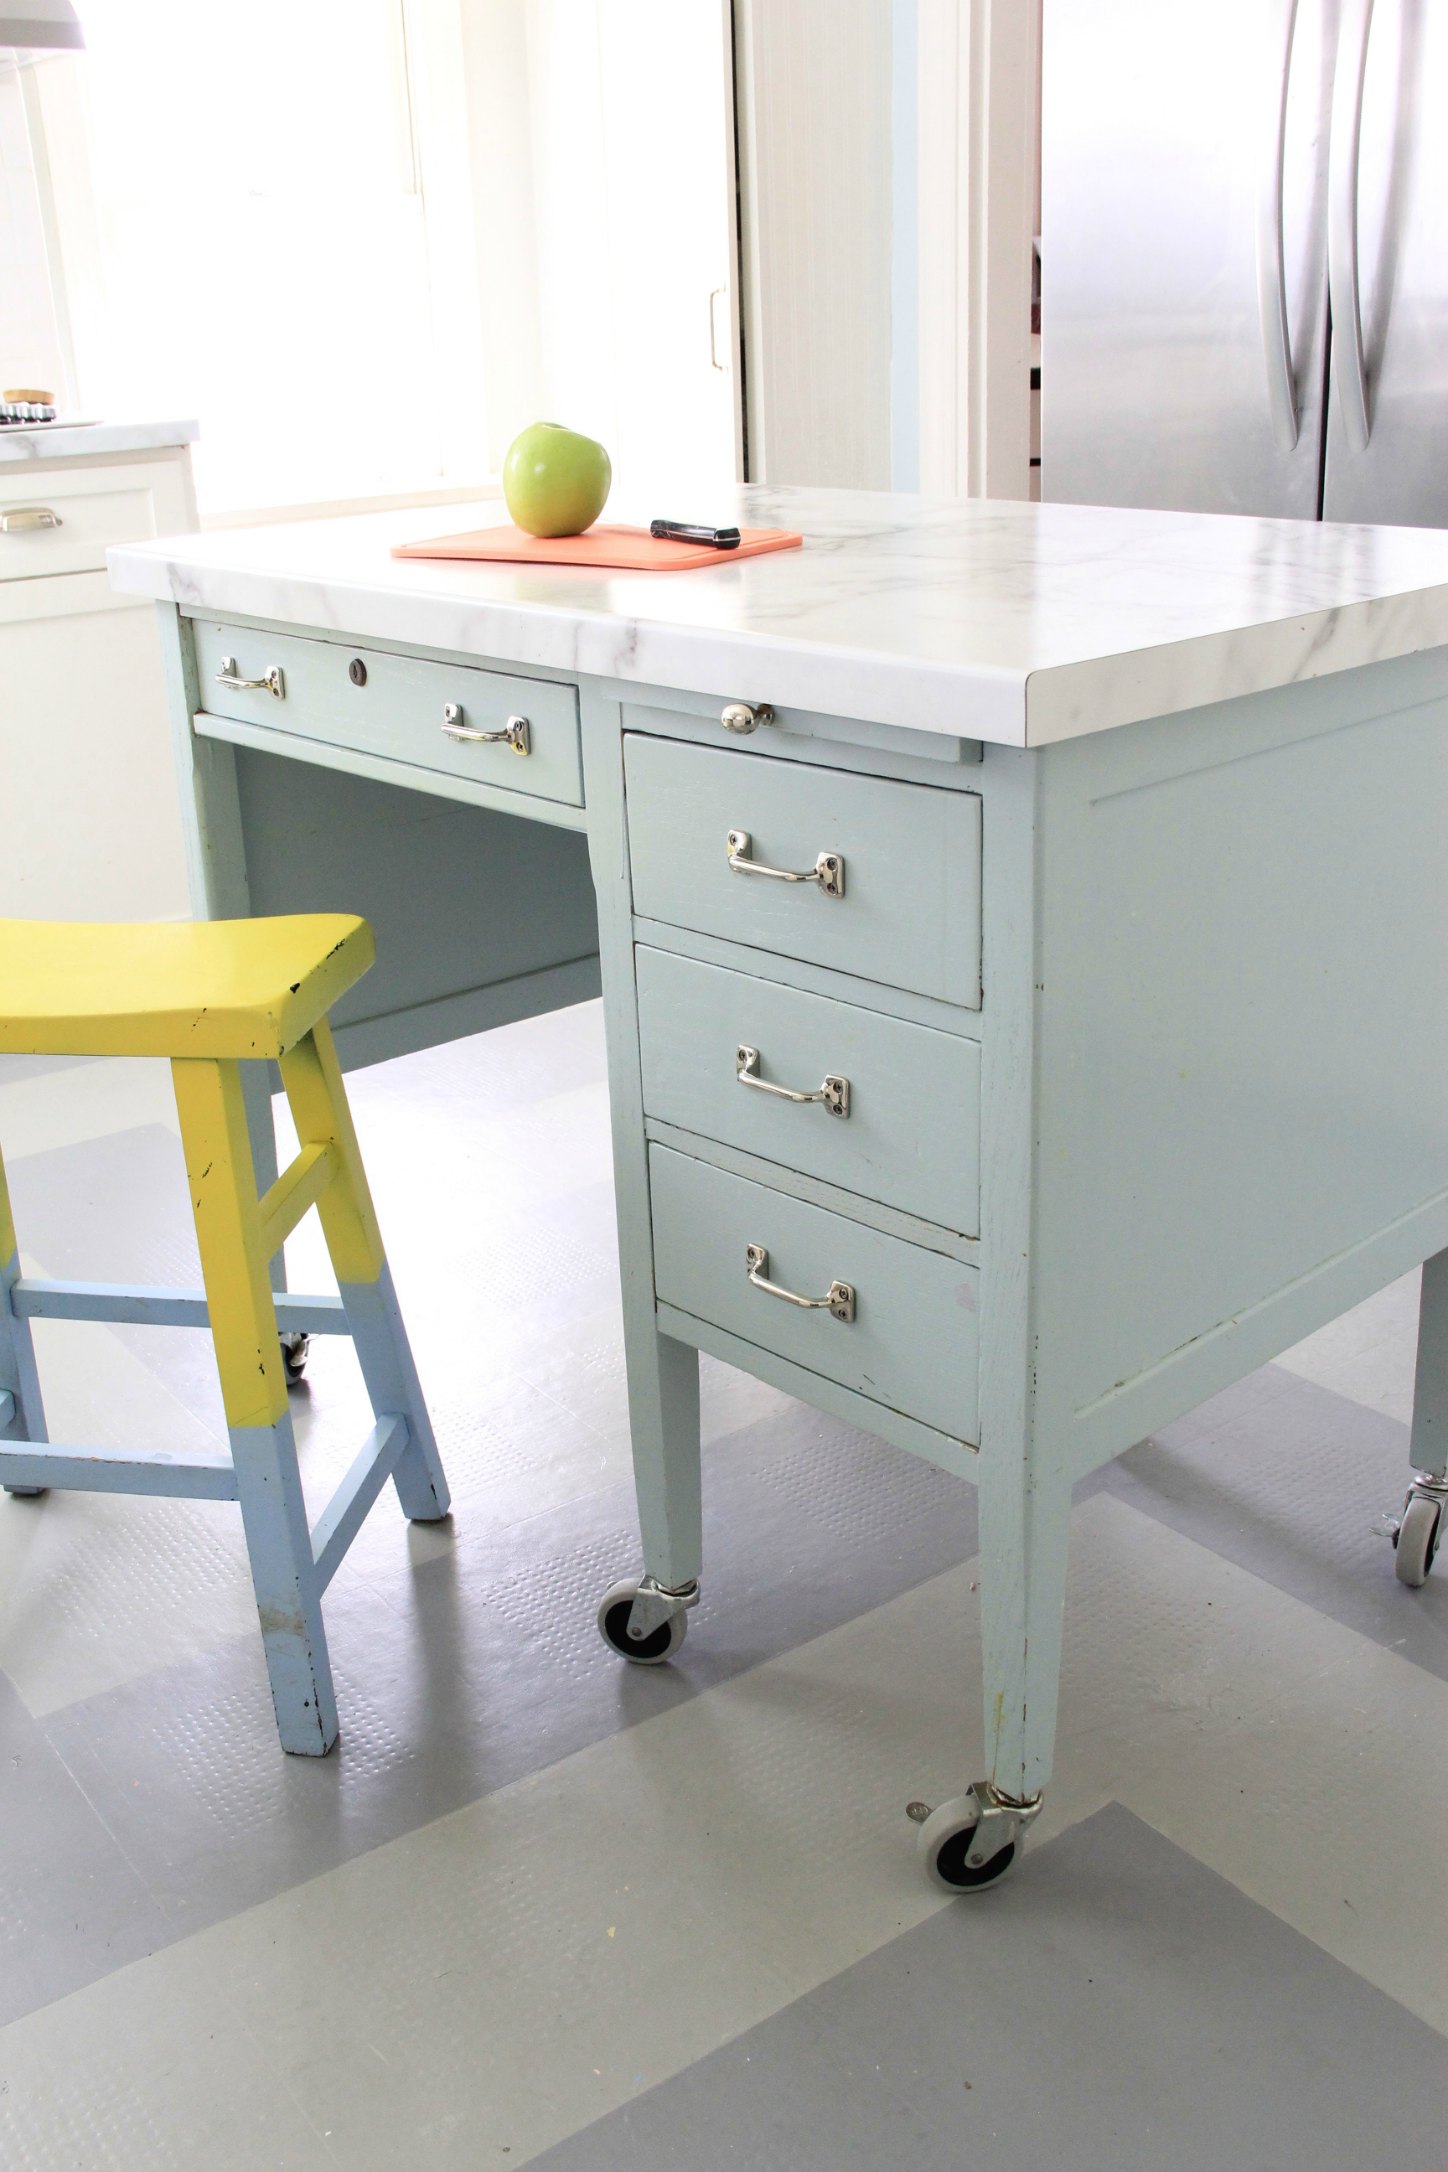
The “Aubrey Pull” hardware is from Restoration Hardware and is on sale!
The existing hardware was spaced at 3 1/2″ which is tough to find,
though I could have just puttied the holes and started fresh…
But of ALL the hardware at Restoration Hardware, ..the only one that comes in that 3 1/2″ size…
is the ONE I WANTED!
and it matches our other hardware all in the Polished Nickel from Restoration Hardware!!!
Serendipity!
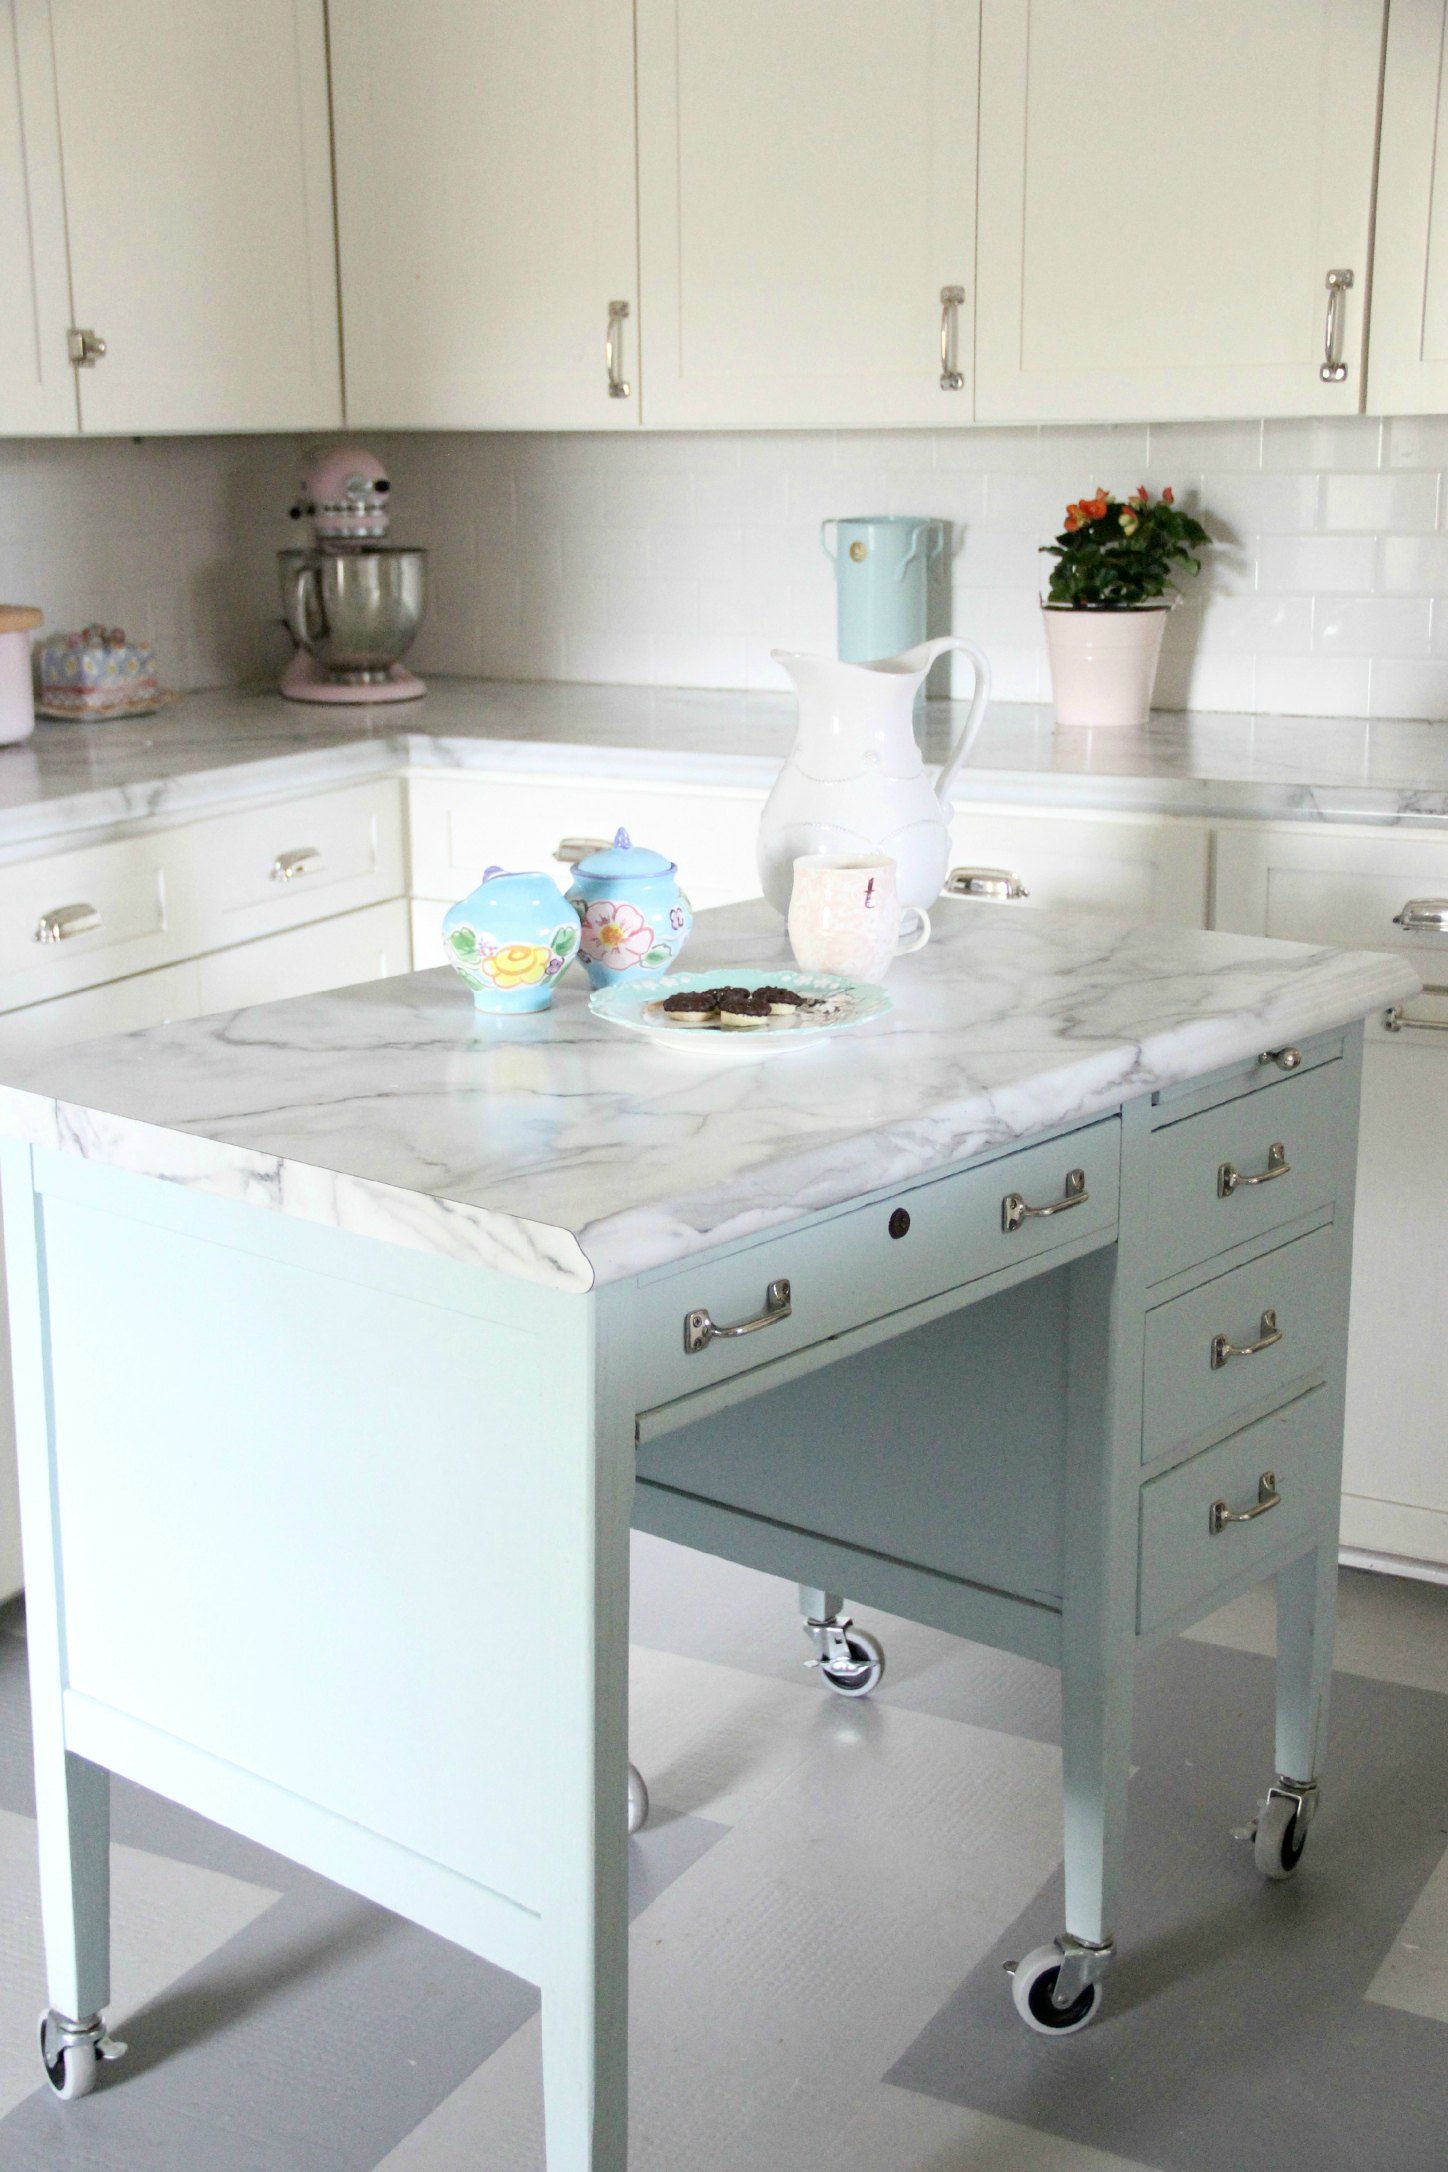
PAINT
The painting was pretty straighT forward, I used my power sander and took it down to raw wood,
then applied Benjamin Moore Advance Paint in Semi Gloss( primer built-in) .
I sanded with extra fine between coats I ADORE the color…
Benjamin Moore Goassamer Blue, which is a cousin to the Ocean Air which I used as the stripes in the adjoining Laundry room…and the NEW Kids Bathroom….
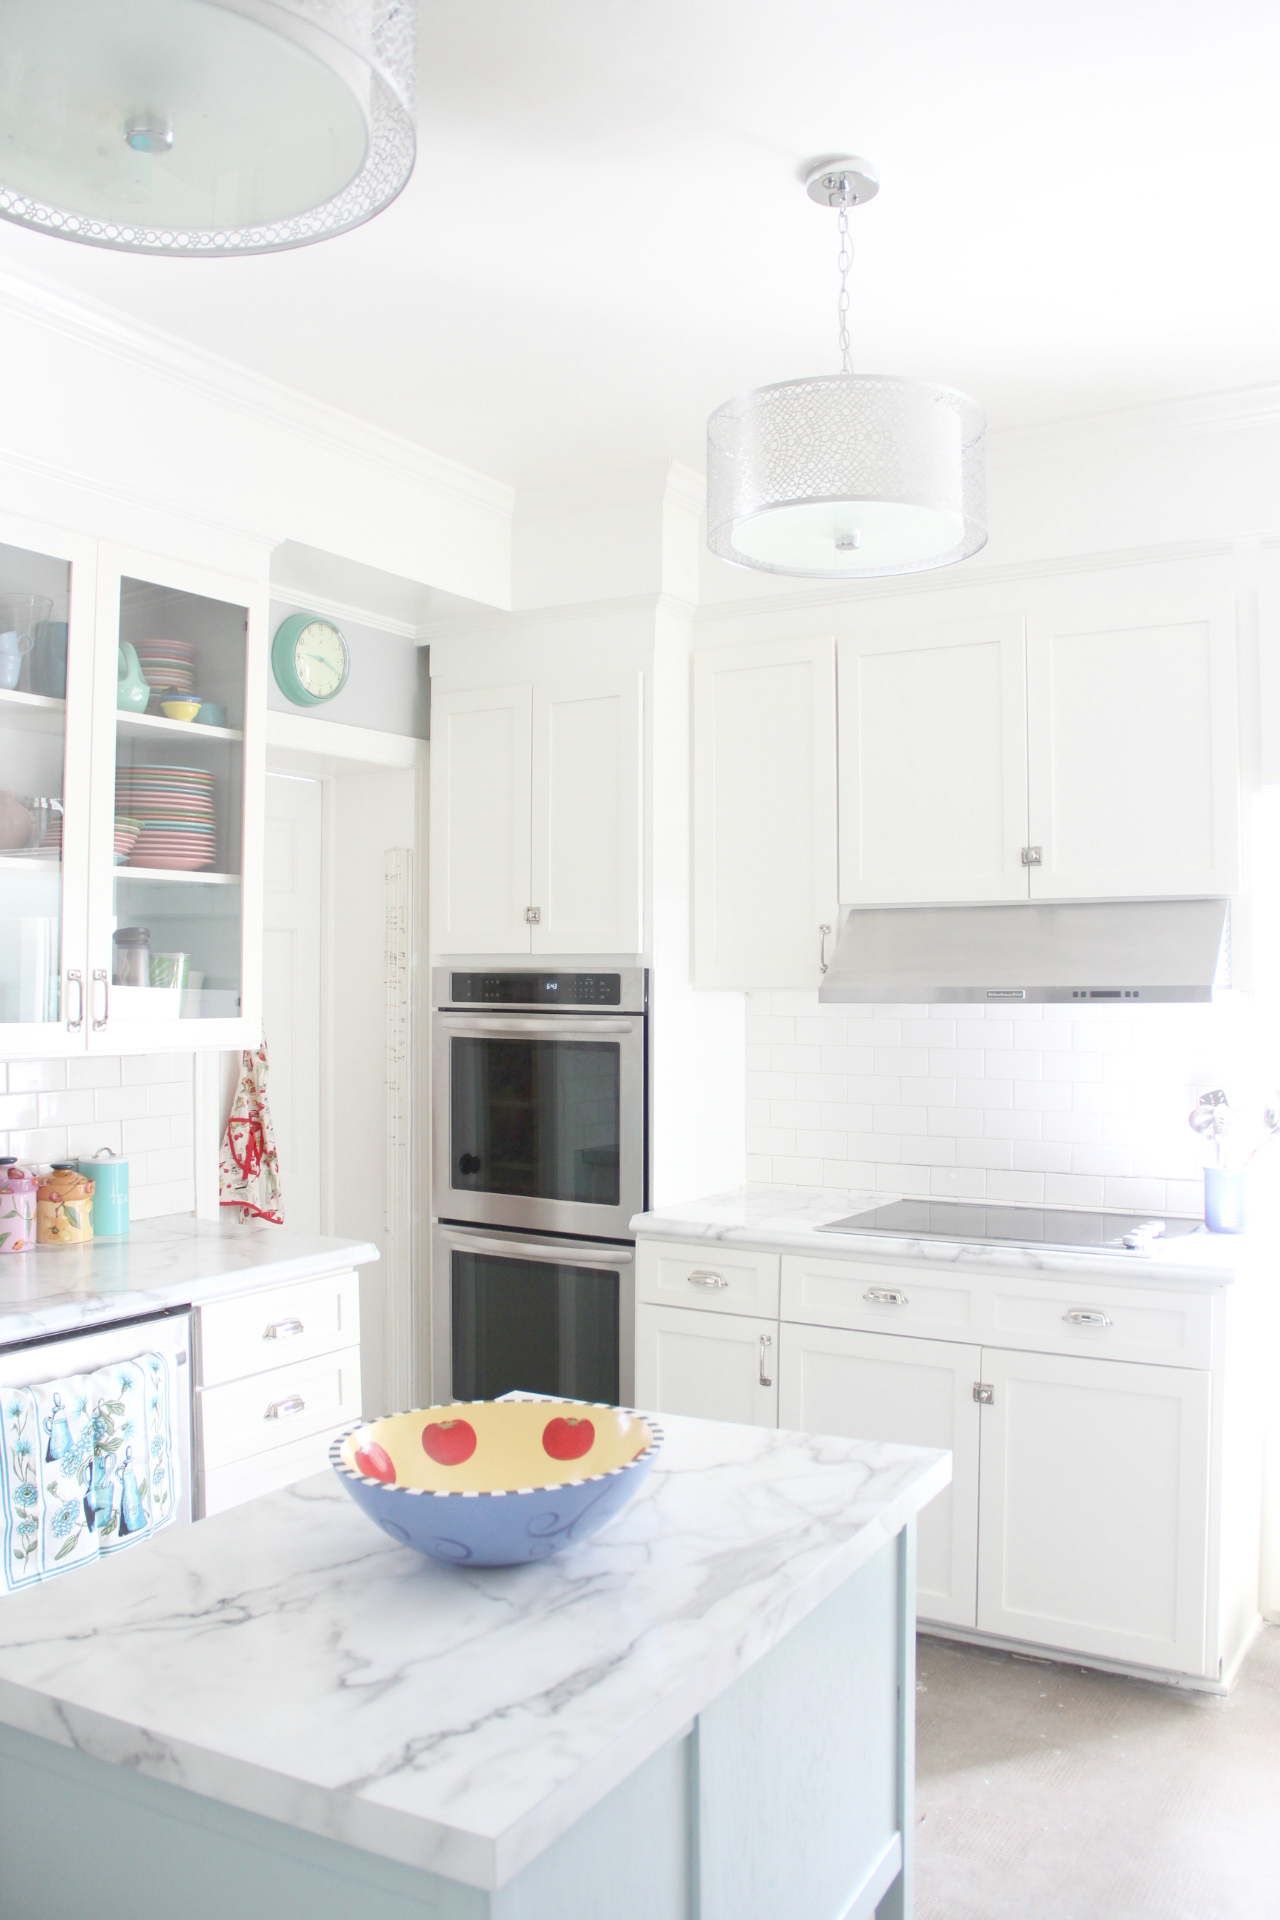
TOP
the top was made when we had our kitchen counter-tops done, from the same Formica Calacatta Marble. It has held up beautifully!
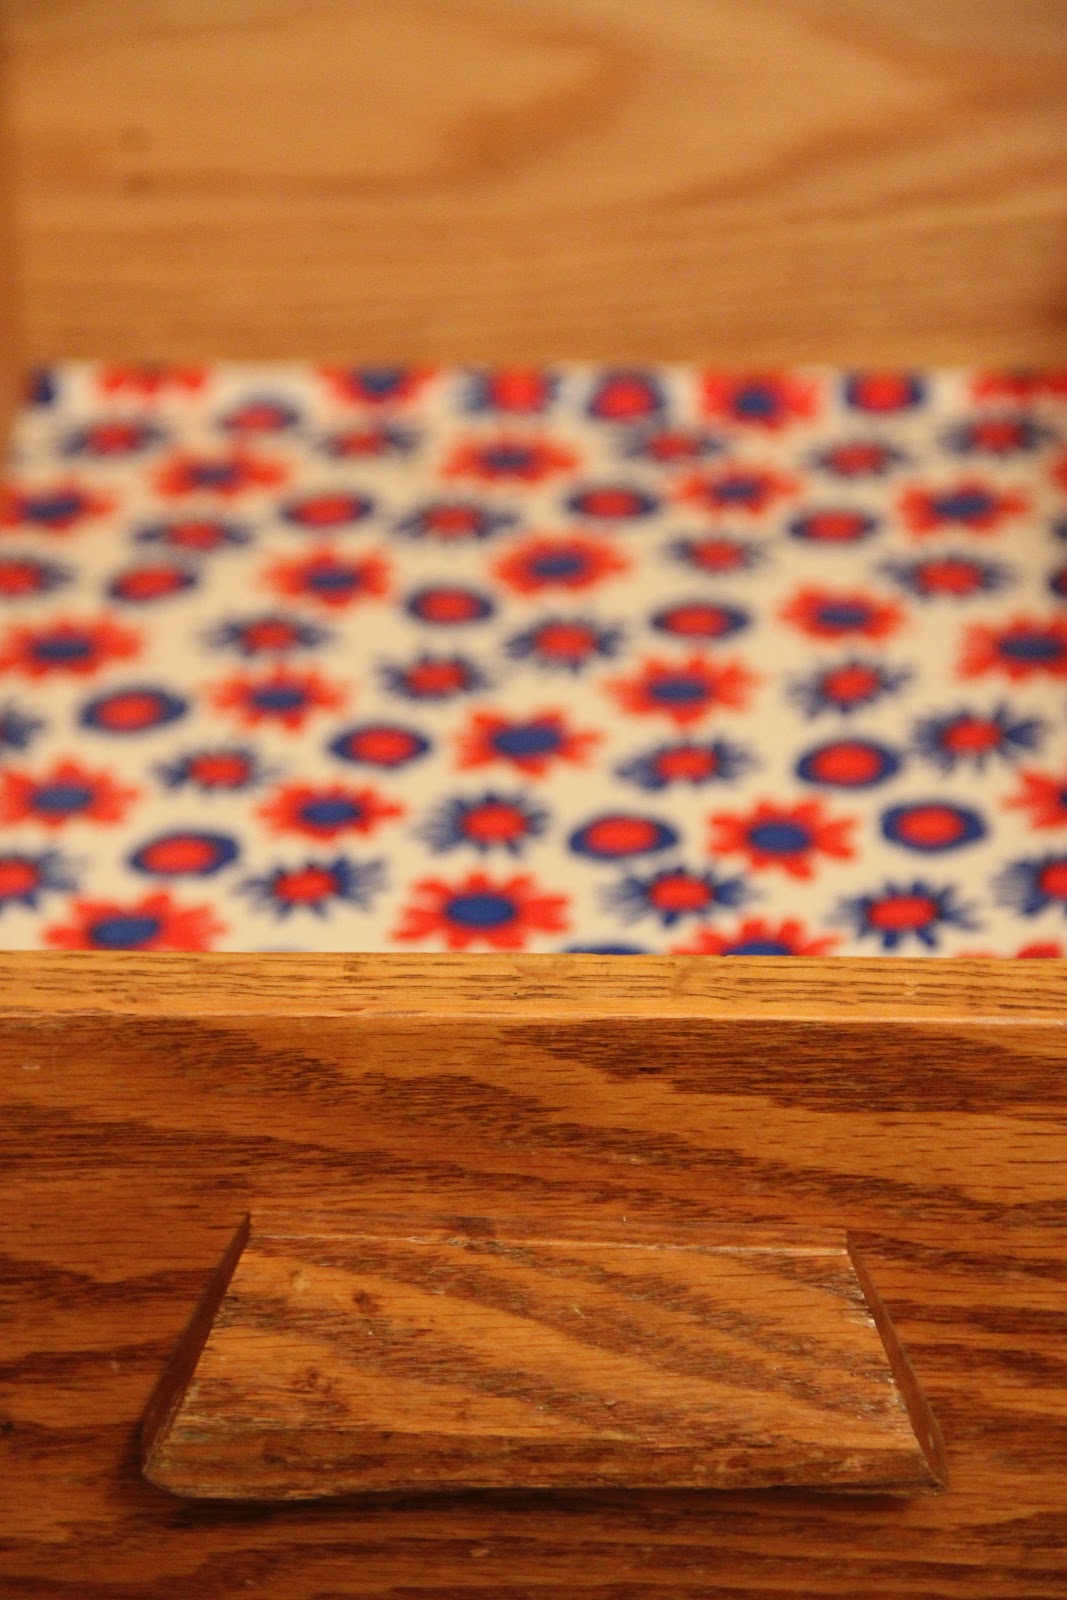
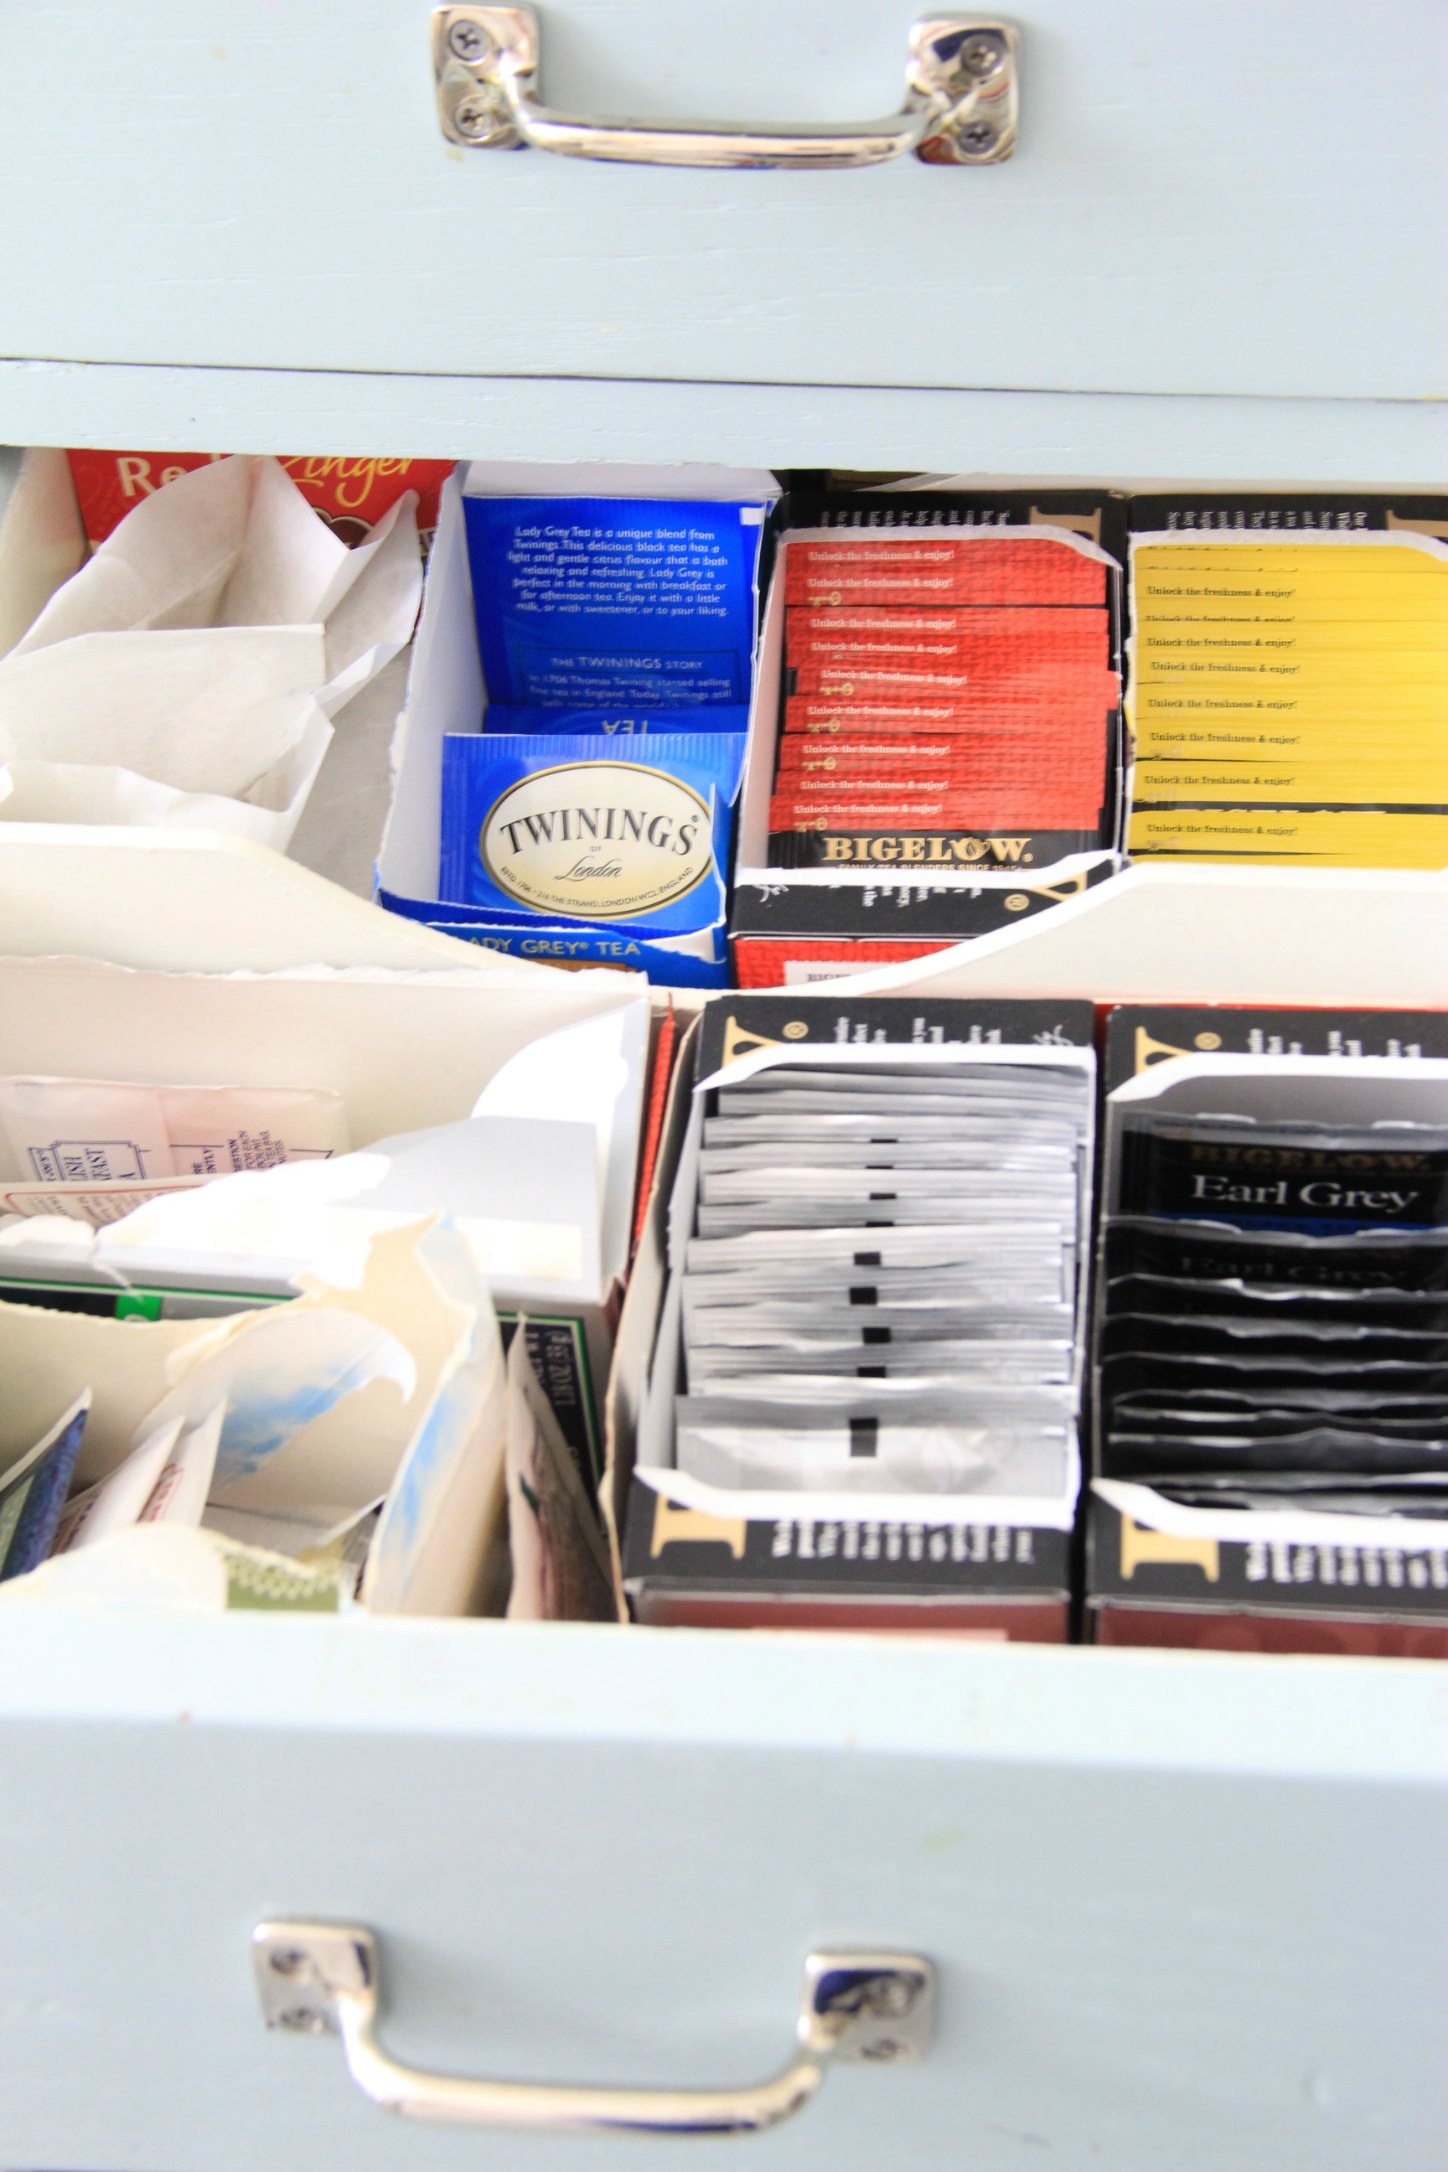
I also fashioned a cutting board out of the sliding little shelf that many old desks have! Love these old touches!

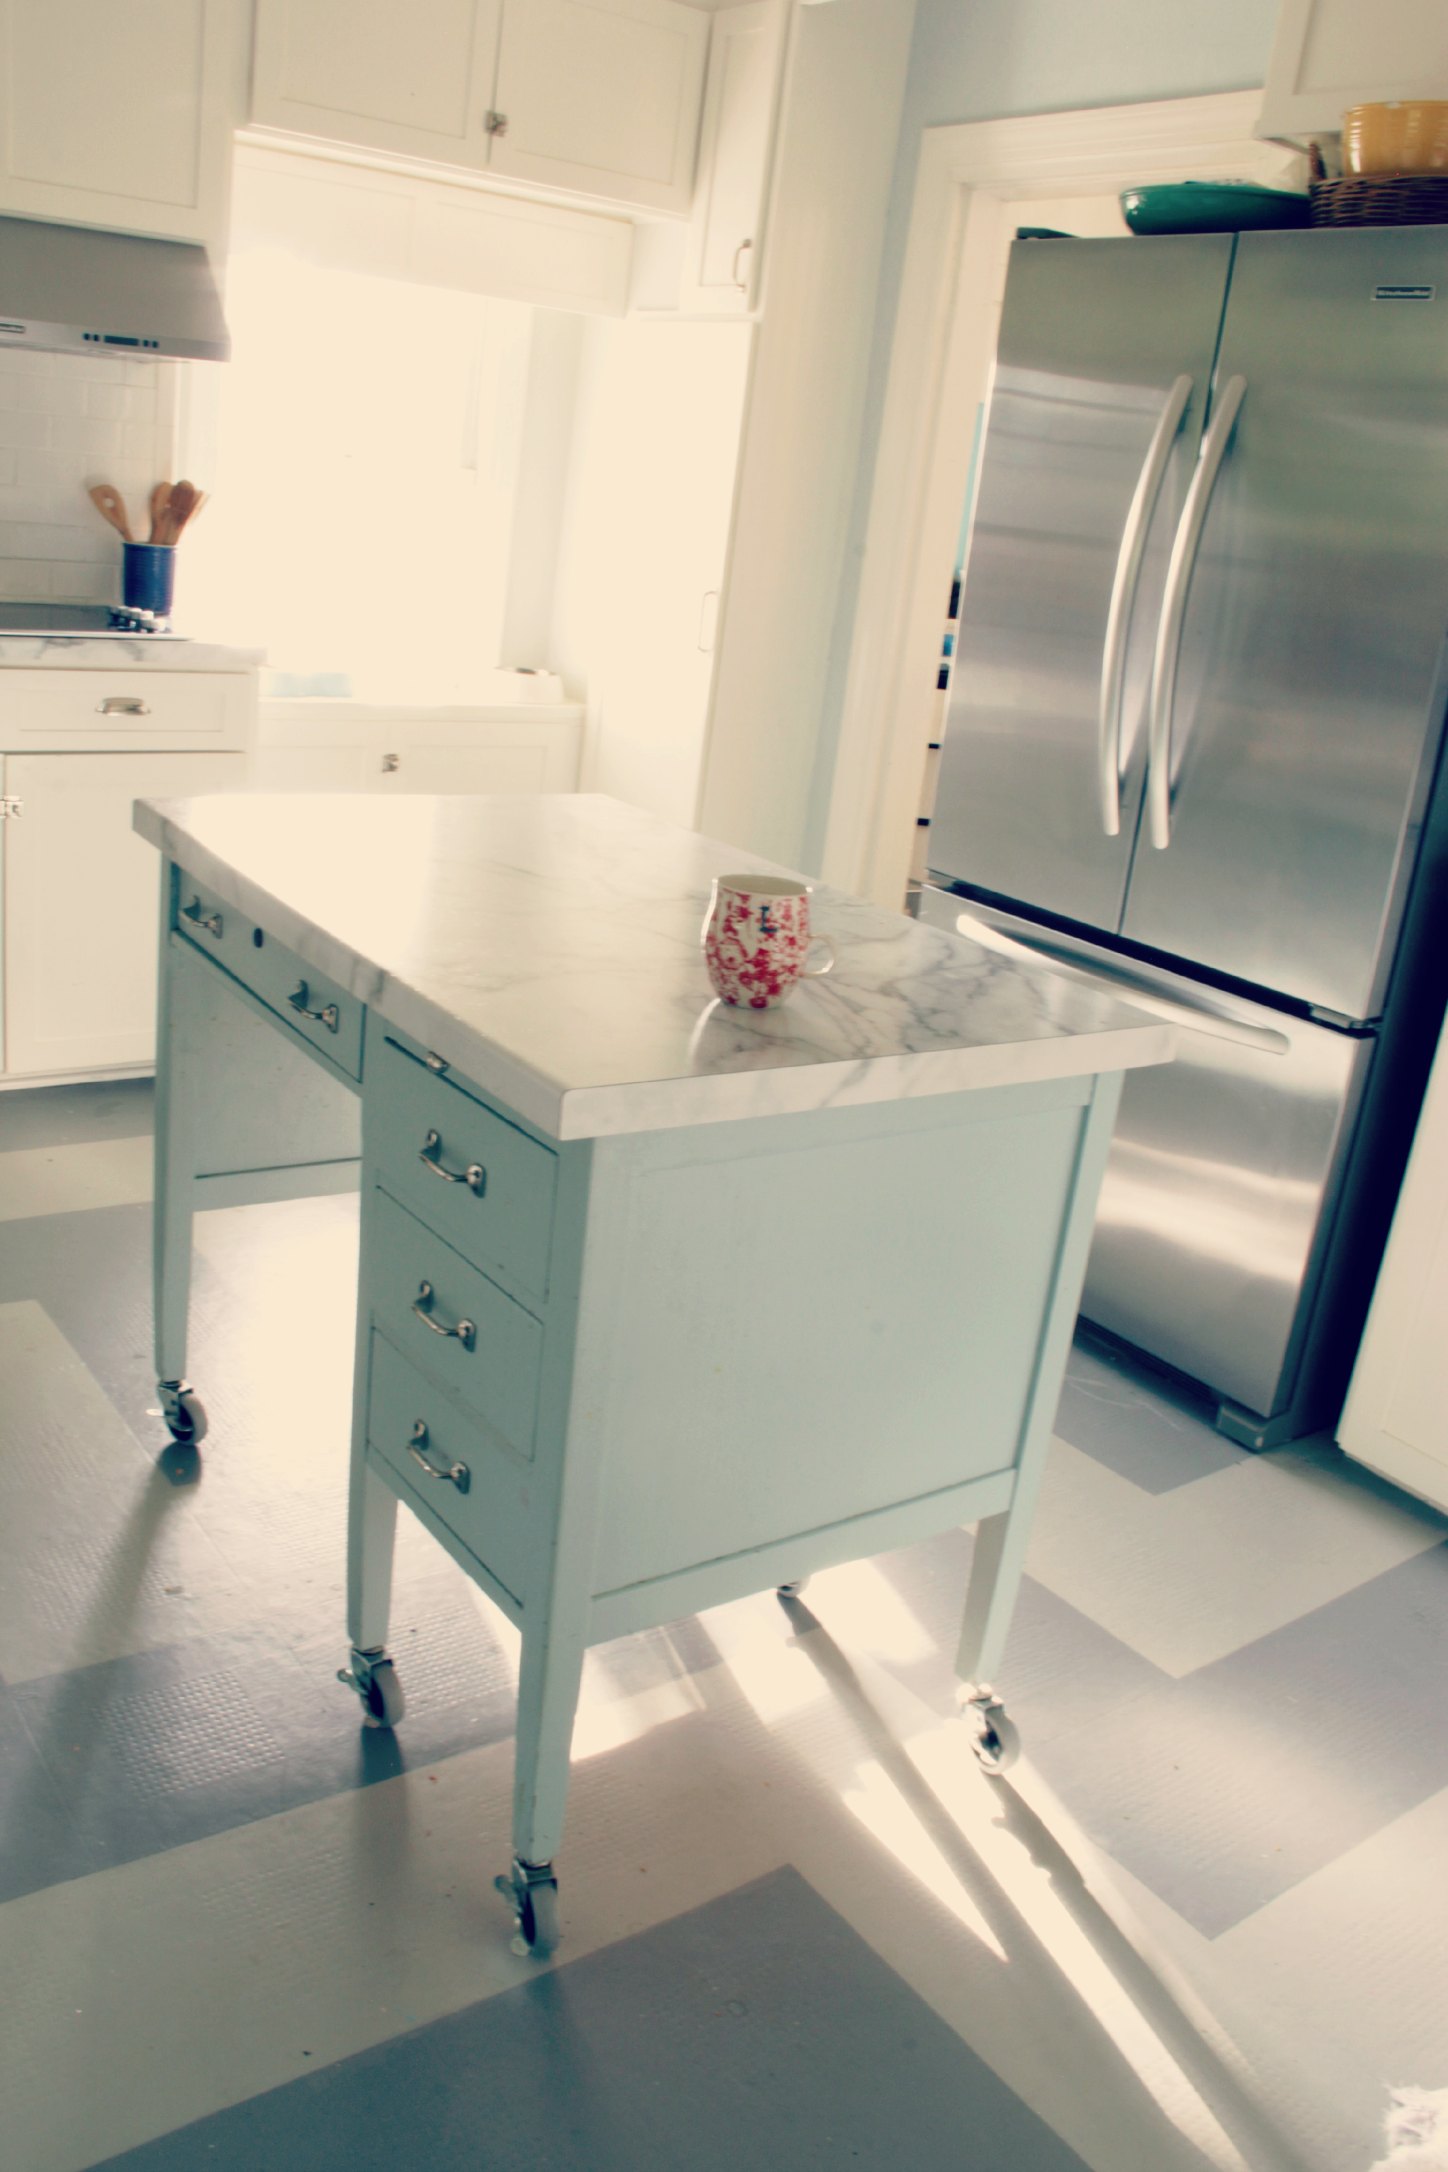
ON THE MOVE
I knew I needed to be able to move the island around…
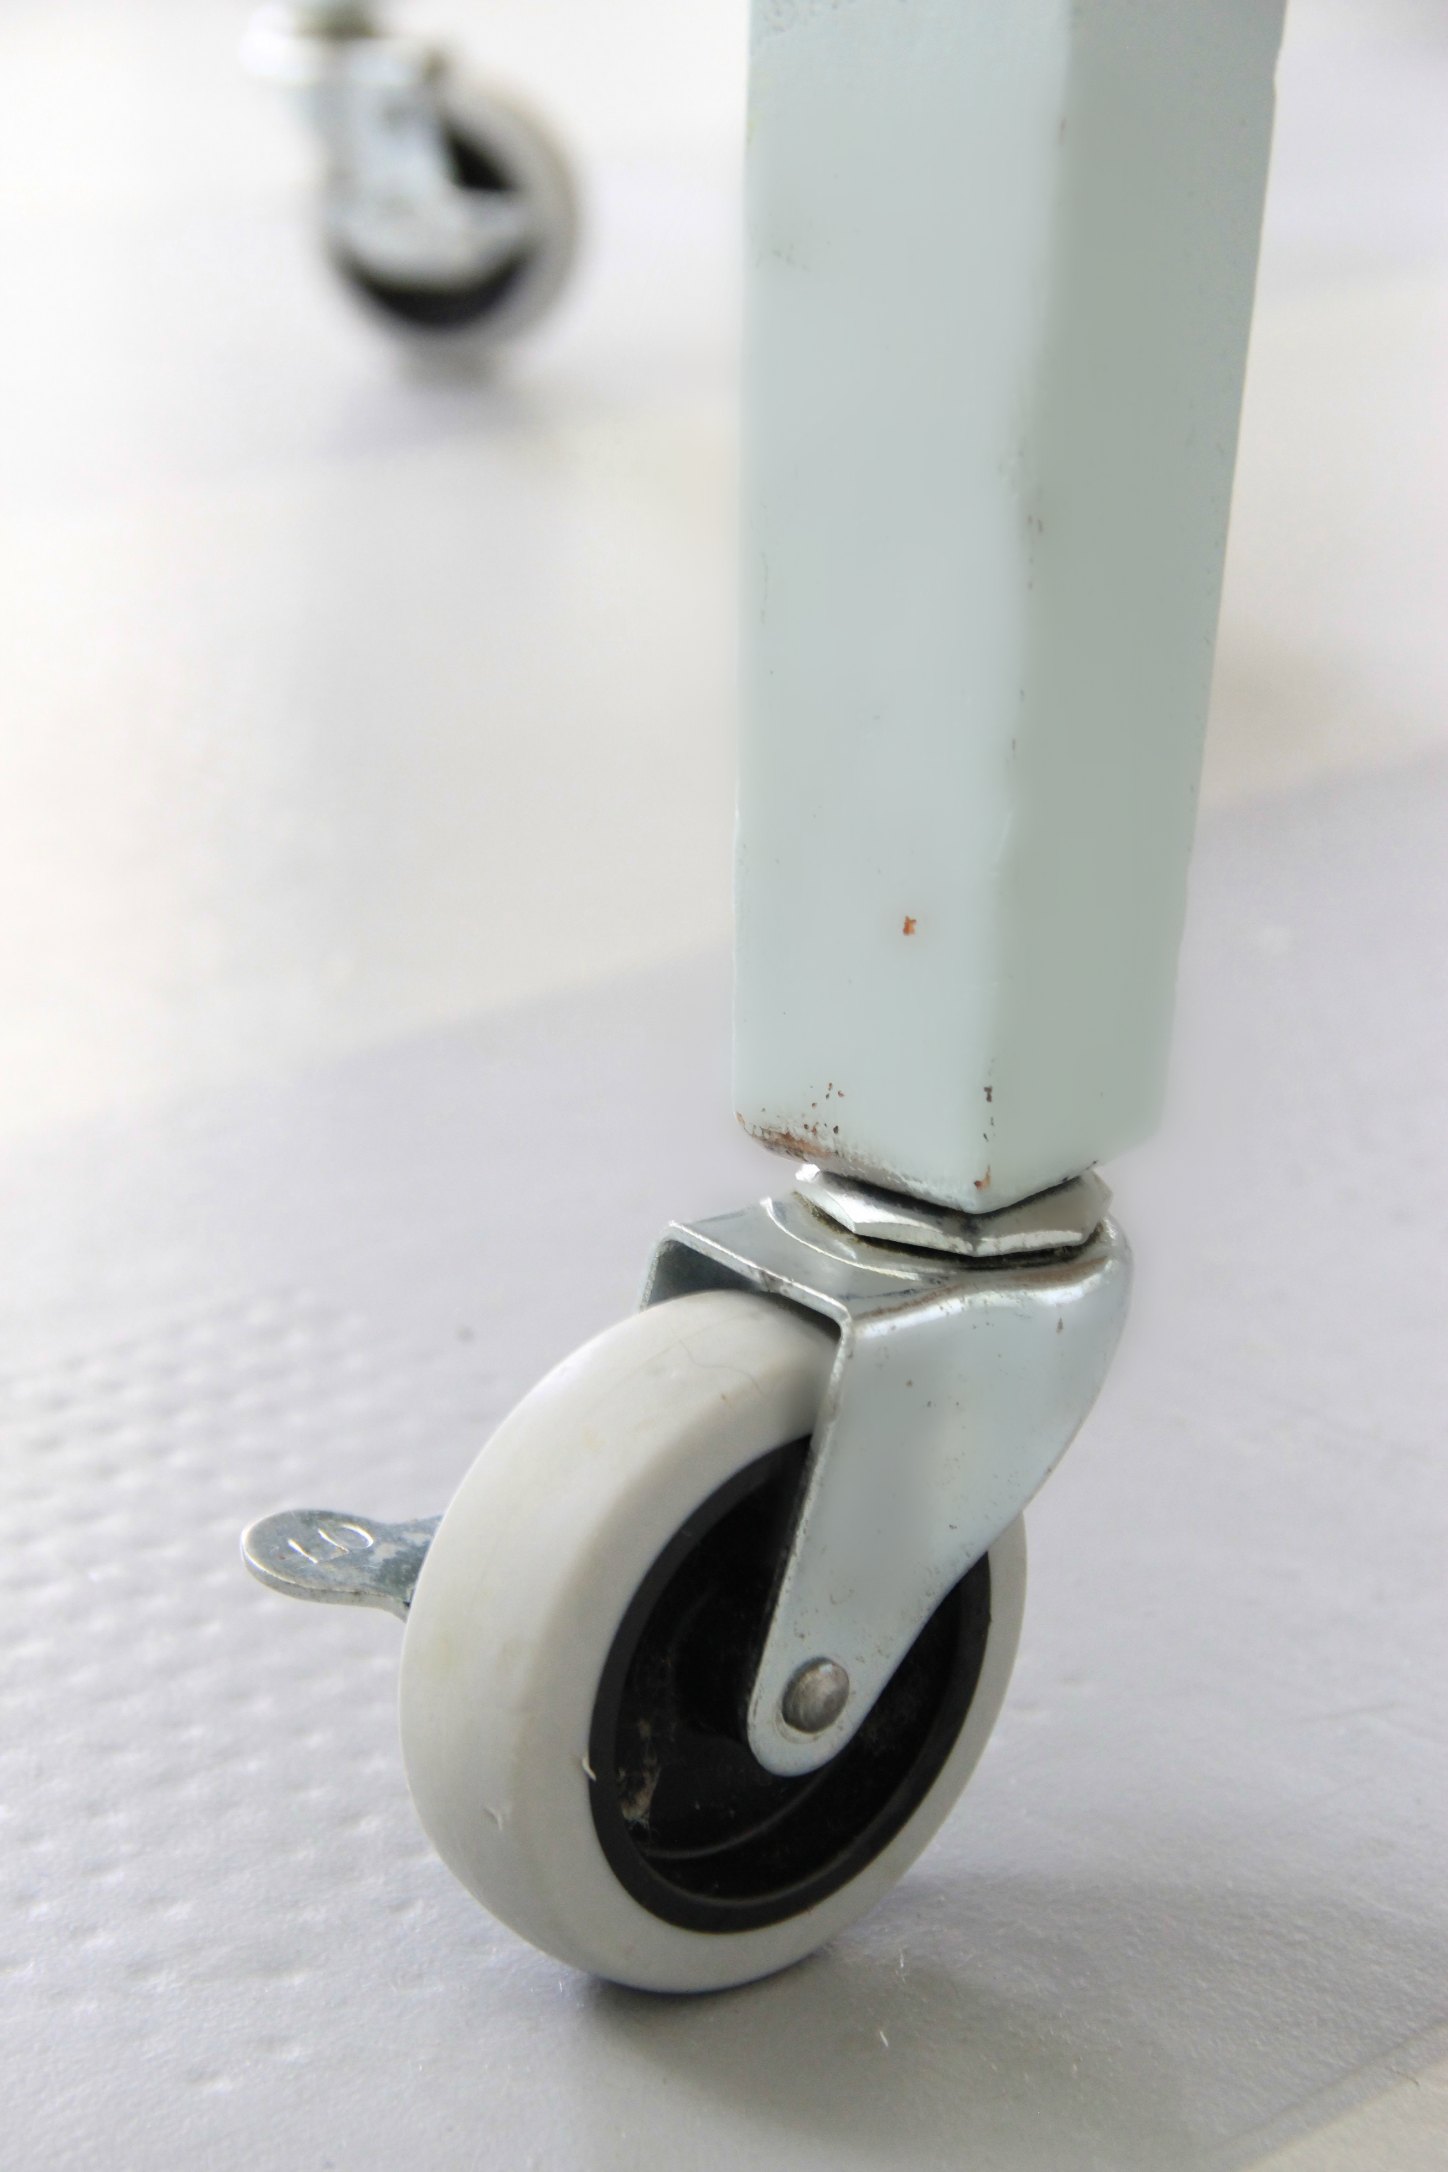
I had always intended to attach wheels. I had some black one picked to and then spied these big gray ones with locks even…!!
I had to drill BIG holes in the LEG bottoms and then insert these…
they are called “Brass Inserts” or T- Nuts”
You will need to MAke sure to get a drill bit LARGER to accommodate the size you need.
And be Careful, these babies are SHARP!

THE ROLLER WHEELS JUST SCREWED RIGHT IN….IT WAS A TWO MAN JOB.

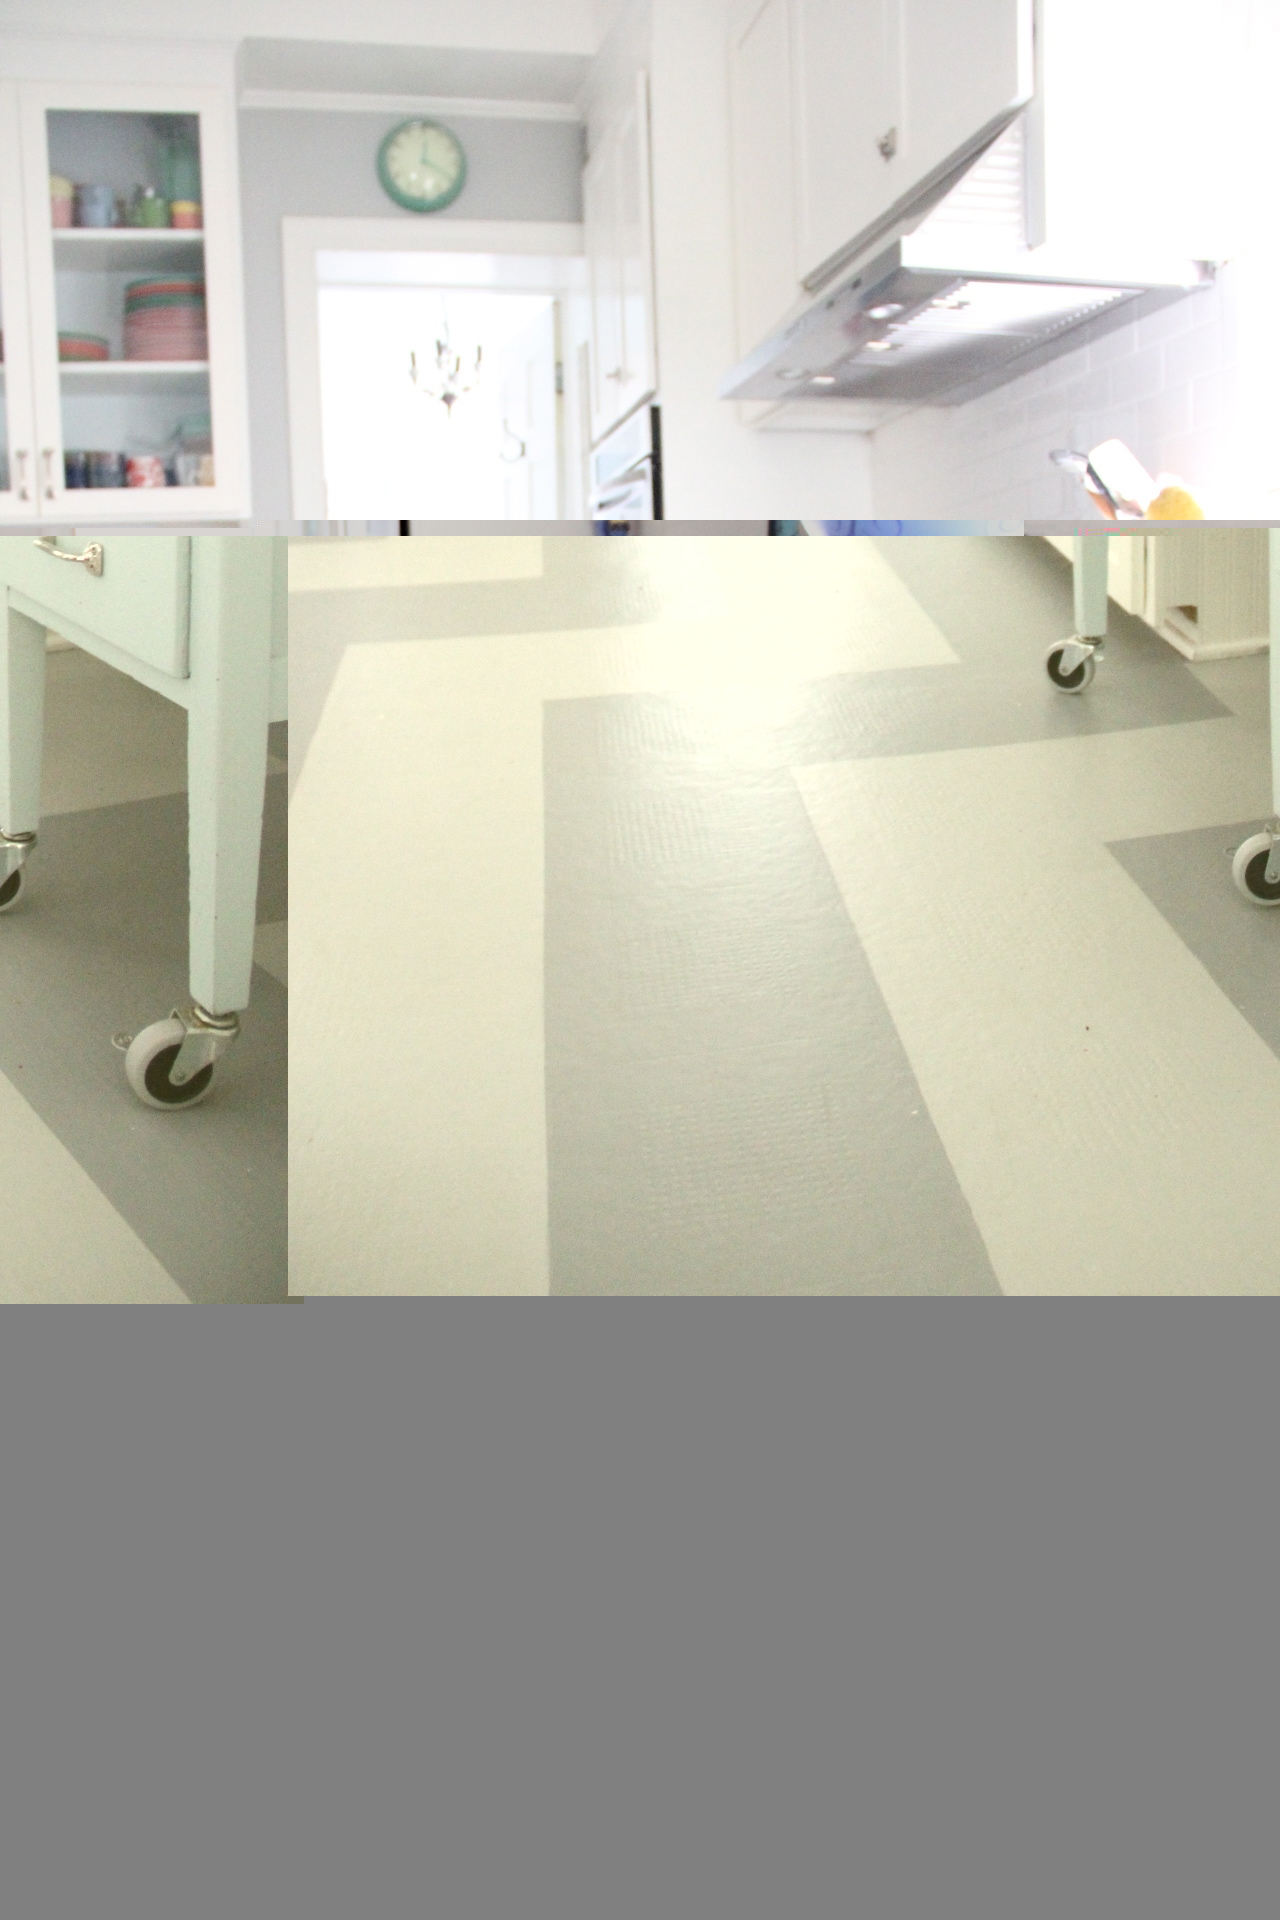
THE WHEELS ALSO ENABLE US TO MOVE THE ISLAND OFF TO THE SIDE IF NEED BE….

I am getting so excited to get the kitchen finished. This has been the longest renovation in history…going on two years..but BOY will it make me happy when it is done!
Bit by bit…putting it together!
Have a Great Day!
Do you have a Kitchen Island?
Tell me more!!!
I don’t have an island but I have an old school desk that is exactly like that one! I’ve been on the fence about painting it, but after seeing this post, that’s exactly what I’m going to do!! Thank you for the inspiration!
DO IT!!! You will be so happy you did!
That looks wonderful. Very clever! I love it.
Thanks Alyson!
What a darn clever idea! The color is great and I love that you used something else from your house and didn’t have to spend a ton of money! We do have an island and it’s wonderful and annoying all at the same time. Great to gather around and use to prepare meals, but also catches everything as you come in the door. It’s a non-stop job to keep it cleared :o)
Your island sounds like my dining room table!! The drop spot for everything!
Very cool! Love the cutting board, genius!
Me too! Thanks!
this is awesome, I love all of it! we are going to to turn the bar that we are building for our reception into an island when the wedding is over. I cannot wait to have it! It is made out of wood from an old barn that was torn down in the area I grew up in plus some wood from my fiance’s grandparents old barn.
Oh Brittany that sounds amazing and I hope you will send pics when you do it!!! Thanks for stopping by!
it’s gorgeous! i love the color and love the hardware and the wheels! 🙂
it’s gorgeous! i love the color and love the hardware and the wheels! 🙂
I love your island! Our kitchen is too small for an island, but it is laid out in such a way that I don’t really need one. Next house!
LOVE it, Lesli! I’ve actually used that color in lots of furniture redos, ever since I bought a gallon of it as oops paint years ago at Ben Moore.
It’s perfect! Nice job!
Great way to repurpose an old desk! Great job!!!!!
Clever idea! And I love the color! Very smart from you, Lesli!
Love the desk/island. Love the color. My sister went to UVA :). I have an island and my decorating mantra is always have the largest kitchen island your space can house. Our whole world goes on at our island. Can’t wait to see the powder room once the plumber moves on. Hope Phoebe is well. Burning question… what water based varnish did you use that was so fantastic. In the middle of a bathroom re do and your vanish may be the answer to my decorating question! Marcie
Hi Marcie. Yes, Phoebe finally went back to school today. In truth, she looks better than she has in months. I think she needed to crash and just sleep which is what she did alll week. Now she is good. Thanks for asking.
The Varnish is called “Stays Clear” and I got satin finish. I planned on two coats but one was plenty.
I like your Island Mantra! Plumber comes Wedneday!
Awesome – I’m totally copying you. Can you provide a few more details on your steps? After you sanded, i assume you wiped it down, then did you use a deglosser? A primer? Did you sand again in between steps? Where’d you score your grey wheels, and do you have any idea what those screw-y things for the legs are called? Thanks for the idea/info!
Hi there…okay so I sanded only, NO de glosser just sanded down to wood and then used the fine sander to make it nice and smooth. The paint has a primer built in so did not prime it. I did sand with extra fine in between painting coats and on top, before I put on the varnish.
They just emailed me that the top is in!! You will be so excited to see it! The screwy things are called “brass inserts” or “T Nuts” I am going to add all this info to the post as well.
Thanks and have fun!
Thank you! Can’t wait to see the final final, but I think it looks great as-is. You’re a genius.
Jobs at your Home, Internet Online Jobs like data entry, copy pasting, Form Filling, Facebook Sharing Jobs, Clicking Jobs, Web Surfing, Google Jobs and Much More Earning Systems Online
http://www.jobzcorner.com
[…] knew that these Discontinued Jamaica Ticking Patterned Dash and Albert Rugs (show with my new DIY Kitchen Island Post Here) will be the rugs in the upstairs […]
[…] The DIY School Desk Island has transformed our kitchen…just one problem…….The kids keep dragging the big ole Dining Room chairs in to sidle up next to the Island… […]
[…] LOVE my DIY Kitchen Island. You can read more about that makeover here, and you may or may not know that the kitchen island […]
Where did you source the marble counter for the island?
The island top is a Formica 180x top in Calacatta Marble. I had it made at Home Depot. Thanks for stopping by.
[…] Old Country House’ made this DIY kitchen island from an old desk, some wheels, and a top made to match the counters. Stunning project! So cool, as […]
[…] body{font-family:"Titillium Web",Arial,sans-serif;}.sidebar .widget{padding-left:20px;padding-right:20px;padding-top:20px;}::selection{background-color:#ff3399;}::-moz-selection{background-color:#ff3399;}a,.themeform label .required,#flexslider-featured .flex-direction-nav .flex-next:hover,#flexslider-featured .flex-direction-nav .flex-prev:hover,.post-hover:hover .post-title a,.post-title a:hover,.s1 .post-nav li a:hover i,.content .post-nav li a:hover i,.post-related a:hover,.s1 .widget_rss ul li a,#footer .widget_rss ul li a,.s1 .widget_calendar a,#footer .widget_calendar a,.s1 .alx-tab .tab-item-category a,.s1 .alx-posts .post-item-category a,.s1 .alx-tab li:hover .tab-item-title a,.s1 .alx-tab li:hover .tab-item-comment a,.s1 .alx-posts li:hover .post-item-title a,#footer .alx-tab .tab-item-category a,#footer .alx-posts .post-item-category a,#footer .alx-tab li:hover .tab-item-title a,#footer .alx-tab li:hover .tab-item-comment a,#footer .alx-posts li:hover .post-item-title a,.comment-tabs li.active a,.comment-awaiting-moderation,.child-menu a:hover,.child-menu .current_page_item>a,.wp-pagenavi a{color:#ff3399;}.themeform input[type="submit"],.themeform button[type="submit"],.s1 .sidebar-top,.s1 .sidebar-toggle,#flexslider-featured .flex-control-nav li a.flex-active,.post-tags a:hover,.s1 .widget_calendar caption,#footer .widget_calendar caption,.author-bio .bio-avatar:after,.commentlist li.bypostauthor>.comment-body:after,.commentlist li.comment-author-admin>.comment-body:after{background-color:#ff3399;}.post-format .format-container{border-color:#ff3399;}.s1 .alx-tabs-nav li.active a,#footer .alx-tabs-nav li.active a,.comment-tabs li.active a,.wp-pagenavi a:hover,.wp-pagenavi a:active,.wp-pagenavi span.current{border-bottom-color:#ff3399!important;}.s2 .post-nav li a:hover i,.s2 .widget_rss ul li a,.s2 .widget_calendar a,.s2 .alx-tab .tab-item-category a,.s2 .alx-posts .post-item-category a,.s2 .alx-tab li:hover .tab-item-title a,.s2 .alx-tab li:hover .tab-item-comment a,.s2 .alx-posts li:hover .post-item-title a{color:#ff7abc;}.s2 .sidebar-top,.s2 .sidebar-toggle,.post-comments,.jp-play-bar,.jp-volume-bar-value,.s2 .widget_calendar caption{background-color:#ff7abc;}.s2 .alx-tabs-nav li.active a{border-bottom-color:#ff7abc;}.post-comments span:before{border-right-color:#ff7abc;}#footer-bottom{background-color:#222222;}.site-title a img{max-height:52px;} window.dynamicgoogletags={config:[]};dynamicgoogletags.config=["ca-pub-0608523117907226",[[[["ARTICLE",0,,[],0],["10px","18px",0],0,,"5724944077",0],[["ARTICLE",0,,[],2],["10px","10px",0],0,,"5011432472",0]]],[[[],[],[]]],"WordPressSinglePost","1654355679",,0.001,0.001];(function(){var g=function(a){return"number"==typeof a},n=function(a,b){function c(){}c.prototype=b.prototype;a.I=b.prototype;a.prototype=new c;a.G=function(a,c,k){for(var h=Array(arguments.length-2),d=2;dLesli DeVito […]
[…] how Lesli turned a desk into a kitchen island over at My Old Country […]
the desk/island is really cute! you could get more storage by fitting a shelf or 2 into the “chair” area and get baskets to fit-just an idea!
THANKS SARA! Great idea! We actually store the stools under there, but extra storage is always a great idea!
Now that’s creative! While reading, I was kinda thinking about my old computer table. Maybe I can do something similar too. Haha. Crazy! BTW, you did all this in one day?
Thank you for stopping by. and yes, this was a one day DIY
Thanks Lesli, I appreciate you taking the time to respond to every comment. 🙂 Just a question (sorry if I have to drop it here). Have you done guest posting elsewhere?
yes I have. Thanks for stopping by!
Brilliant! I love that you can tuck it away, too. What a lovely kitchen!
Thank you Amber!
i have a kitchen island which i got at an estate sale for 5 dollars. The top is a cherry color and the sides are black. I’d like to add a marble top and change the cherry stain, but would like to know if you attached the marble somehow to the bottom or does the weight keep the marble in place?
if you scroll down on the post you can see that the island top is not marble but Formica! I am flattered you think it looks real…it does even in person! There is a link under a photo on that post which can take you to more info…and btw it was super easy to attach…just screws right into the wooden base!
[…] MONDAY MAKEOVER – DIY KITCHEN ISLAND […]
[…] MONDAY MAKEOVER – DIY KITCHEN ISLAND […]
[…] MONDAY MAKEOVER – DIY KITCHEN ISLAND […]
I am in awe of your talent…..I love this! And your pictures and explanations are good.
Thank you for sharing!
[…] projects and remodeling ideas and materials in a range of styles, from modern and rustic to. Monday makeover diy kitchen island my old. Mollie's mom february 5, 2013 at 441 am. Love the desk/island. Love the color. My sister went […]
Hi there, Lesli. This is my first visit to your blog. I found you through Pinterest. I’ve recently bought an old enamel top desk for a steal at a local antiques fair here in Upstate NY. I’m in the process of repairing it and turning it into a kitchen island. I was so excited to find this post because I was having a hard time getting my friends and family to embrace my “vision”. What I’d LOVE to know is where you found the casters, if you recall, because I’m struggling to find that exact thing. I want them to be large enough to raise the height of the desk a bit and small enough that they don’t look ridiculous on the small legs. Thanks, in advance, for any help you may be able to offer. Btw, your blog is great. I look forward to exploring it further.
Thanks,
Leslie
Hi Leslie,
Nice to hear from you. I got the casters at Lowes or Home Depot. I believe on the post it should say and I also show how I installed them with special screws you install into the legs. It sounds like you have found the perfect piece to convert. feel free to email me a photo…and I can take a look..lsdevito@gmail.com
Hi Lesli,
My name is Tierney and I’m a writer for CountryLiving.com.
We love your project from this post https://myoldcountryhouse.com/monday-makeover-diy-kitchen-island/ and would love to feature one image in our round-up of DIY kitchen islands.
Of course, we will include a credit to My Old Country House and link back to your website. We think our readers will really enjoy your tips and we’re excited to show support for your blog and hopefully send traffic your way.
Just a heads up that if you grant us permission to include your image, the story could potentially be syndicated and featured on our sister sites such as GoodHousekeeping.com, WomansDay.com, and others, which will mean even more exposure for you.
Also, if you didn’t take the photo yourself, can you please share the name of the photographer and their contact info with us?
Let us know if it’s okay to include your image and a link to your blog on our site within the next couple of days, if possible — and definitely keep us in the loop about other projects you have coming up. We always love to feature fun ideas from creative blogs like yours.
Thanks,
Tierney
[…] Check the Idea […]
[…] Photo Credit: myoldcountryhouse.com […]
[…] challenge from myoldcountryhouse exhibits how simple it's to repurpose an outdated desk into an island simply by making a number of […]
[…] Transforming An Old School Desk […]
[…] project from myoldcountryhouse shows how easy it is to repurpose an old desk into an island just by making a few changes like […]
[…] Transforming An Old School Desk […]
[…] project from myoldcountryhouse shows how easy it is to repurpose an old desk into an island just by making a few changes like […]