
You may or may not know that my KITCHEN MAKEOVER is featured in the NOVEMBER

page 36-40
November FAMILY CIRCLE MAGAZINE!
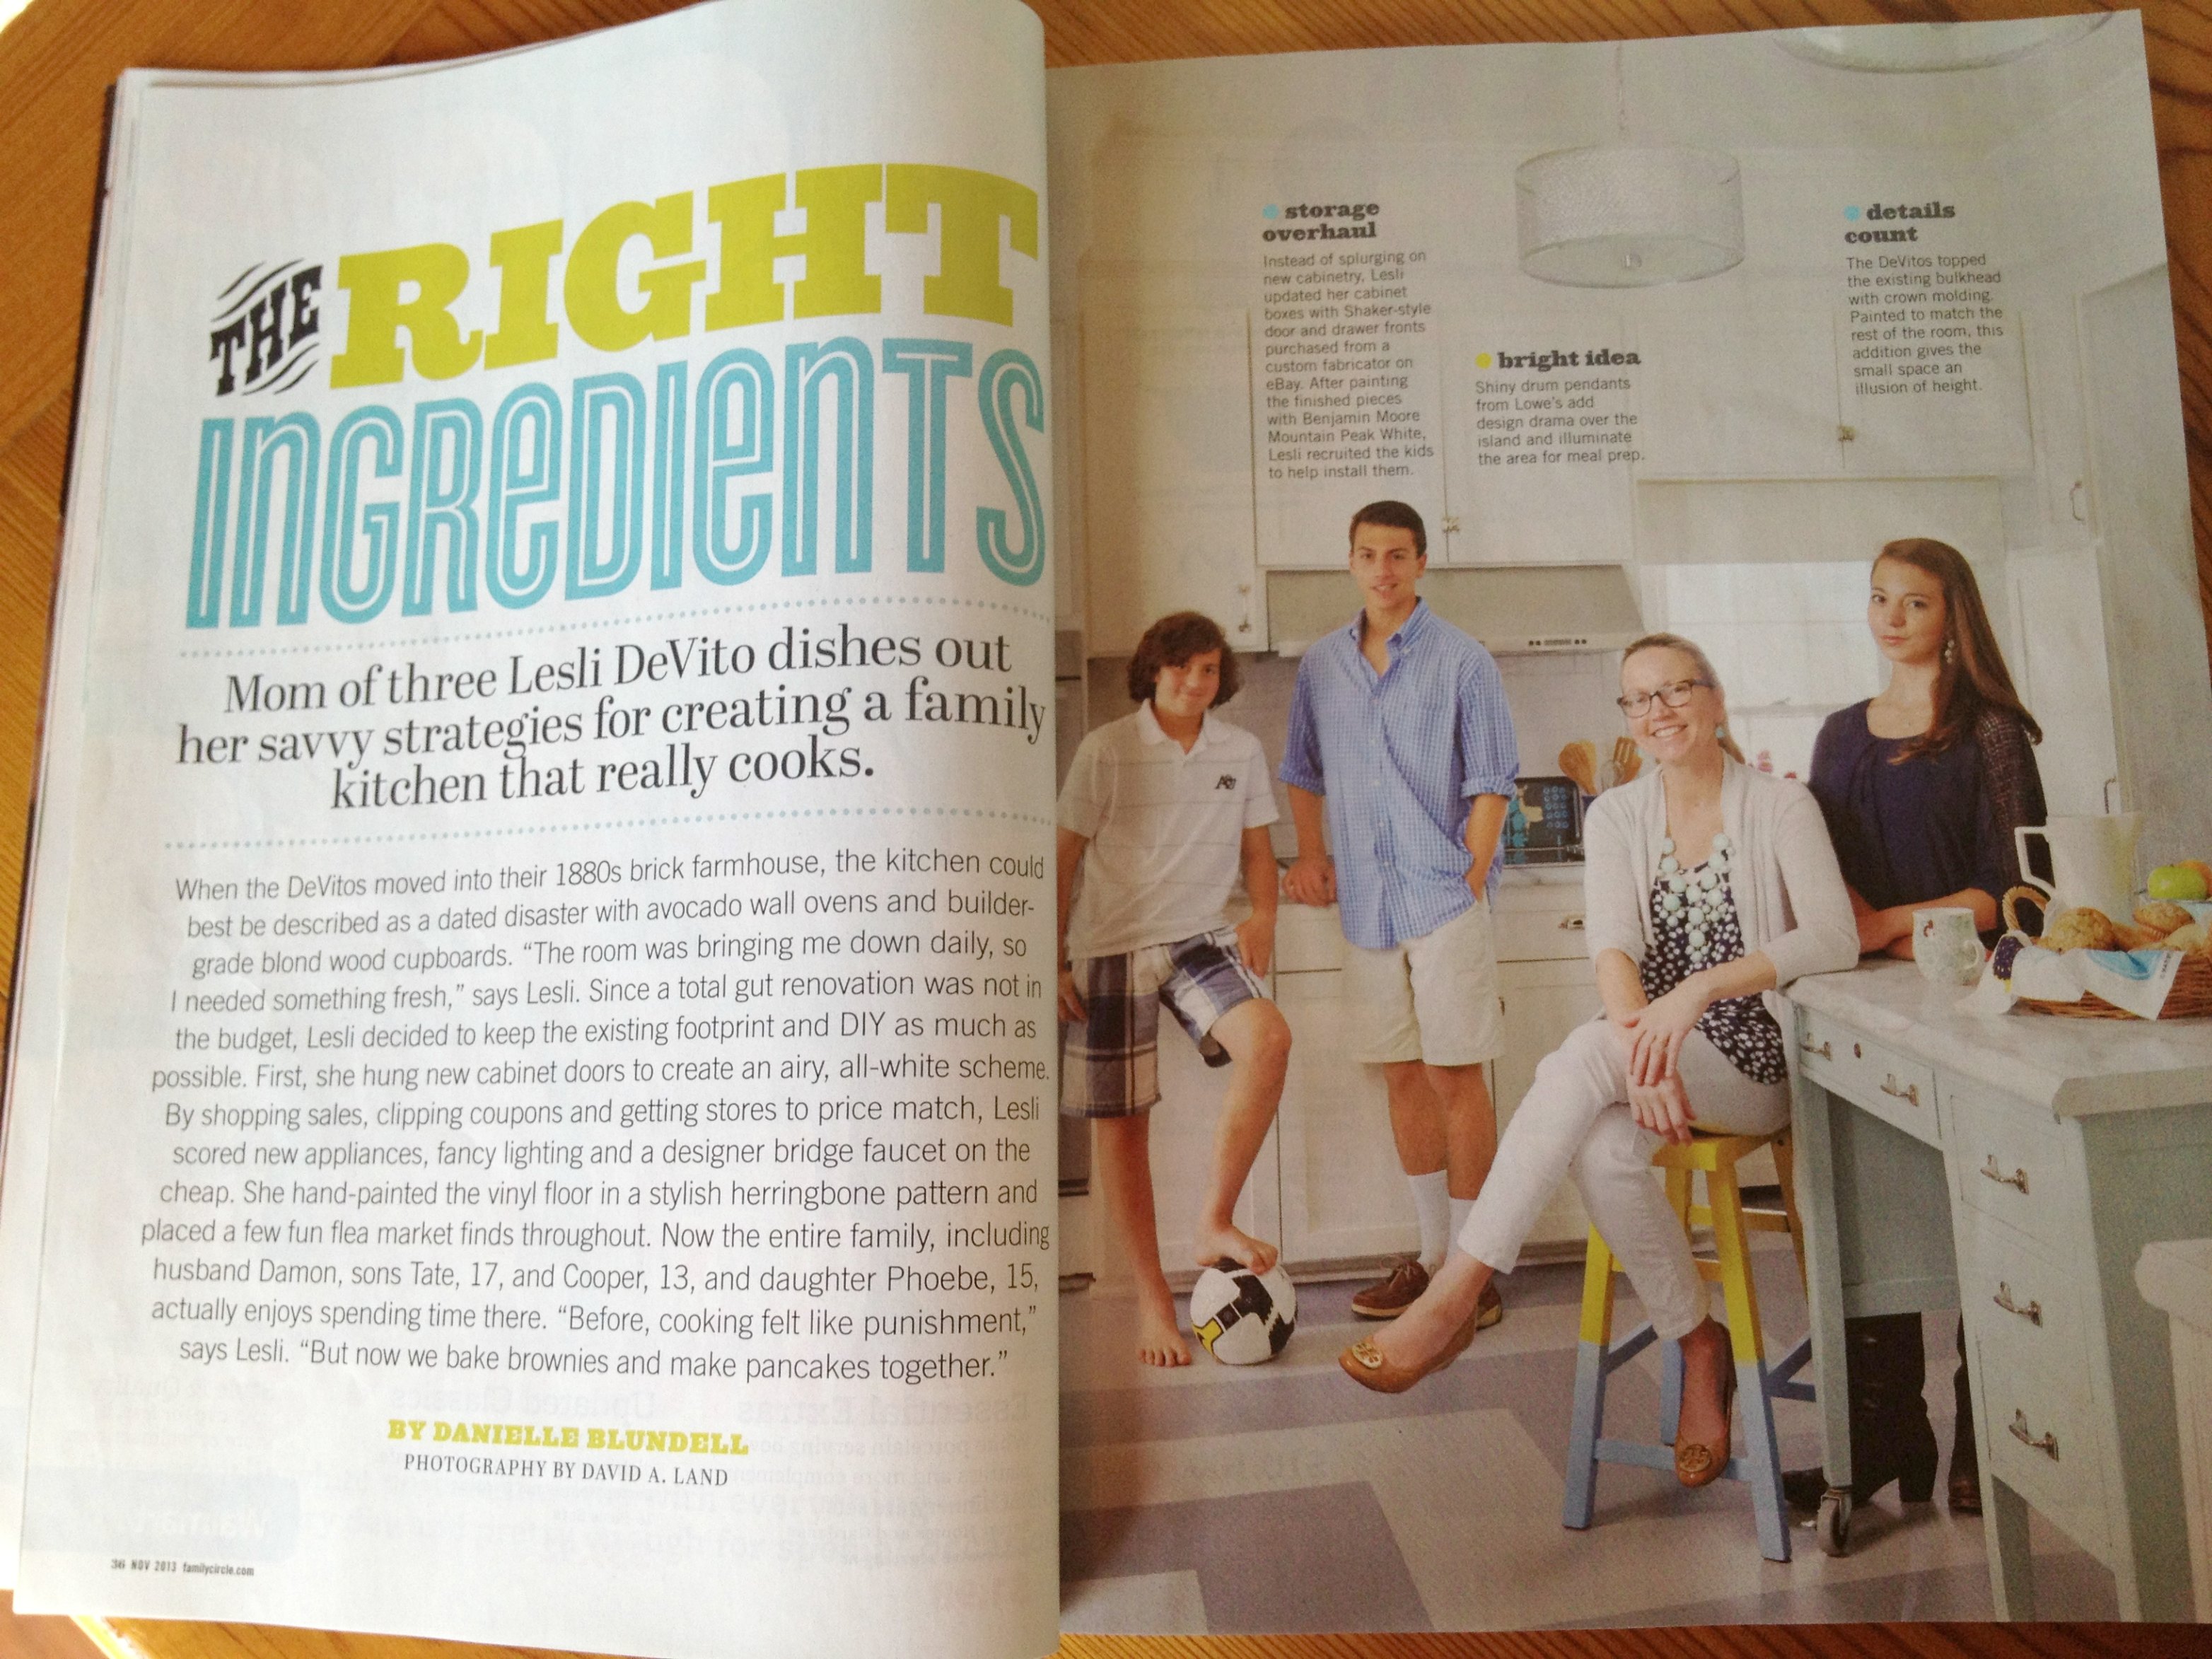
It was and is a very special and validating experience…I spent so many hours scouring the internet…practically living at Lowes and Home Depot…crunching the numbers and seeking out deals to have my dream kitchen.

I knew that just because I had a shoestring budget, did not mean I had to settle for cheap materials and lack luster finishes. It just meant I had to be patient…and where I did not have money..be . creative.
Do I think my kitchen is the most beautiful kitchen in the whole wide world…uh, no. But do I think I put together the absolute best kitchen for the money I could…yes, I absolutely do.

THE MAKEOVER
The kitchen makeover took place over a little more than a two year period and my blog was just starting, thus, many of you may have only “met me” towards the end of this journey. For this reason, I would like to go back, deconstruct the kitchen and tell you what I did…how I saved and what your options for saving are. This may take one post, it may take a few…we shall see!
THE BEGINNING
Let me back up a bit, when we first moved into this house, it was as a rental.
But we were fortunate enough, that the landlord, a business associate of my husband’s, who lived out-of-state, gave us a budget to fix the place, but we oversaw the floors being redone, all new plumbing, electrical, and the painting of every inch of the house. I wish I had blogged then…it was insane, but we took what looked like a haunted house and made it the perfect place for our young family to grow up in. We made it work, as a rental and then we bought the house one year later. Around year 4 we began systematically taking each room and making it our own.
And eventually, we got to FINISHING the bathrooms and the kitchen last year.
INGREDIENTS:
1. CABINET DOORS AND DRAWER FRONTS-
We had batted around the idea of gutting the kitchen for about a minute. Old houses are full of surprises good and bad and because our budget was so limited, we knew we could not afford ANY surprises. And on our budget, we would probably not get nearly as good of quality of cabinets as our existing kitchen which is solid wood and was built by a neighbors Dad in 1967, everything on the spot made for the room. Without taking down a wall, the room was what it was as 18 x 18 box with 3 doors one to the hall, one to the laundry room and one to the dining room. The configuration is not awful, and even the architects and contractors we know said that the footprint was about as good as we would get..given the space. So we decided it would be best to stick with the footprint. Right there we save thousands and thousands of dollars.
IF YOU CAN LIVE WITH YOUR CURRENT FOOTPRINT YOU WILL SAVE.
Almost 3 years ago I ordered new doors and drawer fronts from an online Carpenter I found via eBay called Hunters Woodworking. Charley Hunter worked closely with me to measure my existing boxes and to determine what size I needed each door to be to achieve the look I wanted. My old doors did not cover the box fronts which made them appear dated and well..old. They began, looking like this:
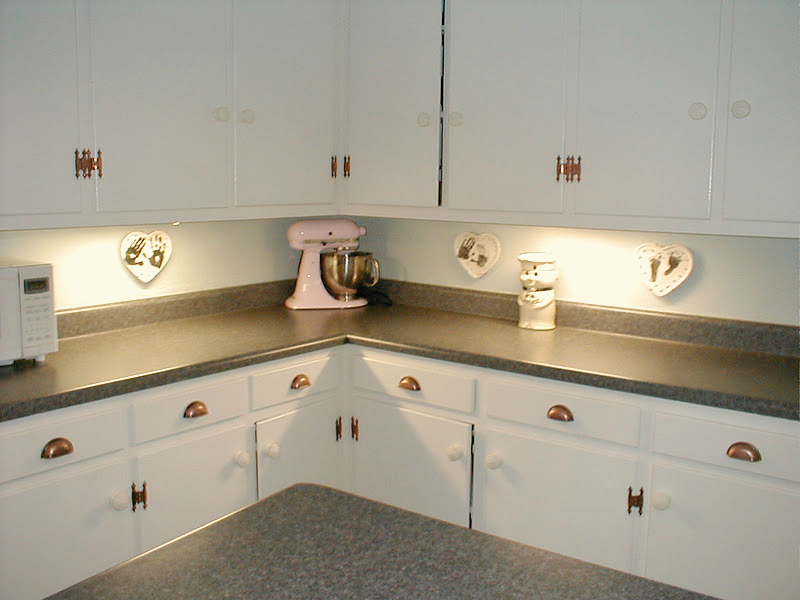
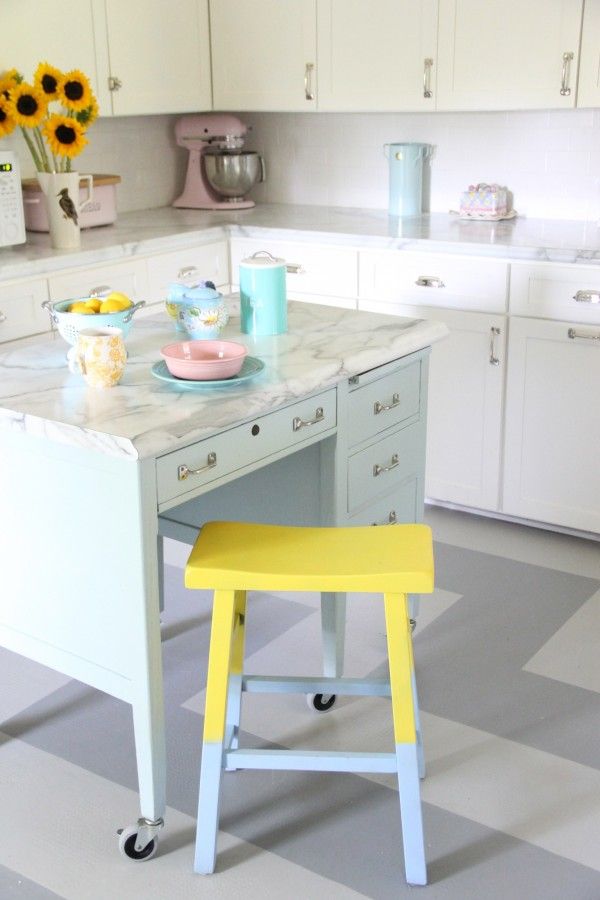
…AND NOW THEY LOOK LIKE THIS!
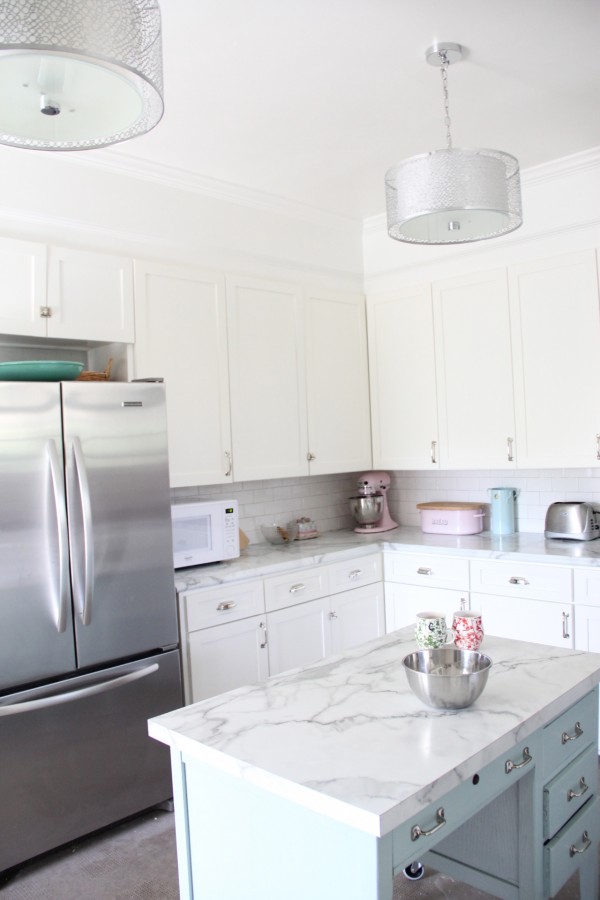
Sometimes I can’t believe it is the same room!
WHAT I LEARNED: IF you have a LOCAL carpenter, this process will be easier. Charley could not have been more accommodating and helpful, but let’s face it, he was in Kentucky… which is not next door.
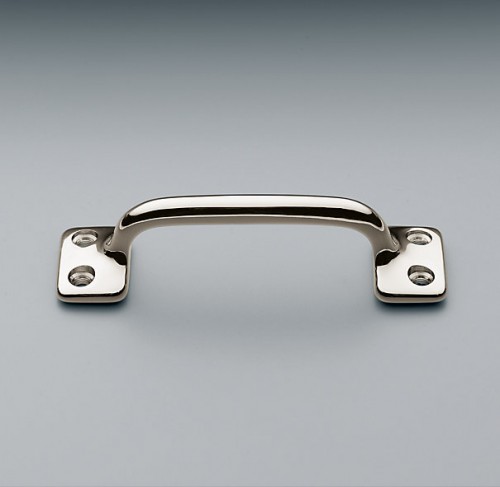
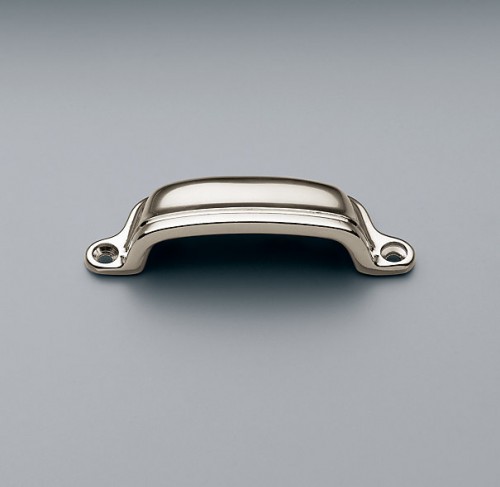
2. HARDWARE….
I knew that nothing can elevate a room like GOOD hardware and lighting…And the same way that a kitchen can look dated and tired with old funky hardware, you can breathe new life into your kitchen with some great new knobs and handles. In fact when people ask me what is the ONE thing they can do to make their kitchen look not so gross…I say “GET NEW KNOBS”! If that is ALL you can do right now…then why wait until you can do it all…for goodness sake, go get the knobs!
I got mine in Polished Nickel from Restoration Hardware. They were on the SPLURGE side of the Makeover…but they make a huge difference and are very timeless so will not need changing anytime soon. I have a HUGE crush on my Knobs and Handles…HUGE! Even after 2 years..I adore them.
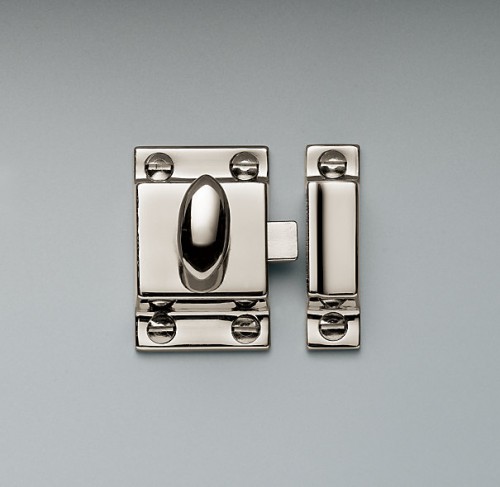
AND THE UTILITY LATCHES:
A NOTE ABOUT INSTALLING HARDWARE-
I was TERRIFIED of making a mistake when I installed my hardware.

I bought a plastic “Template”, designed to help but it did not work with my doors. DURN! In the end I made my own template. I have saved this one. It makes me smile every time I look at it because I remember how diligentky I worked to put the handles on exactly in the right place so they would line up!
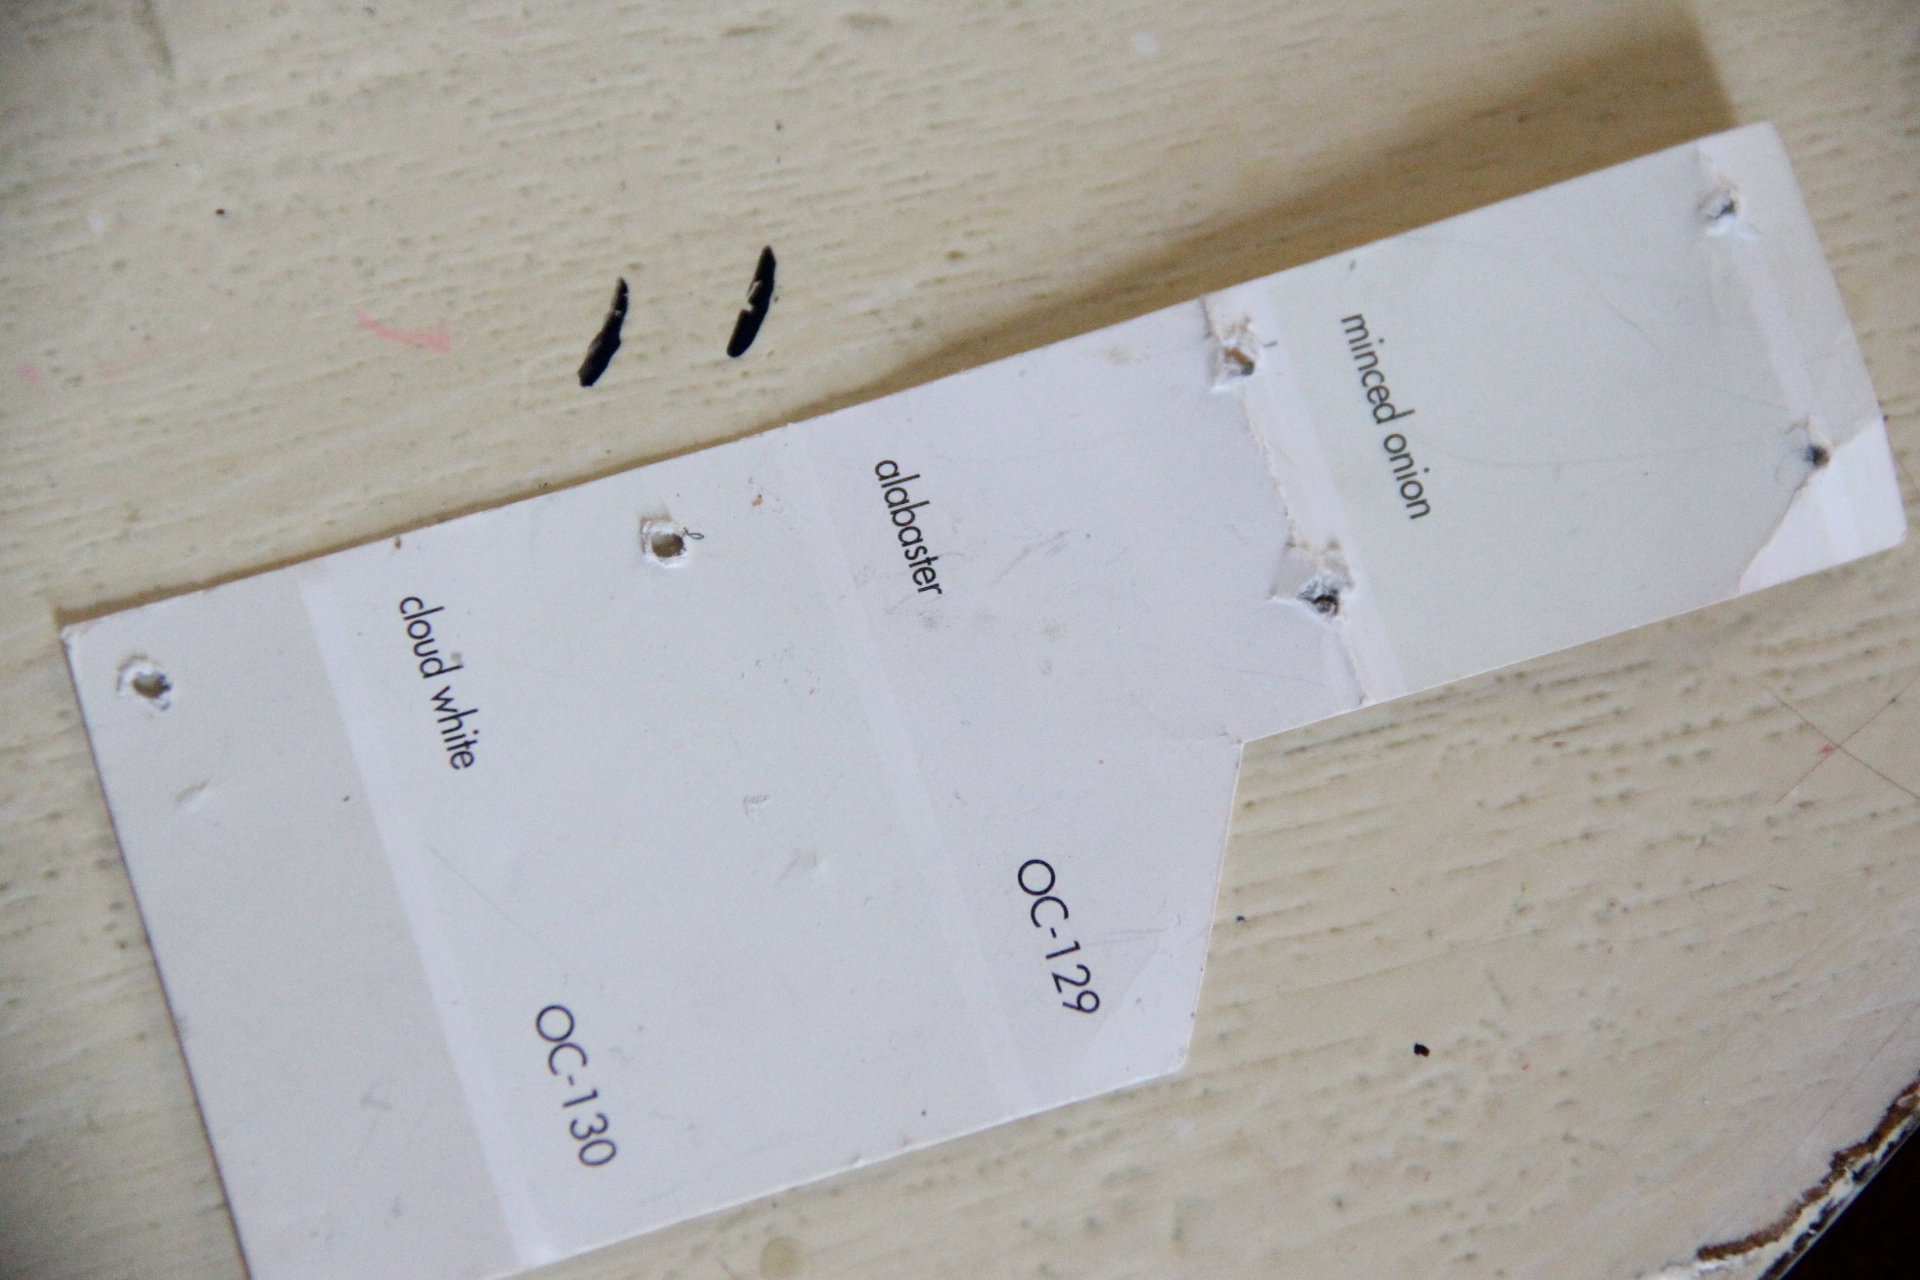
I got them straight!
RECENTLY I saw a pinterest pin where the woman had made her template out of foam core…GENIUS! She poked holes where she needed to mark the drawers and went from the center of the drawer, so they did not need to be the same size drawers, sort of a “one size fits all” template. And here is a great tutorial on BOWER POWER BLOG.
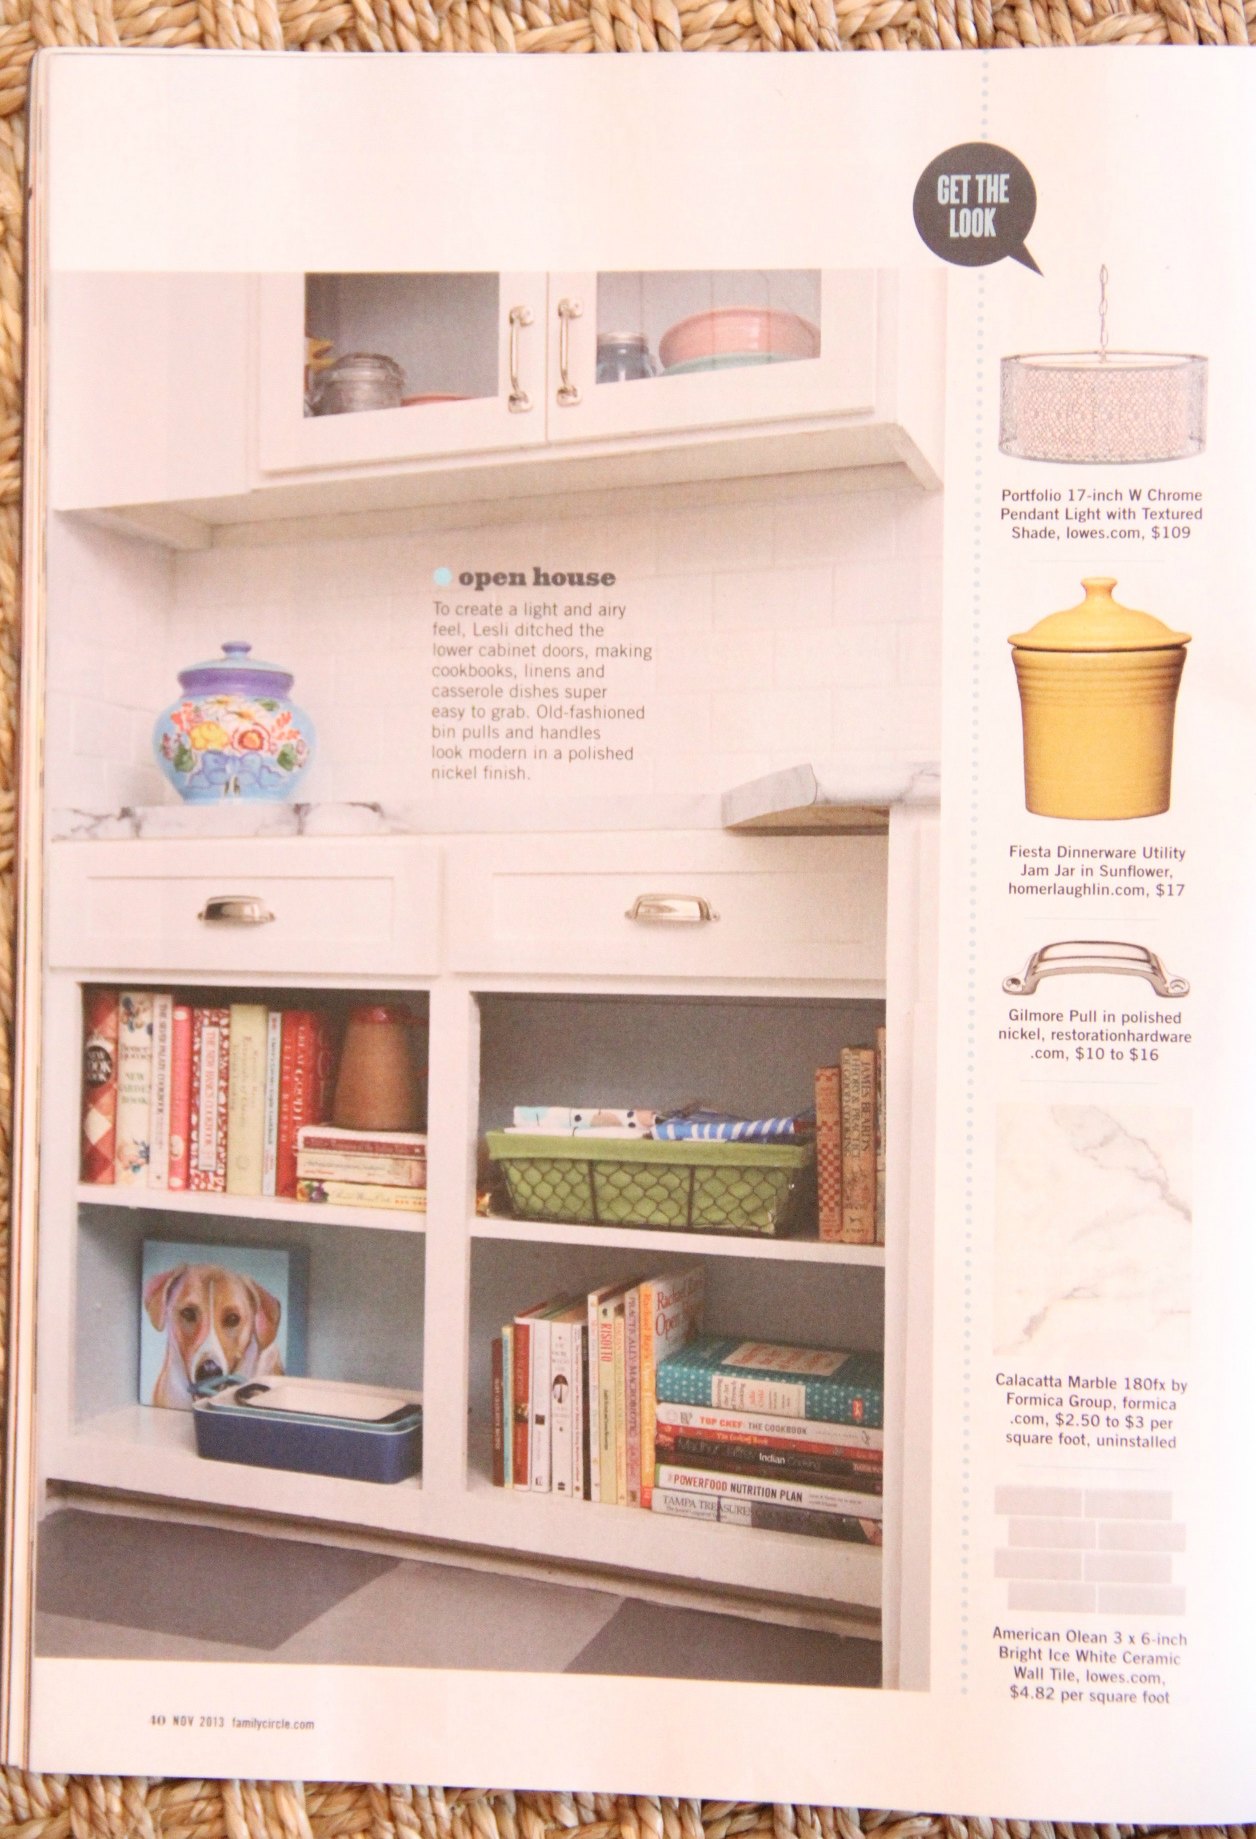
3. LIGHTING
AFTER LOOKING FOR lighting for a while, and going back and stalking this
Jonathan Adler Fixture I have obsessed over for years ….
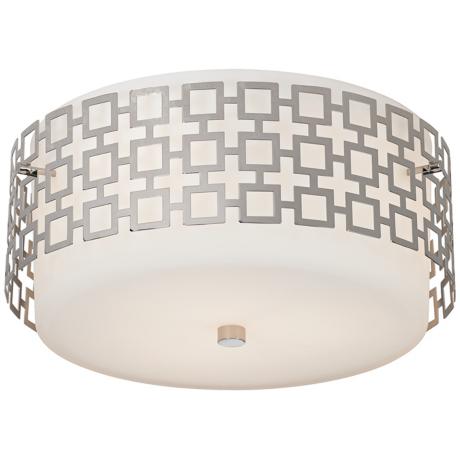
I got these pendants at LOWES:

Finally, I got a beautiful pendant from SCHOOLHOUSE ELECTRIC, made with a pull string to make up for an old switch I wanted to ditch…and chose a shade with an aqua strip to add just that pop of color and vintage charm…
TO BE CONTINUED….TOMORROW WE WILL CONTINUE TO DECONSTRUCT THE KITCHEN MAKEOVER AND EXPLORE:
4. FAUCET, SINK AND DRAIN
5. APPLIANCES
6. COUNTER TOPS
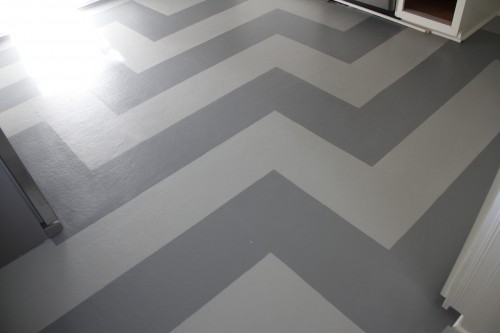
7. FLOOR
8. ODDS AND ENDS
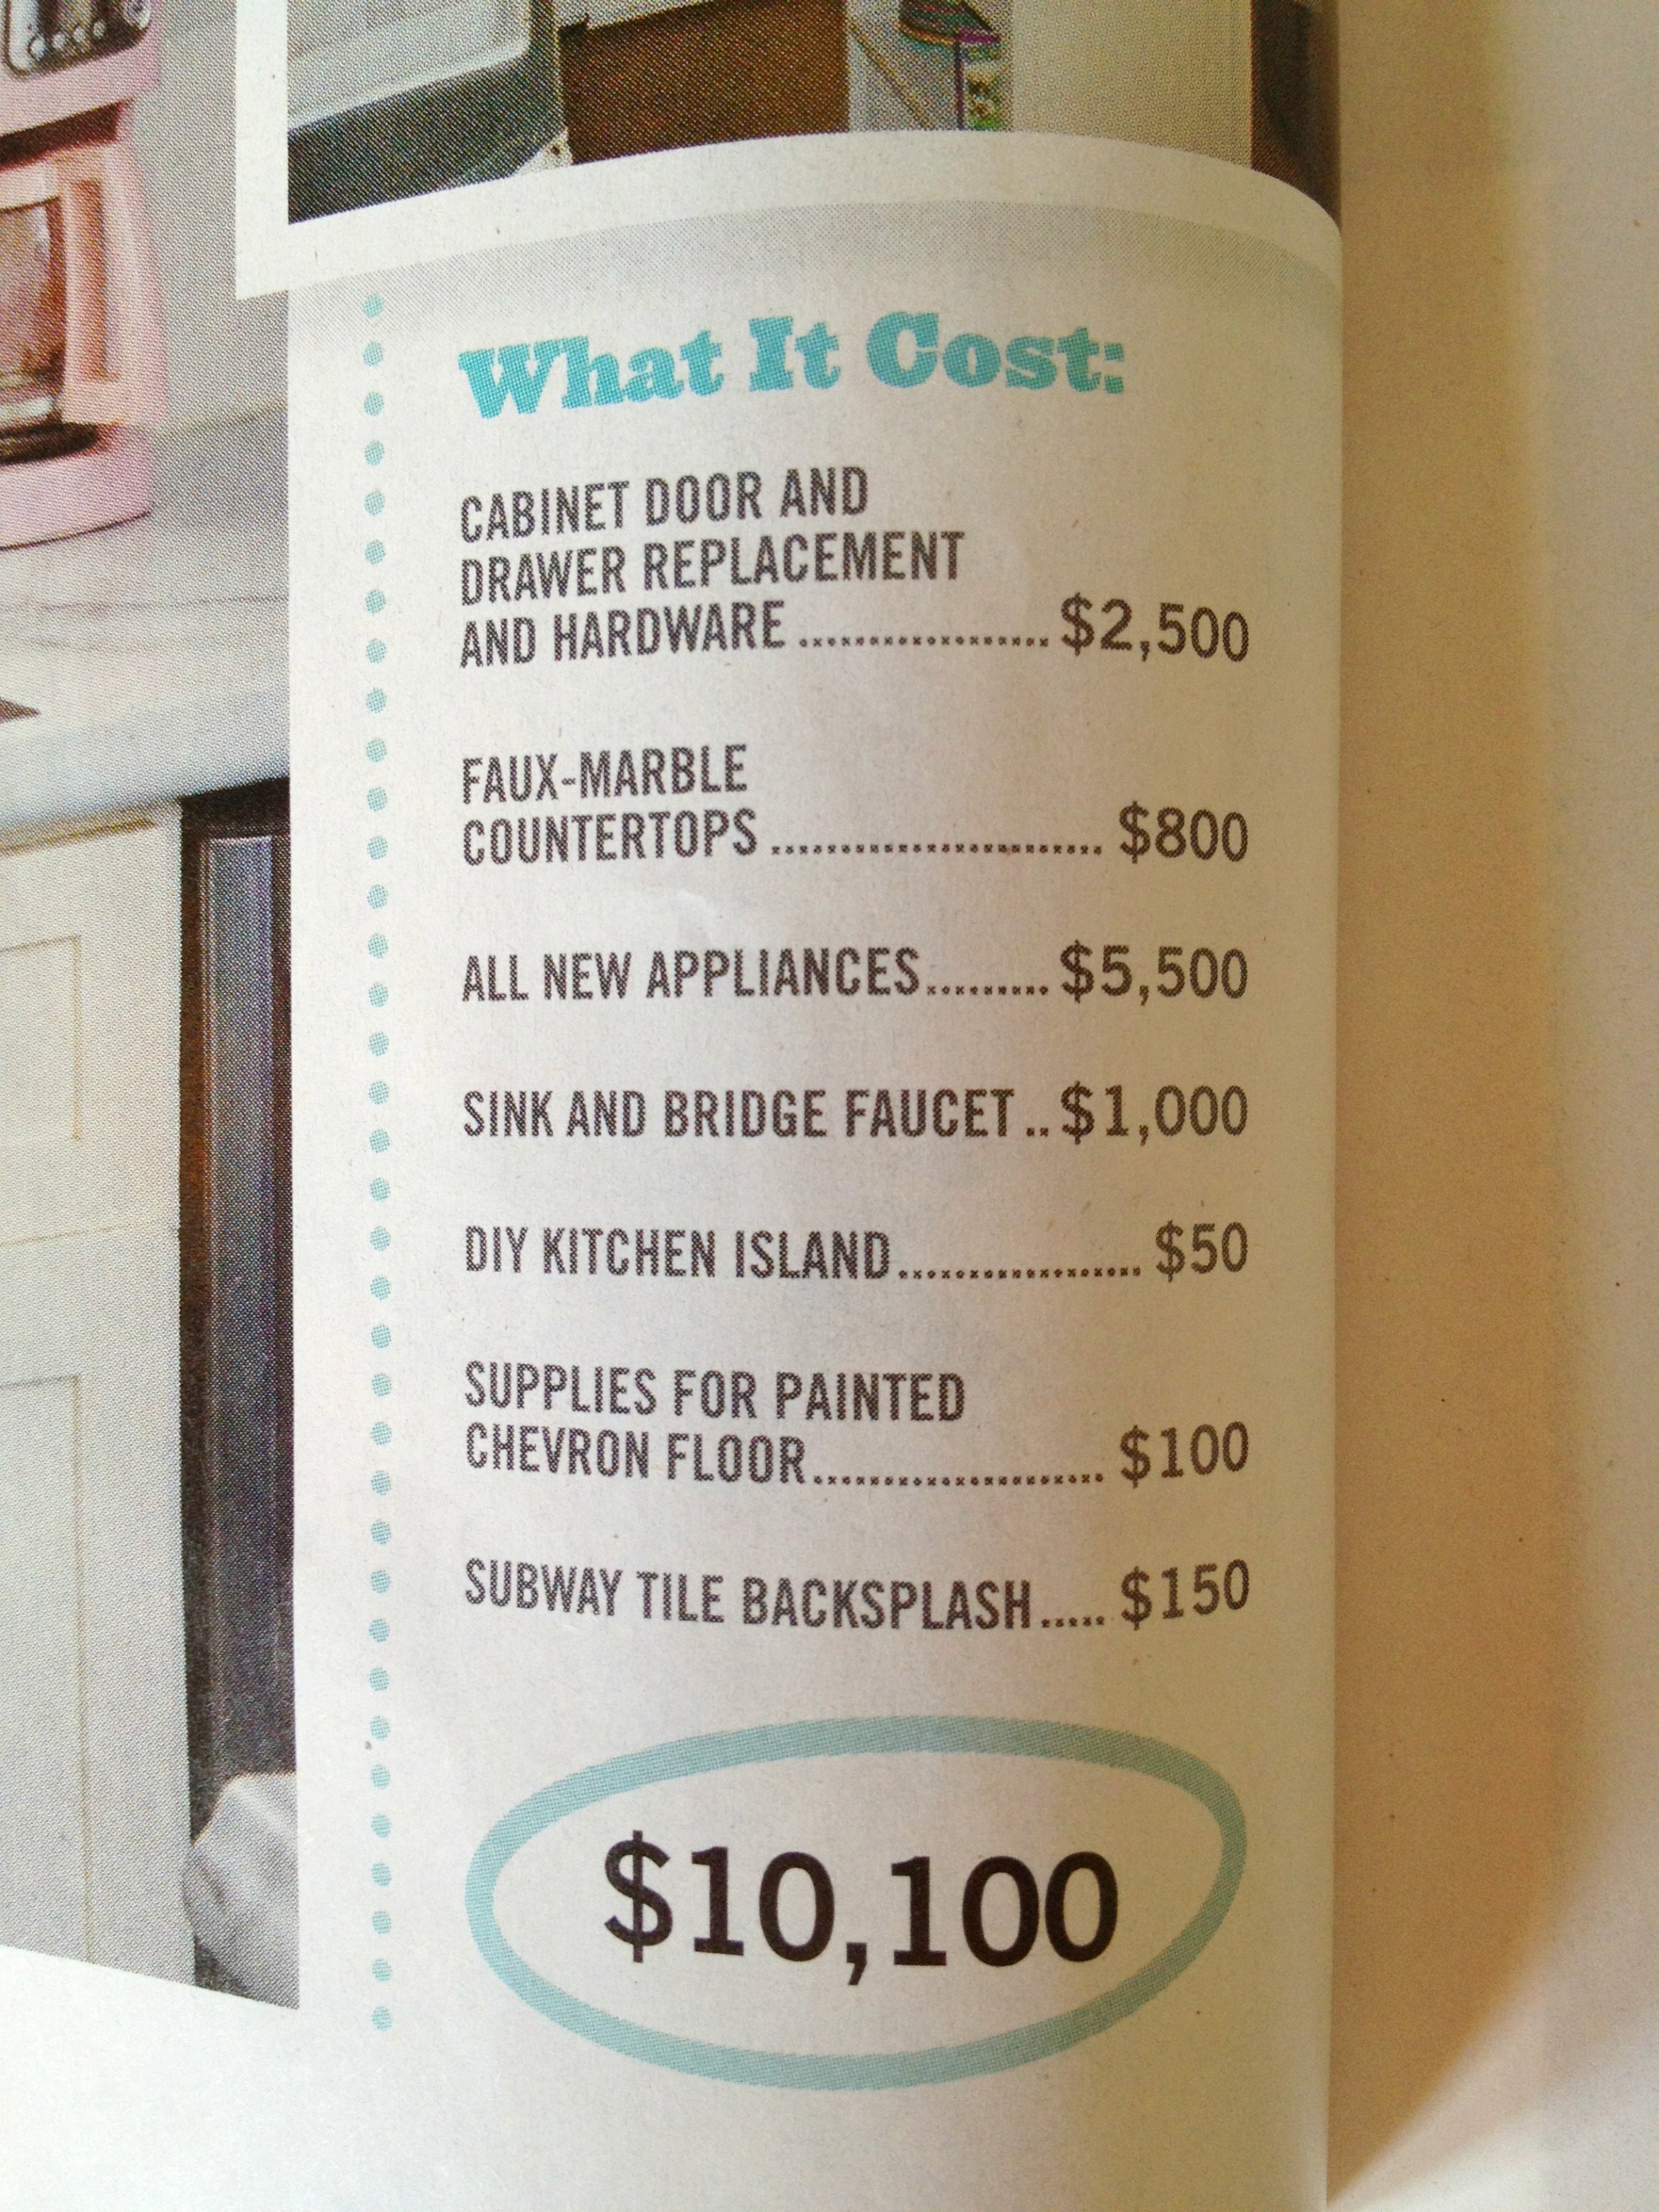
[…] YESTERDAY I broke down the […]
Hi Lesli! I’m late to the giveaway but wanted to say congrats on your Family Circle feature. It looks beautiful!
Thank you Emily!!! It was a blast…and as you well know, a tad surreal. Thanks so much for stopping by!
xolesli
This looks amazing. I have old & very outdated white Formica counter tops. The faux marble idea has me excited to do this for a cheap fix. My kitchen is small and gets a lot of wear and tear. I am curious about the durability of the counter tops. How has the counter tops held up?
They have held up great. I have three teens who try to ruin them every day but have not yet succeeded..They are awesome!