
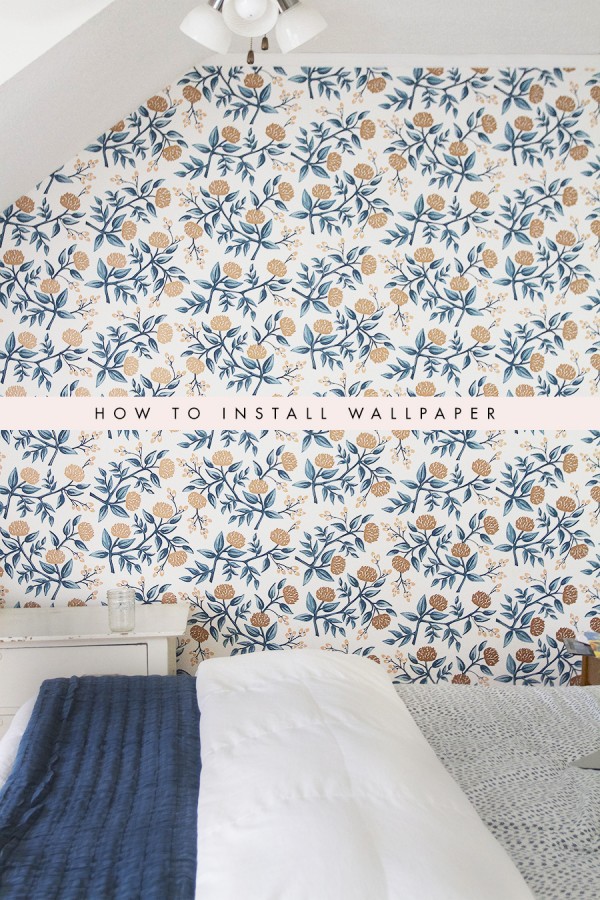
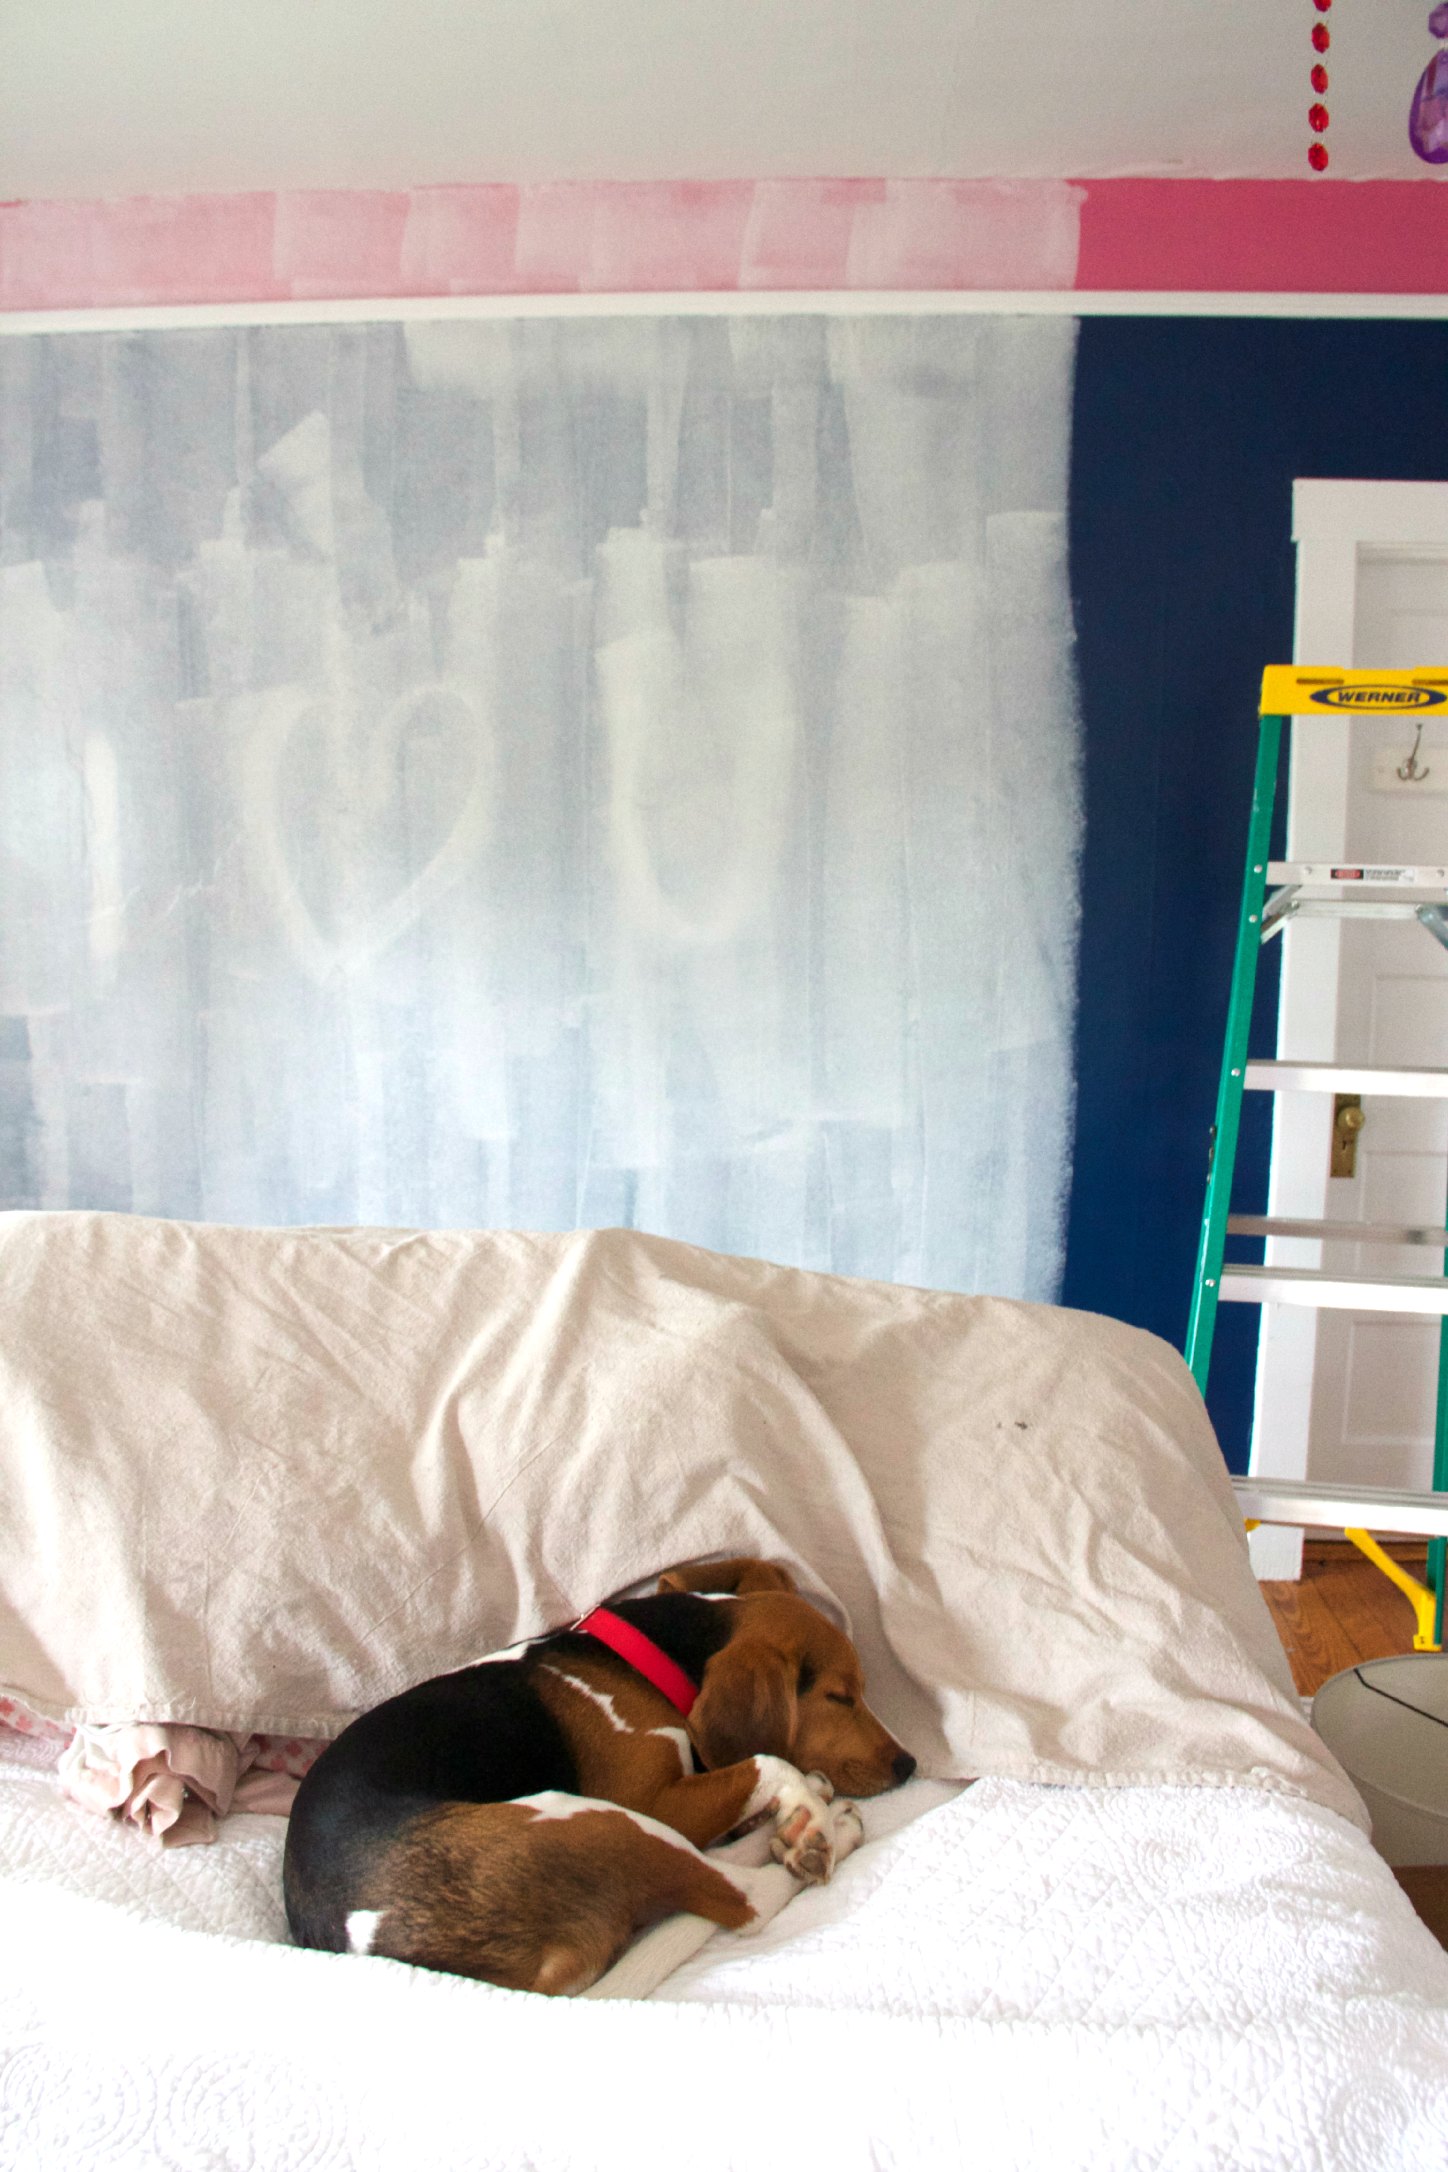
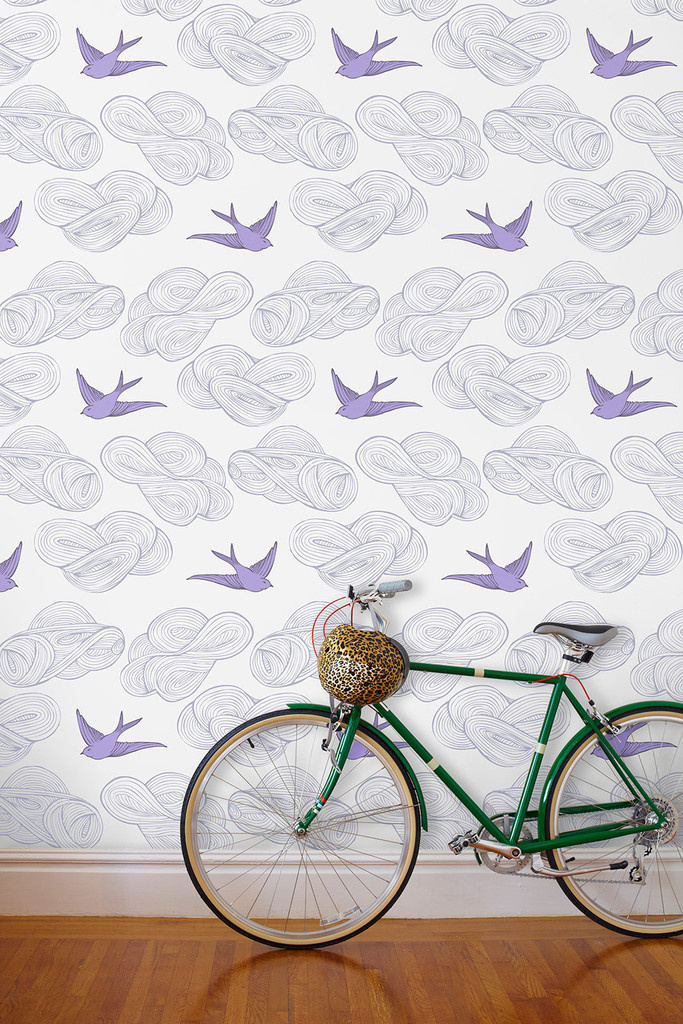
I JUST FINISHED Wallpapering my daughter’s bedroom…or a few accent walls.. It was not the first time I had wallpapered but it WAS the first time I had wallpapered one of our old CROOKED slanted crumbling walls (the other wall was the kids bathroom WALL and we put that new drywall in). I knew that it would not be straight shooting and in the end, it looks great – but it may take a while before I don’t see my mistakes and notice the places where I struggled.
I Had big dreams and imagined a wonderful “HOW TO WALLPAPER” tutorial I would write…but that will not be happening. I should not be teaching anyone how to wallpaper. Good news though! There is a great short and sweet tutorial on Hygee and West ( the site where I purchased my wallpaper) … and I highly recommend if you are going to begin a project and it has been a few years between wallpapering jobs…well, lets just say I WISH I HAD WATCHED IT…which brings me to the first of my
WALLPAPERING MISTAKES YOU DO NOT WANT TO MAKE
1. NEVER assume you remember everything if you have not wallpapered in a while and refresh yourself with a tutorial…online, in a book, talk to a friend in the know…something besides barreling in there with your paper and paste!(there is another fantastic detailed tutorial at DEUCE CITIES HENHOUSE) – Scoops, the author will make you laugh AND teach you to wallpaper!
2. PREP PREP PREP…TAKE the time to clean and prepare your walls and then apply a wallpaper specific primer. I used SHEILDZ.
3. Don’t forget the PLUM LINE! I was very careful to prime and prep my wall but then forgot to mark my “Plum Line” – which keeps everything straight and struggled with my first strip for half an hour!
4. MEASURE and PRE CUT pieces and then add 3-5 inches at either end which you will trim – as OPPOSED TO CUTTING your pieces the exact length! Yeah.

5. PAY ATTENTION TO THE REPEAT -FOR EXAMPLE – if your wallpaper pattern has a 24″ repeat, that means that at LEAST 2 feet will be wasted in matching up your paper. Calculate that into your measurements WHEN YOU ORDER – or you will run out of paper and you will cry.
6.BOOKING – is something you do to the paper after you apply the paste, you sort of fold it over onto itself…but careful not to CREASE the paper or leave it too long …the paste will work it’s magic in the worst kind of way!
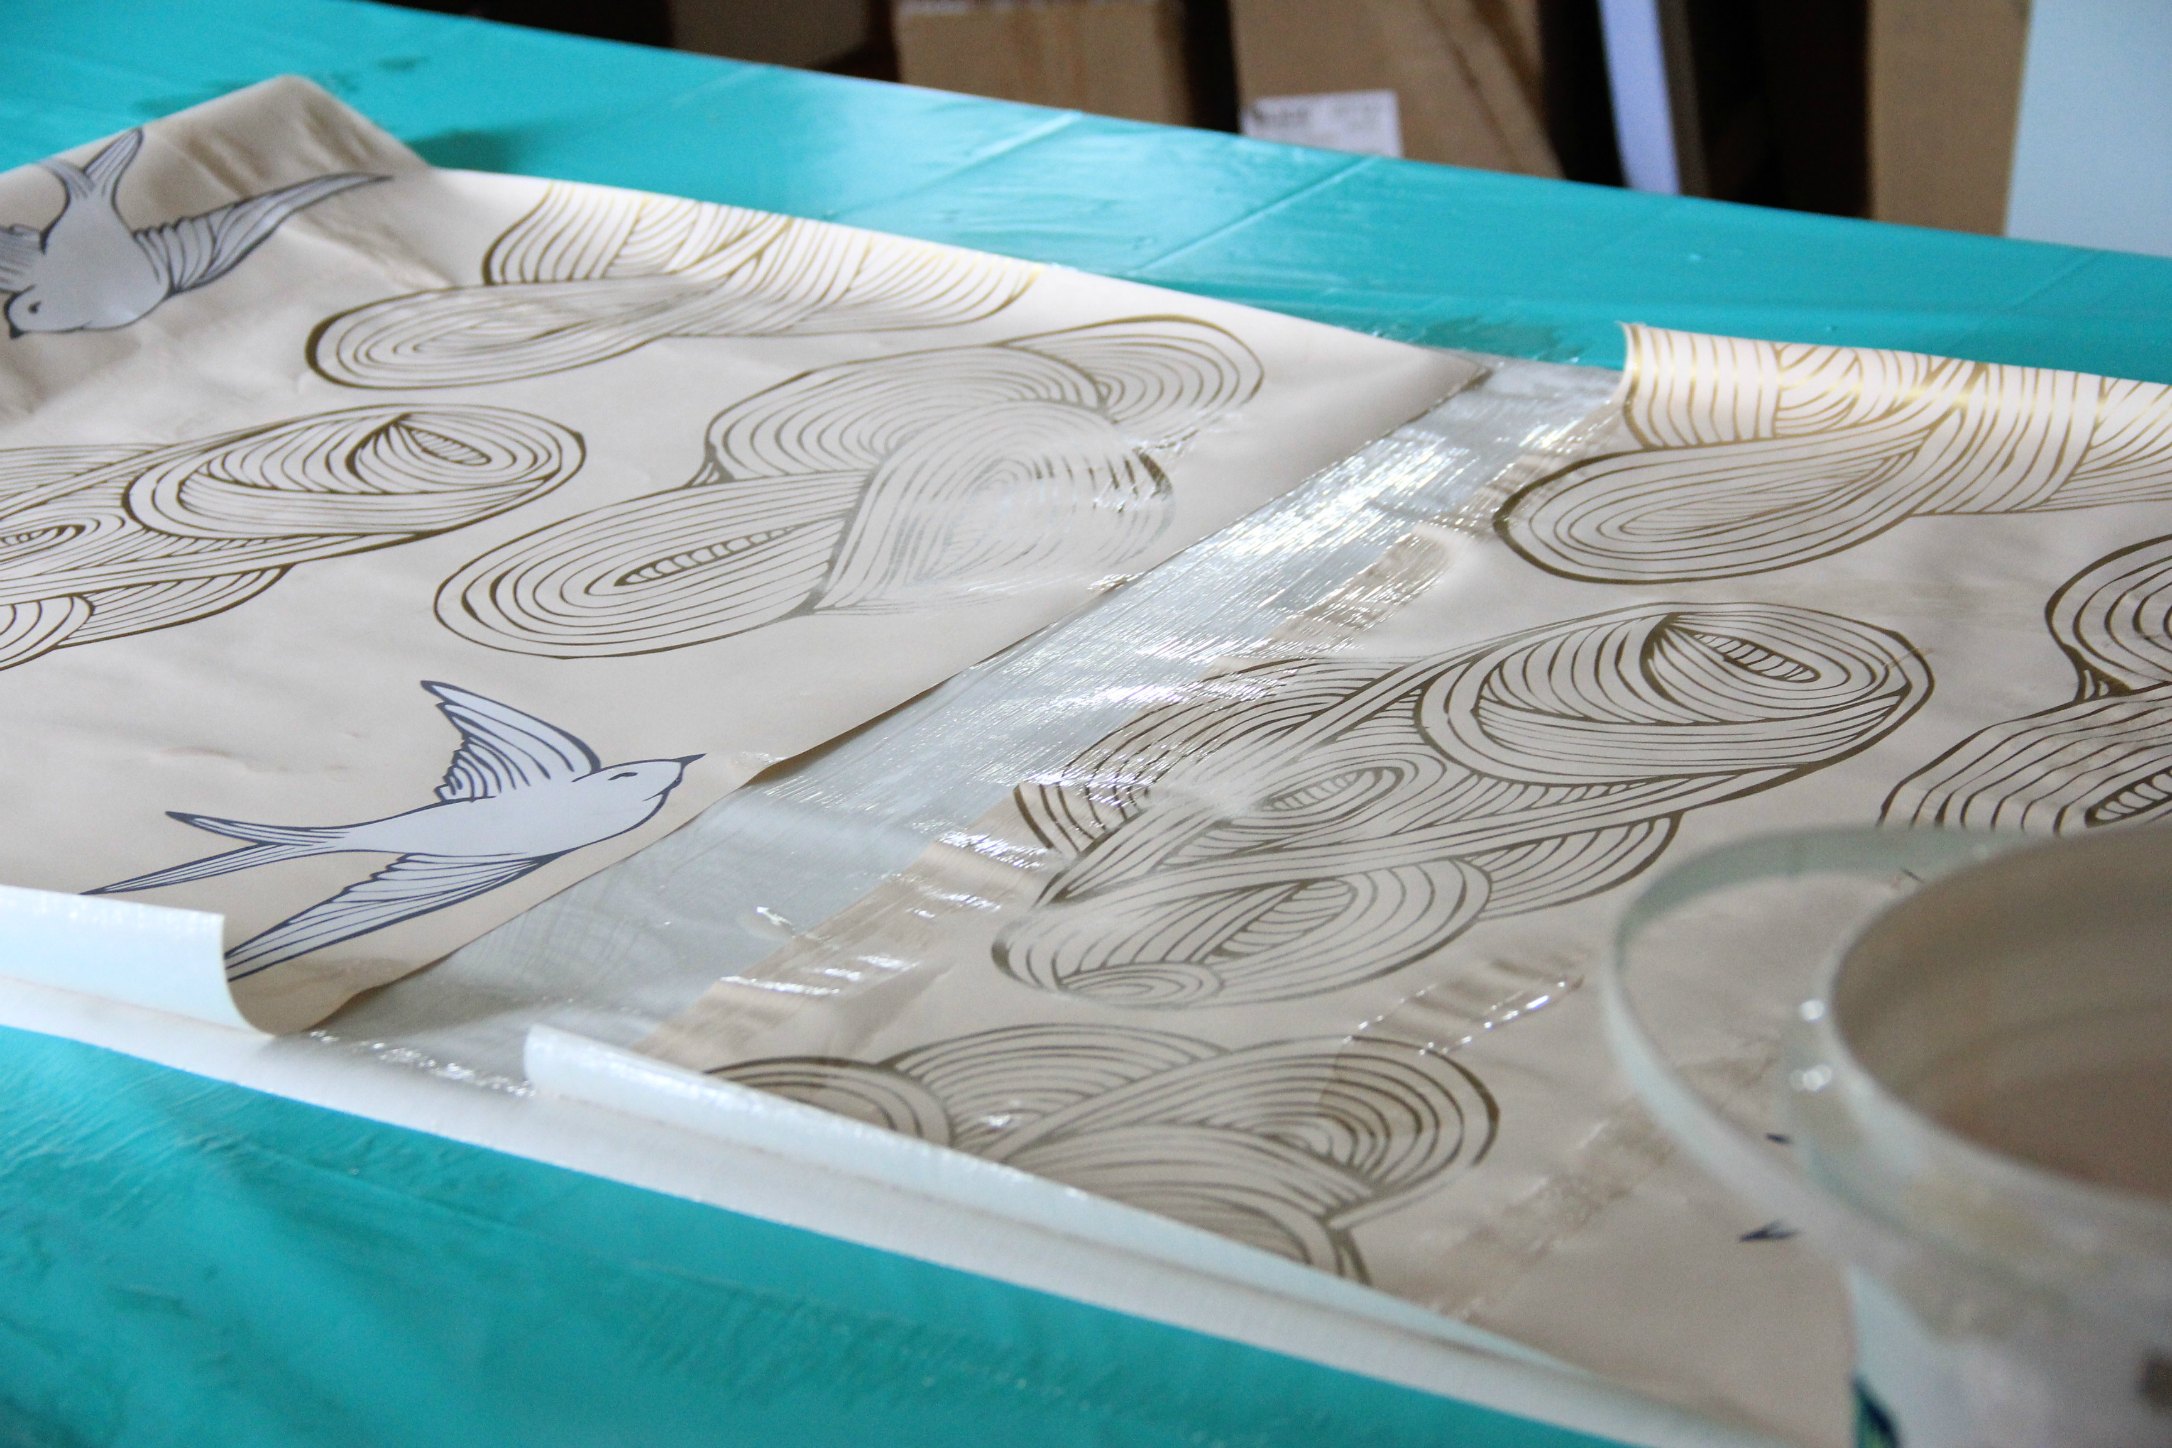
7. And speaking of paste – take care to keep all UN PASTED paper away from the pasting area…wipe off and CLEAN THE TABLE EACH TIME – I had a few pieces that I rolled up – not knowing that paste was on them and they do not unroll well. They STICK AND tear and the rip and you will cry.

8. Make sure your matt knife or box cutter or whatever you use to trim, is very, very sharp. If it becomes too dull or gummy from paste..it will shred – not slice – your paper….KEEP replacement blades handy.
9.DO NOT LEAVE BUBBLES and WRINKLES – SMOOTH THEM OUT….over and over again until you work the air or paste out to the seam. The paper is stronger that you think…my favorite tool for this is a smoother thingy….

10. DON”T FRET OVER SMALL BUMPS – TINY ONES WILL SMOOTH OUT WHEN THE PAPER DRIES… amazingly – when all is said and done- I LOVE how it looks! 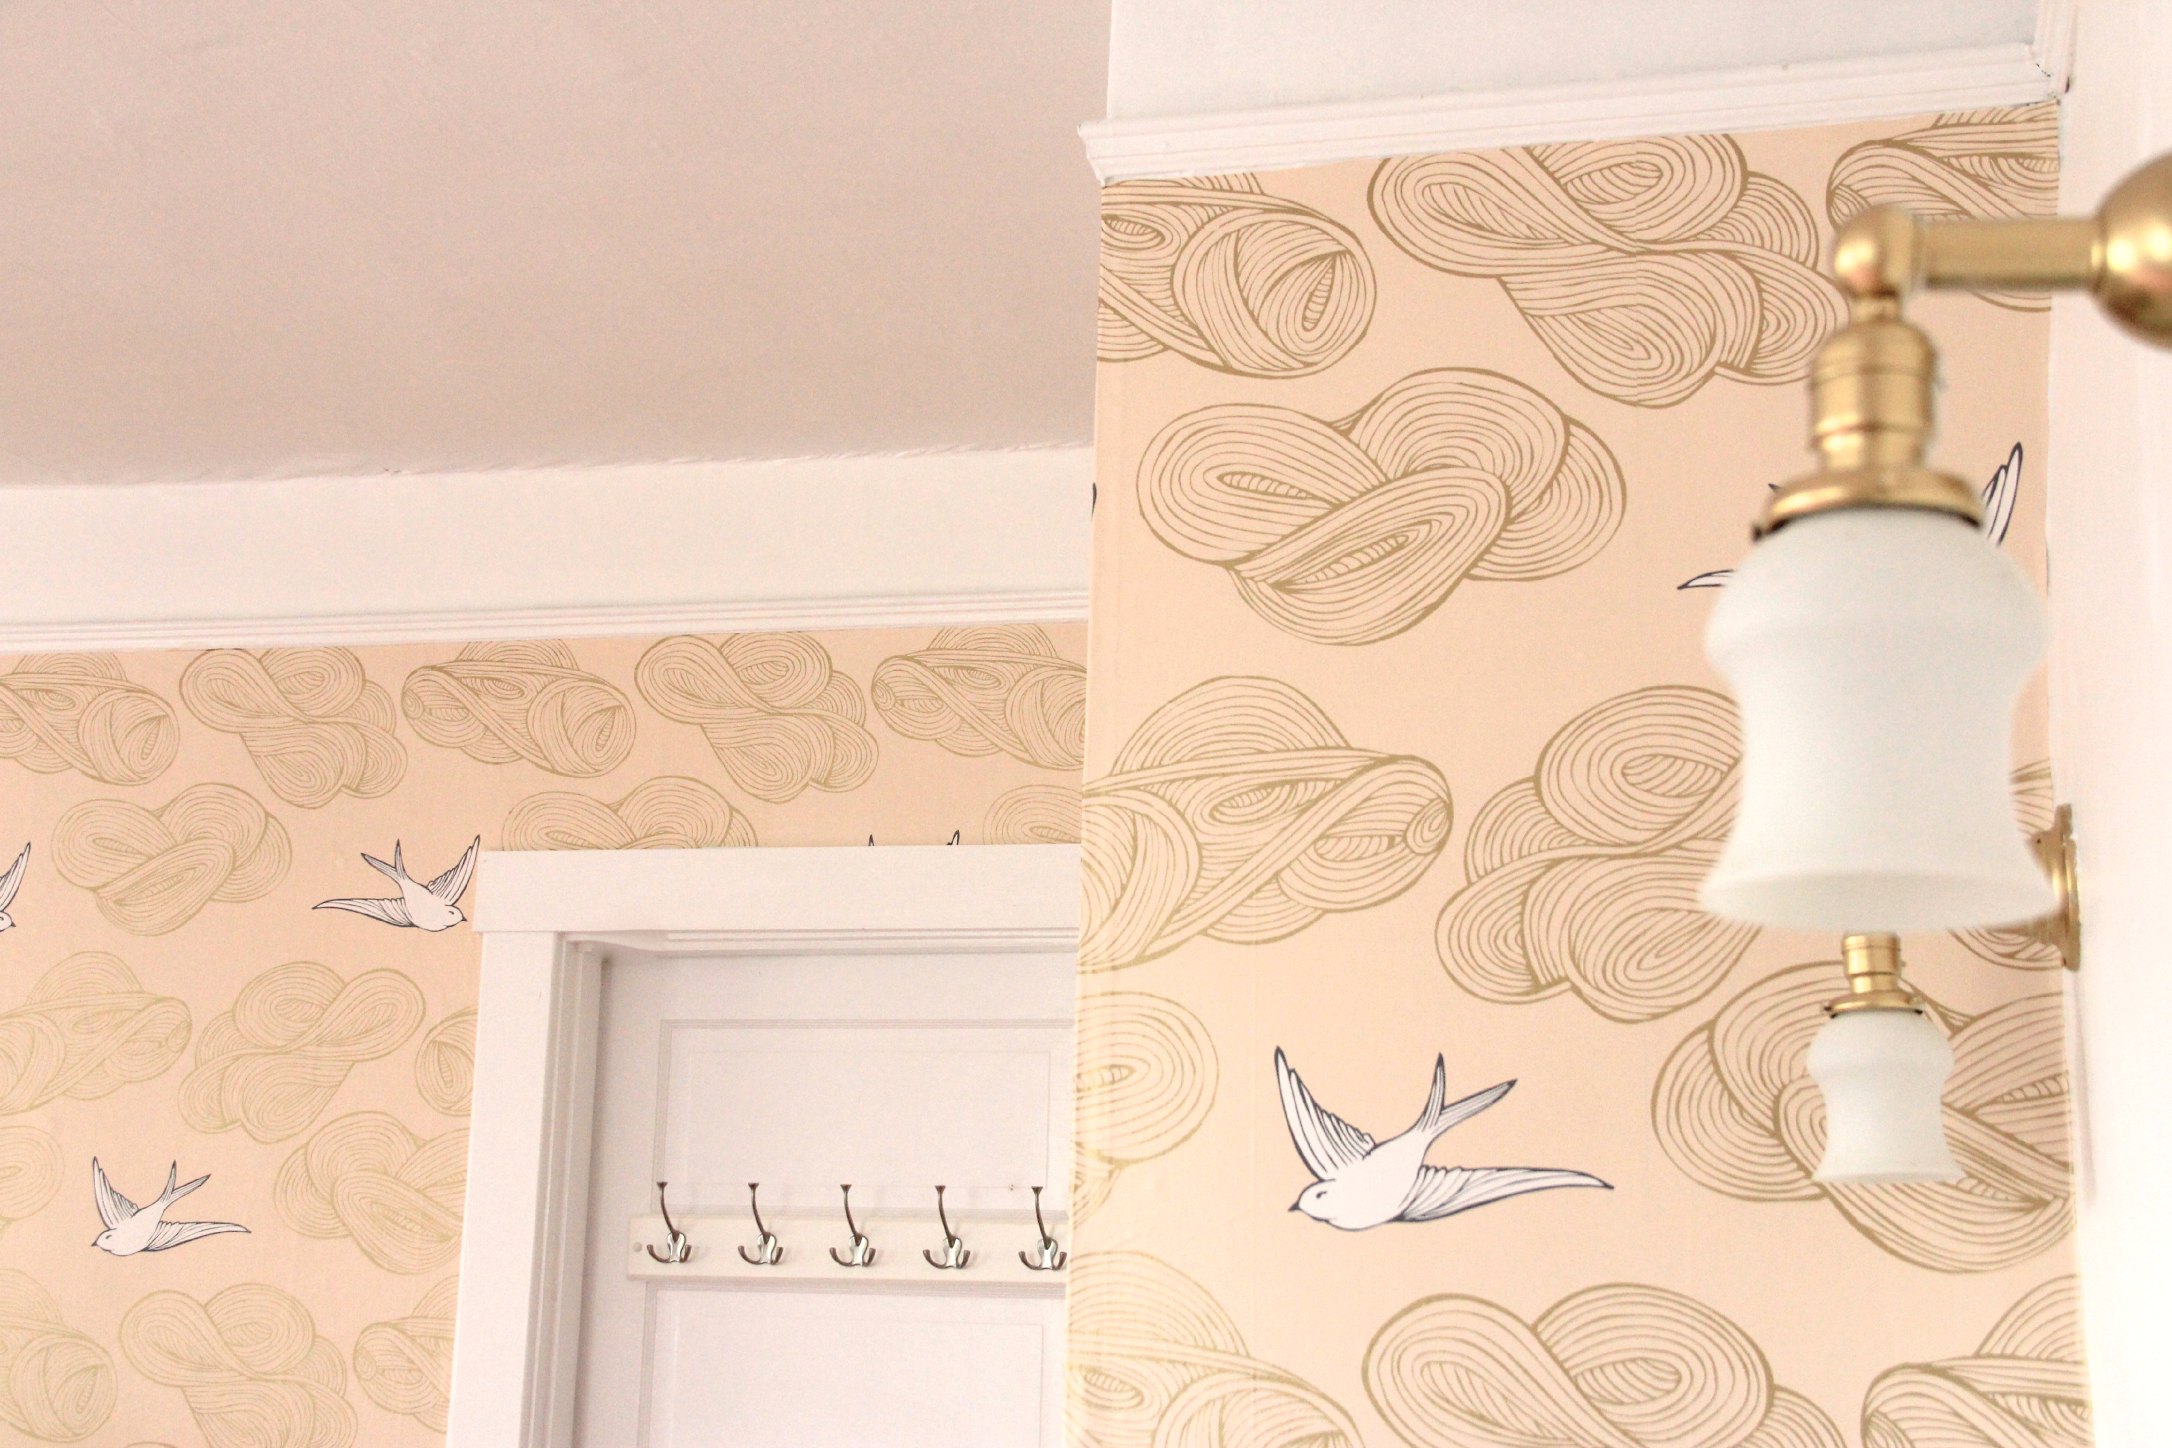
Tomorrow I will REVEAL the rest of WALLPAPER in Phoebe’s Bedroom One Room Challenge Makeover!