KiTCHEN CABINET UPDATE PART 5!!! or… the incredible journey…
August 27, 2011
Needless to say…the week got away from me.
What with school starting, and the earthquake,
and the aftershock and the cleaning and the
cleaning and
the mimosas with some other New Moms of High schoolers…
I just feel drastically behind.
But you know what I FINALLY finished?
The kitchen cabinets!
seems only fitting, I started them the week that school
got out for the summer
and I finished them the week school resumed.
Yeah, piece of cake.
this is all I can say…
NEVER AGAIN!
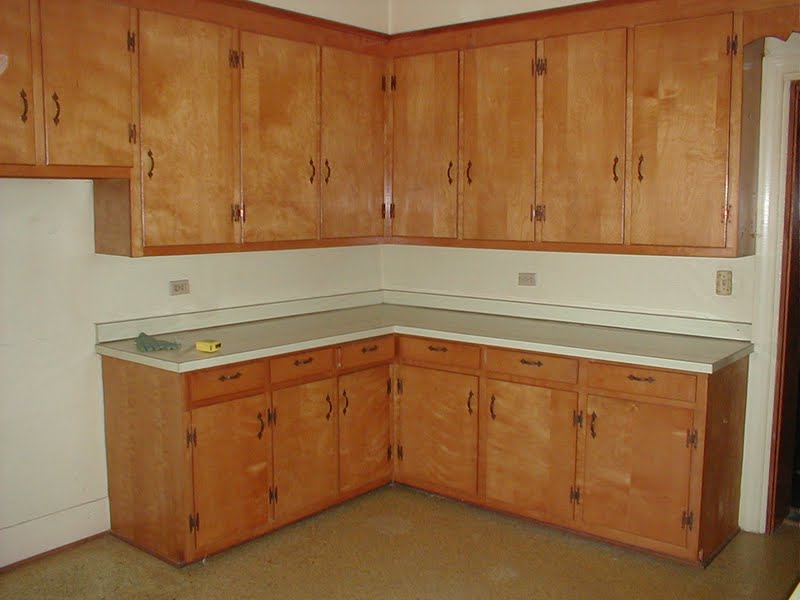
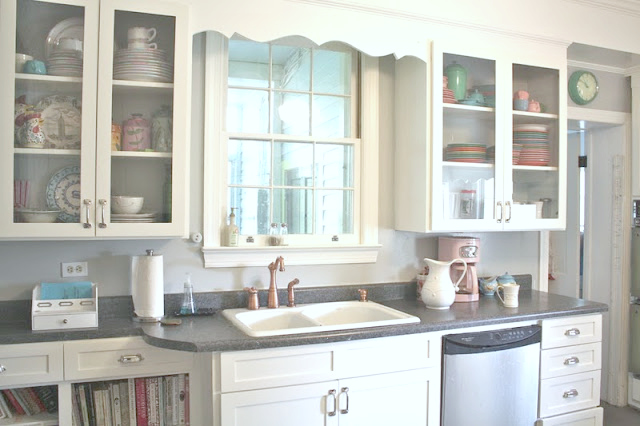
BEFORE #1
When we first moved in, we painted the cabinets, replaced the hardware and appliances with cute, but inexpensive choices, formica etc and put down NEW good quality outlet vinyl flooring.
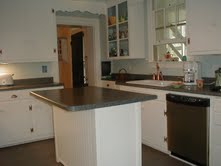
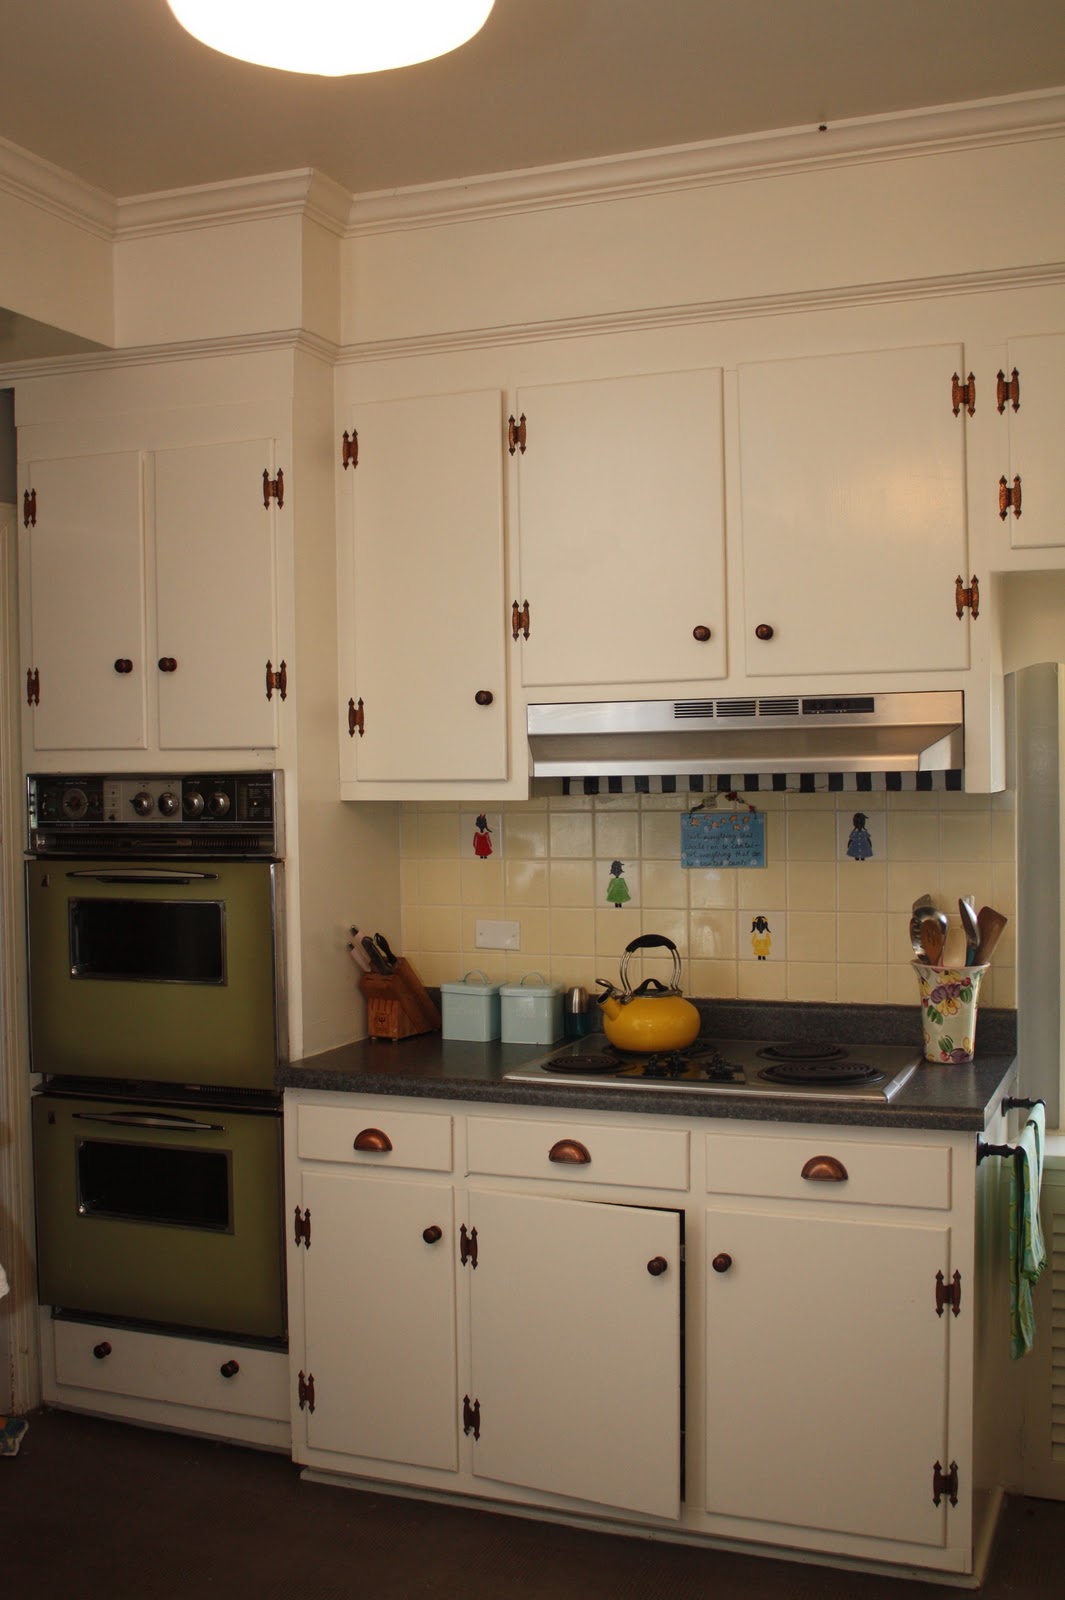
BEFORE #2
The hinges were vintage 60’s copper and so I matched them with a copper faucet and hardware…saving money on new hinges and making it all cohesive.
AND NOW…
DRUMROLL PLEASE!!!!!!!
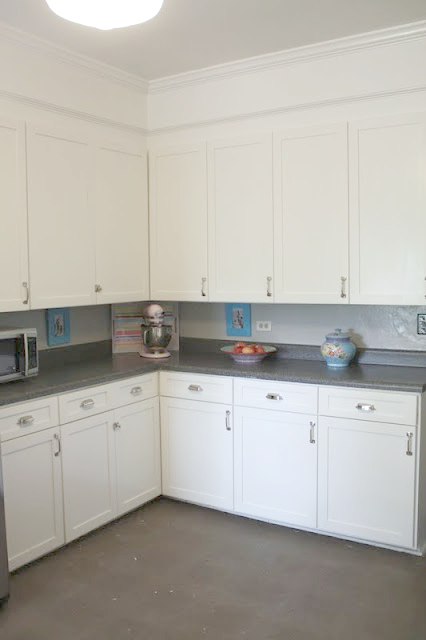
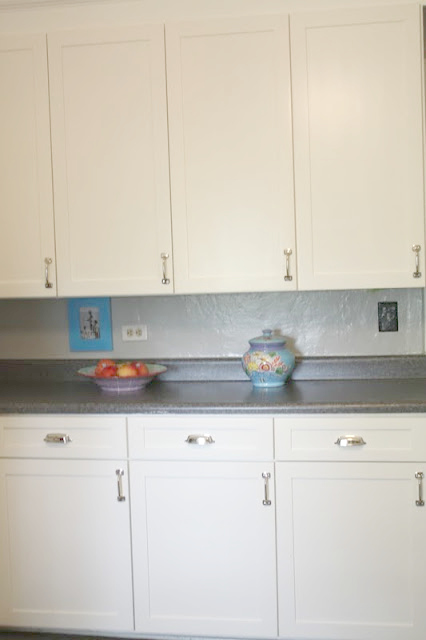
THE AFTERS!!!
…and AFTER!!!
I can hear you thinking…”is it just me…or are those cabinets…are they…well, a different color than the walls?
YES!! YES! YES! they are. Not on paper, what I mean is that the color of the cabinet doors
AND the color of the frames and wall are both ( Benjamin Moore’s Mountain Peak White)
I myself painted the walls and boxes .. There is something about the varnish process, which yellowed them a bit and I as of yet have not been able to match them. But I will keep trying.
and trying. and trying.
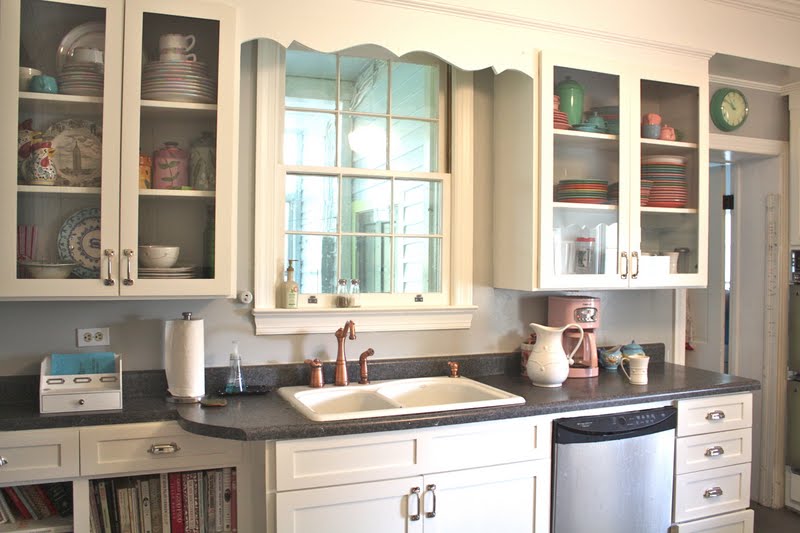
A panel will cover that scrolly thing above the sink…but I did not want to make you wait another minute!!!
Sink area, There will be a panel above the sink
I Love LOVE LOVE the hardware
which is from restoration Hardware.
I used the Gilmore pulls, The Aubrey Pull and
the utility latches, all in polished nickel.
Restoration Hardware-Aubrey Pulls in Polished Nickel
I love the fresh look of the polished nickel. It does show finger prints
if you have little ones with sticky fingers, but
wipe up beautifully.
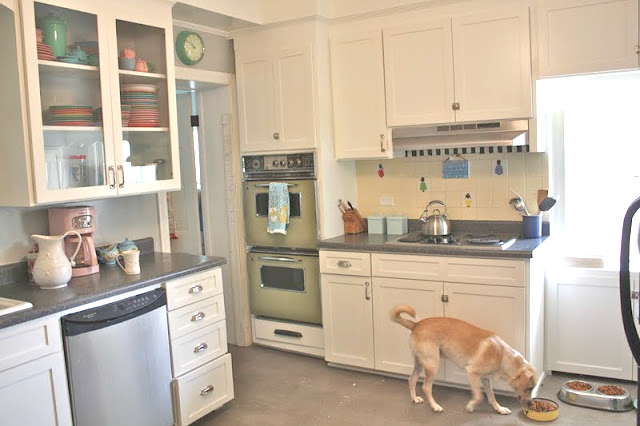
I hope to replace the backsplash with simple subway tile…again, nothing too expensive or involved as there is the hope that one day this kitchen will be able to undergo a gut renovation…maybe…someday.
yeah, that avocado oven is still there..Rome was not built in a day!!!
or even 7 years.
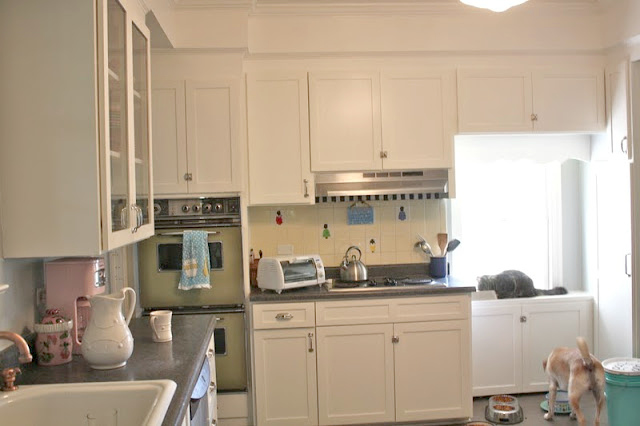
…there is another cover coming for the window cut-out as well.
Avocado oven is still here…for now.
BIG CHANGE…EH?
SO we have come to the end of our VERY LONG CABINET DOOR REPLACEMENT JOURNEY,
which started in February 2011
and cost about $2500.
The cabinet door makeover is complete.
Doing the cabinets this way,
replacing the doors,
instead of replacing the entire cabinets
saved us thousands of dollars.
I feel like the trend of late is to gut and renovate OR NOTHING
and while I am always a fan of a good makeover, it is not always the most sensible thing to do.
Especially, if you are content with your kitchens layout
and the quality of the “boxes” is good,
as in my case,
then find a good cabinet maker and just have doors made!!!
I found our cabinet guy, Charley Hunter, on ebay and then traced him back to his website:
http://www.hunterswoodworking.com/
he was wonderful to work with; very helpful, answered all of my questions and worked with me on all of my silly requests. Charley is the man!
So, wrapping things up…
What I learned:
1. Measure with a professional and then…measure again, and then
once more, for good measure..
2. There are many different sizes of European Hinges, so if you run into a door which is too close, or too far, you can change the hinge size. This saved my bacon on a few of my inaccurate measurements.
3. Hang the doors with an ADULT non-relative
assistant. It is too much of a job for one person, and sometimes a bit too stressful to do with someone you have to eat dinner with every night.
4. make Sure you HAVE ALL of your supplies handy and within arms reach,
perhaps by wearing a tool apron.
You will be climbing up and down ladders and on counters
and dropping a screw from high up is a pain!
Supplies:
1.Drill with small bit for screws and appropriate bits for hardware.
2. Screwdrivers and extra screws.
3. tape measurer
4. Level and or lazer level
5. music to listen to, or in my case, a laptop with 2 seasons
of “Queer Eye…” to distract and amuse when the going gets tough.
6. a sense of humor, you’ll need it.
4 thoughts on “KiTCHEN CABINET UPDATE PART 5!!! or… the incredible journey…”
[…] this makeover, which started in 2011 with the replacement of the doors and drawer fronts…AND HERE is […]
[…] your doors and swap out your drawer fronts. All of those posts are HERE Parts ONE, TWO, THREE, FOUR, FIVE AND SIX! B I did it…with my kids, and it took a summer. The process was tough. I taught an […]
Hello! I LOVE what you did with your kitchen! We’re in a similar situation with our kitchen cabinets, although we aren’t painting because the color is fine and we’re looking to do a simple update. We’re planning to replace the hardware but the biggest project within this project is removing our “scrolly” thing which looks almost identical to the one you replaced. I looked through every single one of your progress posts but can’t find how you removed that piece. I’m fairly certain it will be easy but can’t find a single thing online with a step by step or even a place to start. So, knowing that we aren’t painting but just looking to remove and replace the light fixture, what do you recommend? Do you have any documentation of that part of your project? Anything is helpful! Thanks in advance 🙂
Hi Kristin, If you look closely at the photos you will see that we had pieces cut that actually go right over the curvy pieces. They were cut into the facade from one piece of wood so removing them was outside of my area of expertise and no one is the wiser with they covered up ! Good luck!!!