
This week, all of my posts will feature makeovers
which I did Pre-Blog, but which
made an enormous impact on how things look and how we live.
I realized recently, as I looked around, that my whole house is
one big DIY adventure…
and that my readers might want to know more about the things that they have seen in the photos, which appear to have always been there.
Bottom line – This house was a blank slate!
Nothing was here.
I did it all from a dirty old blank slate
You can see what it looked like here…
Today’s “Makeover”
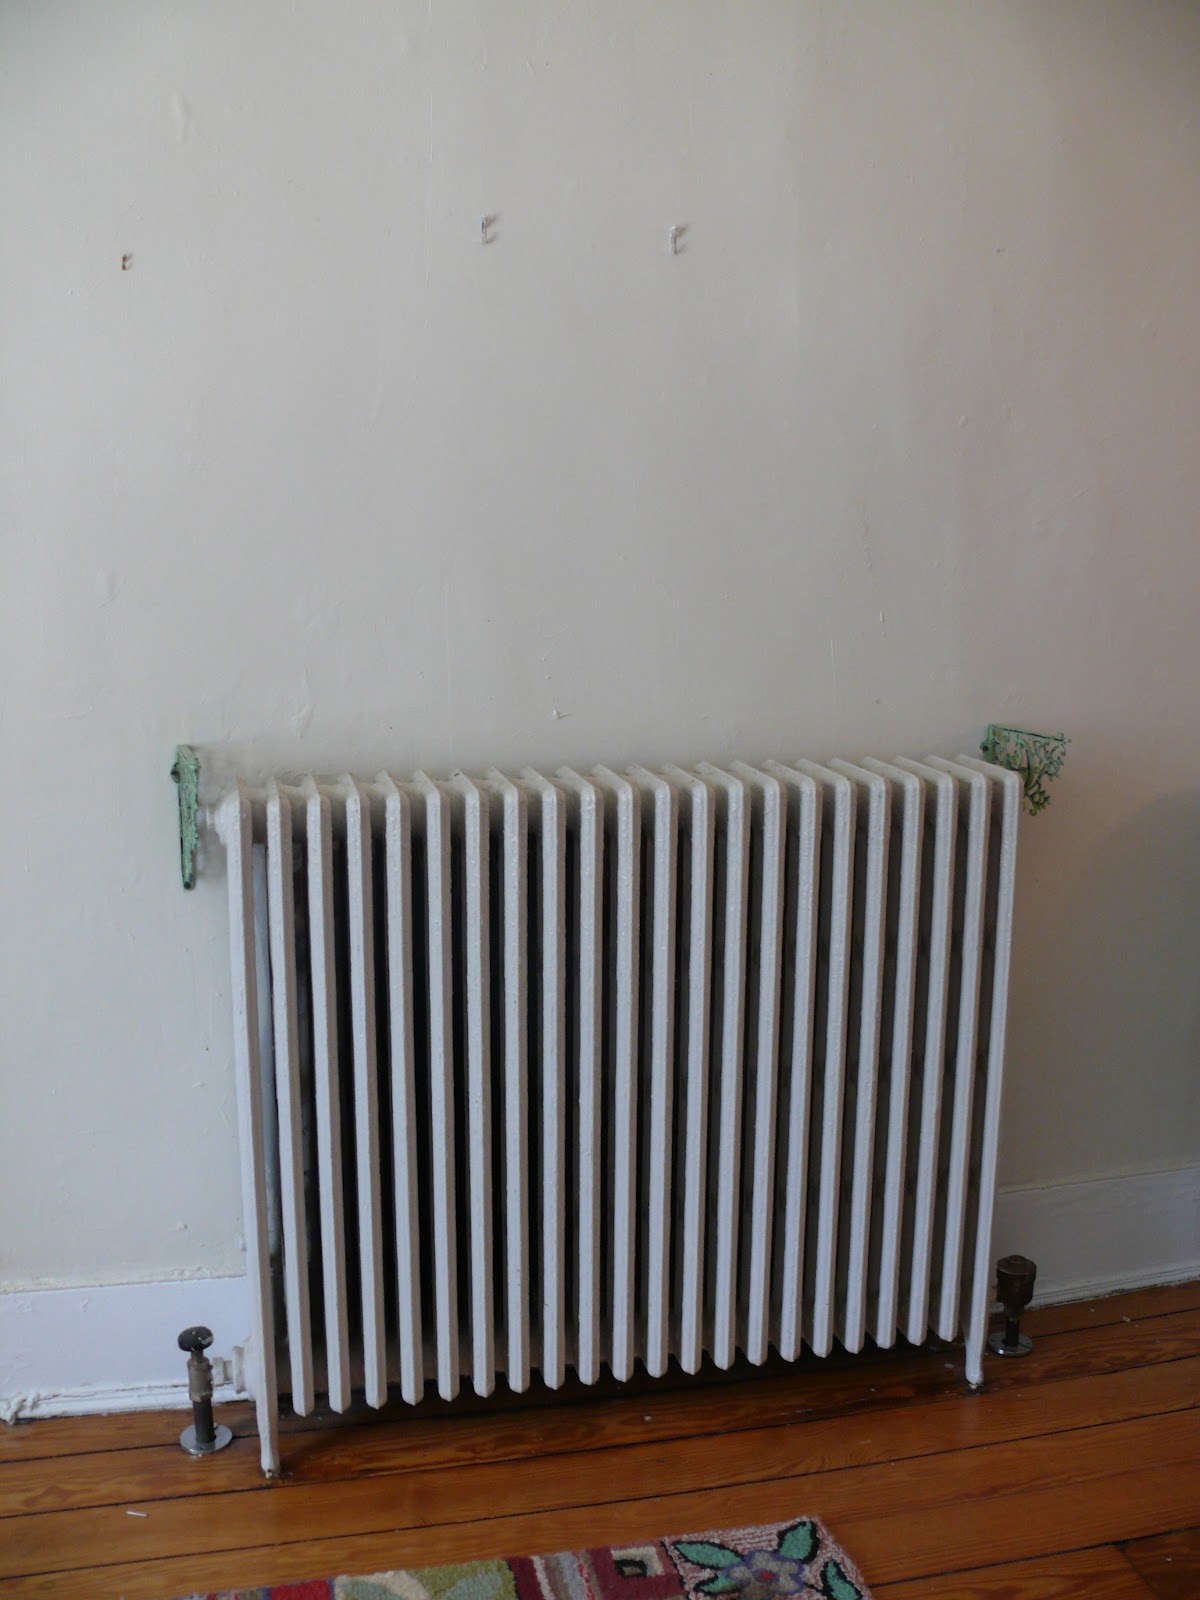
The Space Waster Radiator
Gets Put to Work!
Gets Put to Work!
Our home is a traditional
“FOUR over FOUR”,
which means that there is a center hallway and staircase,
and that all of the four
“FOUR over FOUR”,
which means that there is a center hallway and staircase,
and that all of the four
rooms downstairs and upstairs are the same size.
Our front hall measures
30 feet by 10 feet AND
serves are the passageway to each room downstairs
IT Also does double duty as the “mudroom” and coat closet.
What I needed was a console.
A place to stash the mail, put down my keys,
and a place for things like earrings that I find on the floor.
We already had the church pew and
it took up a lot of space on the long wall.
What I needed was a console.
A place to stash the mail, put down my keys,
and a place for things like earrings that I find on the floor.
We already had the church pew and
it took up a lot of space on the long wall.
AS I could not put a console in front of the radiator,
I got the idea to perhaps put something over the radiator which eats up
the remaining piece of wall as you enter the hall.
the remaining piece of wall as you enter the hall.
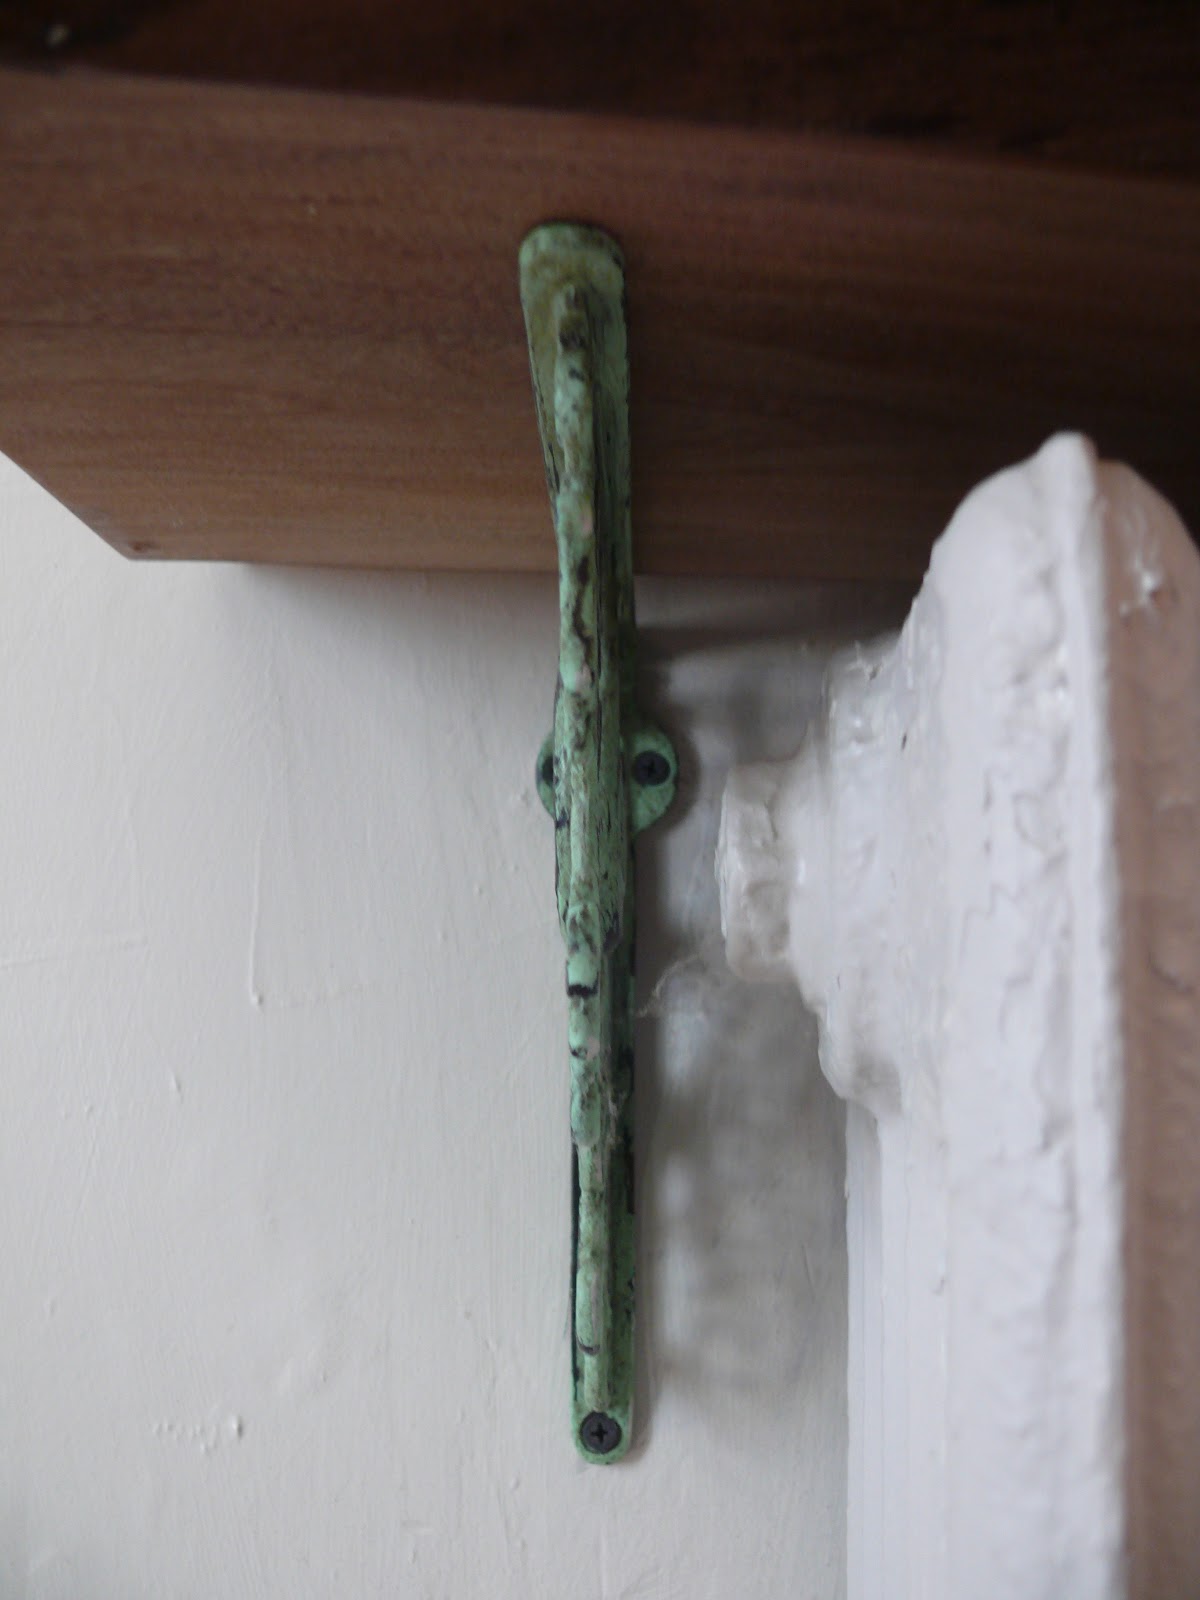
I started with beautiful brackets which I got at Anthropologie.

Then I went to ebay and found an
ebay seller “Full Cycle” which sells Gorgeous pieces of wood,
masterpieces made by God and Nature,
that are works of Art unto themselves.
I got a piece of walnut, about 6 inches longer than the radiator.
The wood was beautiful, and I was excited to have the side with the exposed bark facing up.
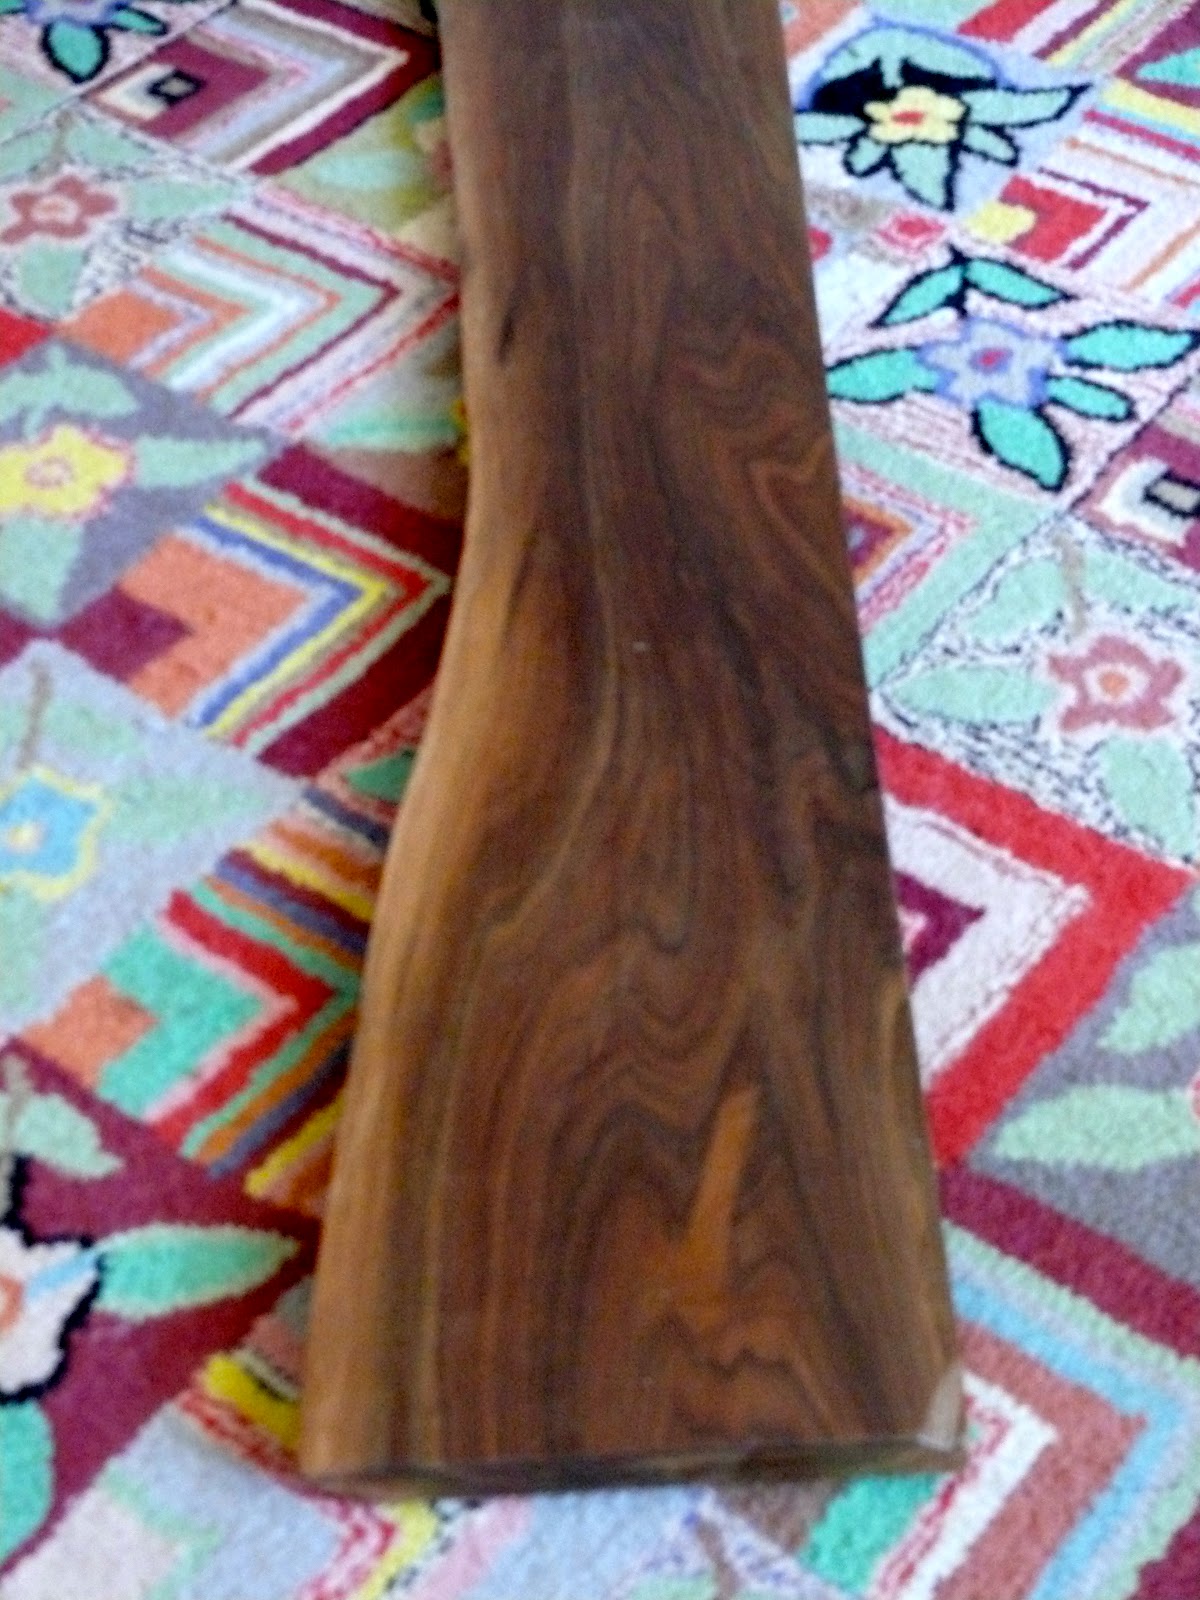
However, when I got the wood, I realized that the reverse side was larger and
would give a better “console” surface.
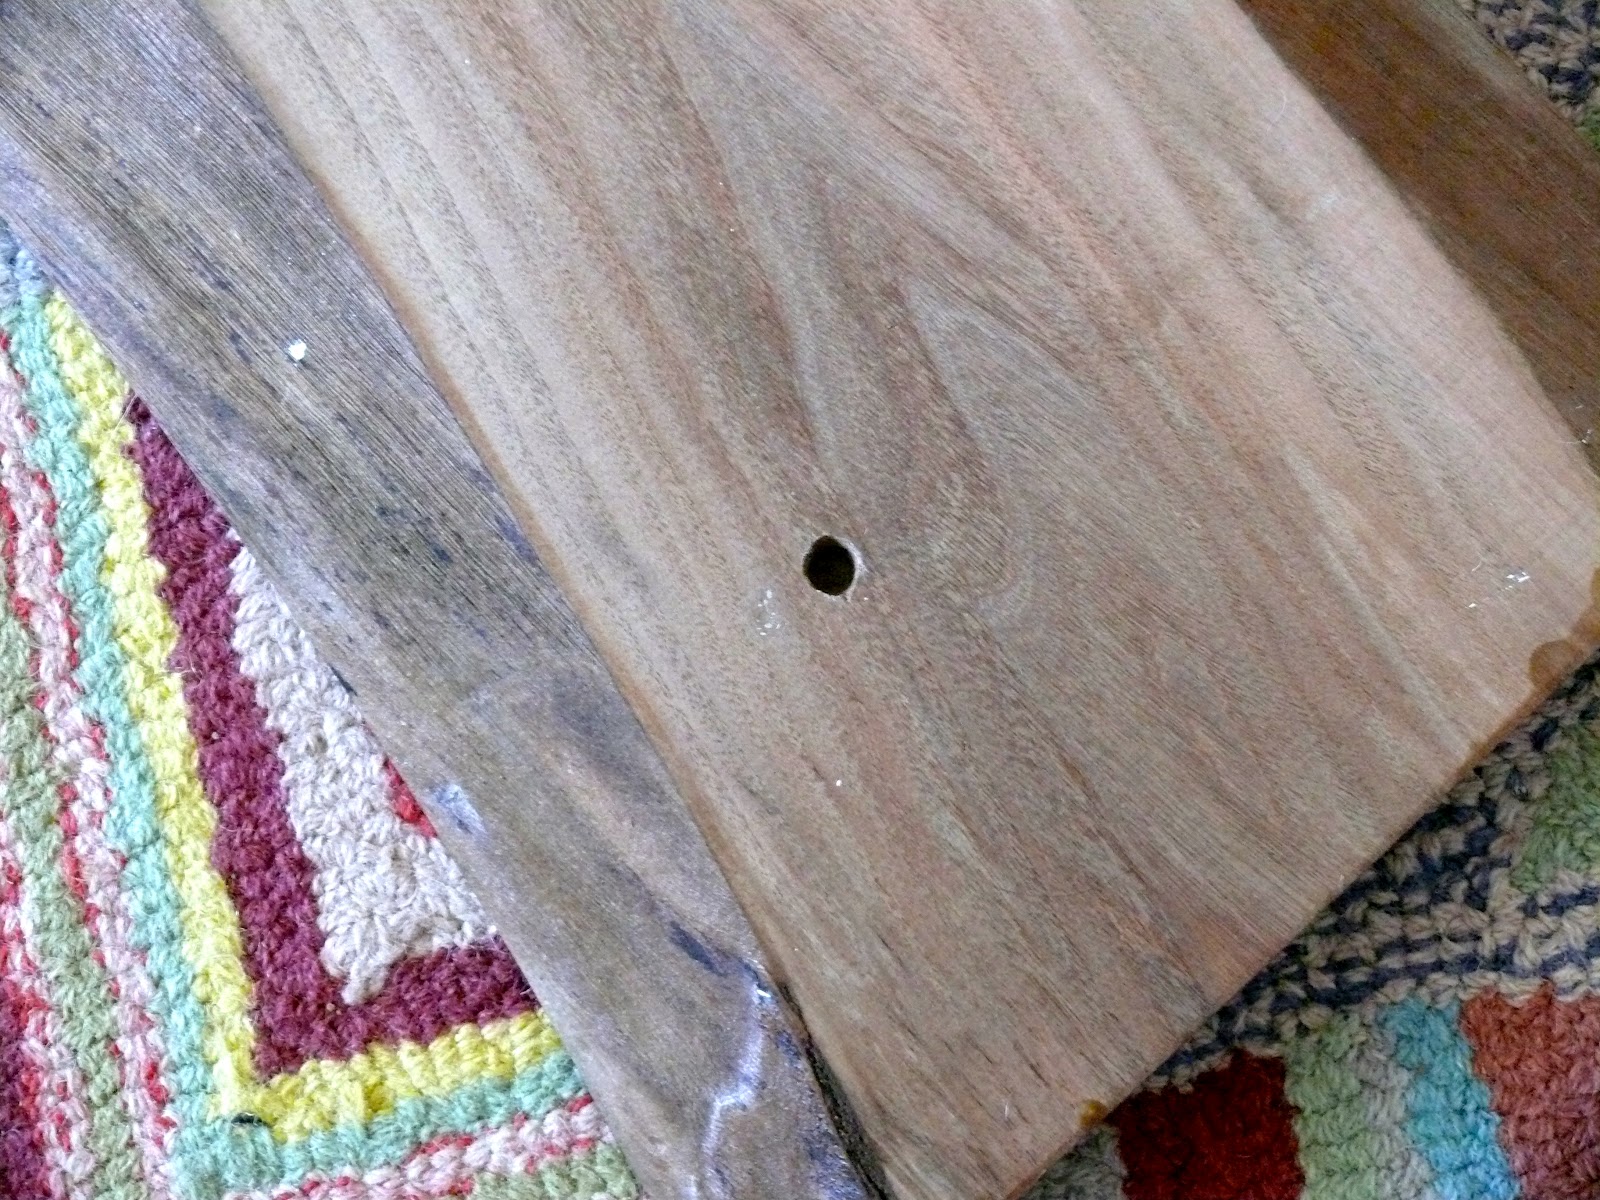
I cleaned the wood and lightly sanded it with


Handy Sandblaster!
I love this tool especially for that final stage
when you want to very gently sand between
coats of varnish or paint or lacquer.
I then measured and drilled a hole to place the board upon the brackets.
 |
| …with the board in place…now comes my favorite part- Styling!!! |
What does every Hall Console need?
I started with a Mirror.
 |
| Stray Dog Design “Fish Scale Mirror” – 42″ x 32″ $565 This mirror is a Stray Dog Designs Mirror
that I got as a “Barter” from a store which purchased a Lesli DeVito Painting. I LOVE BARTERS! |
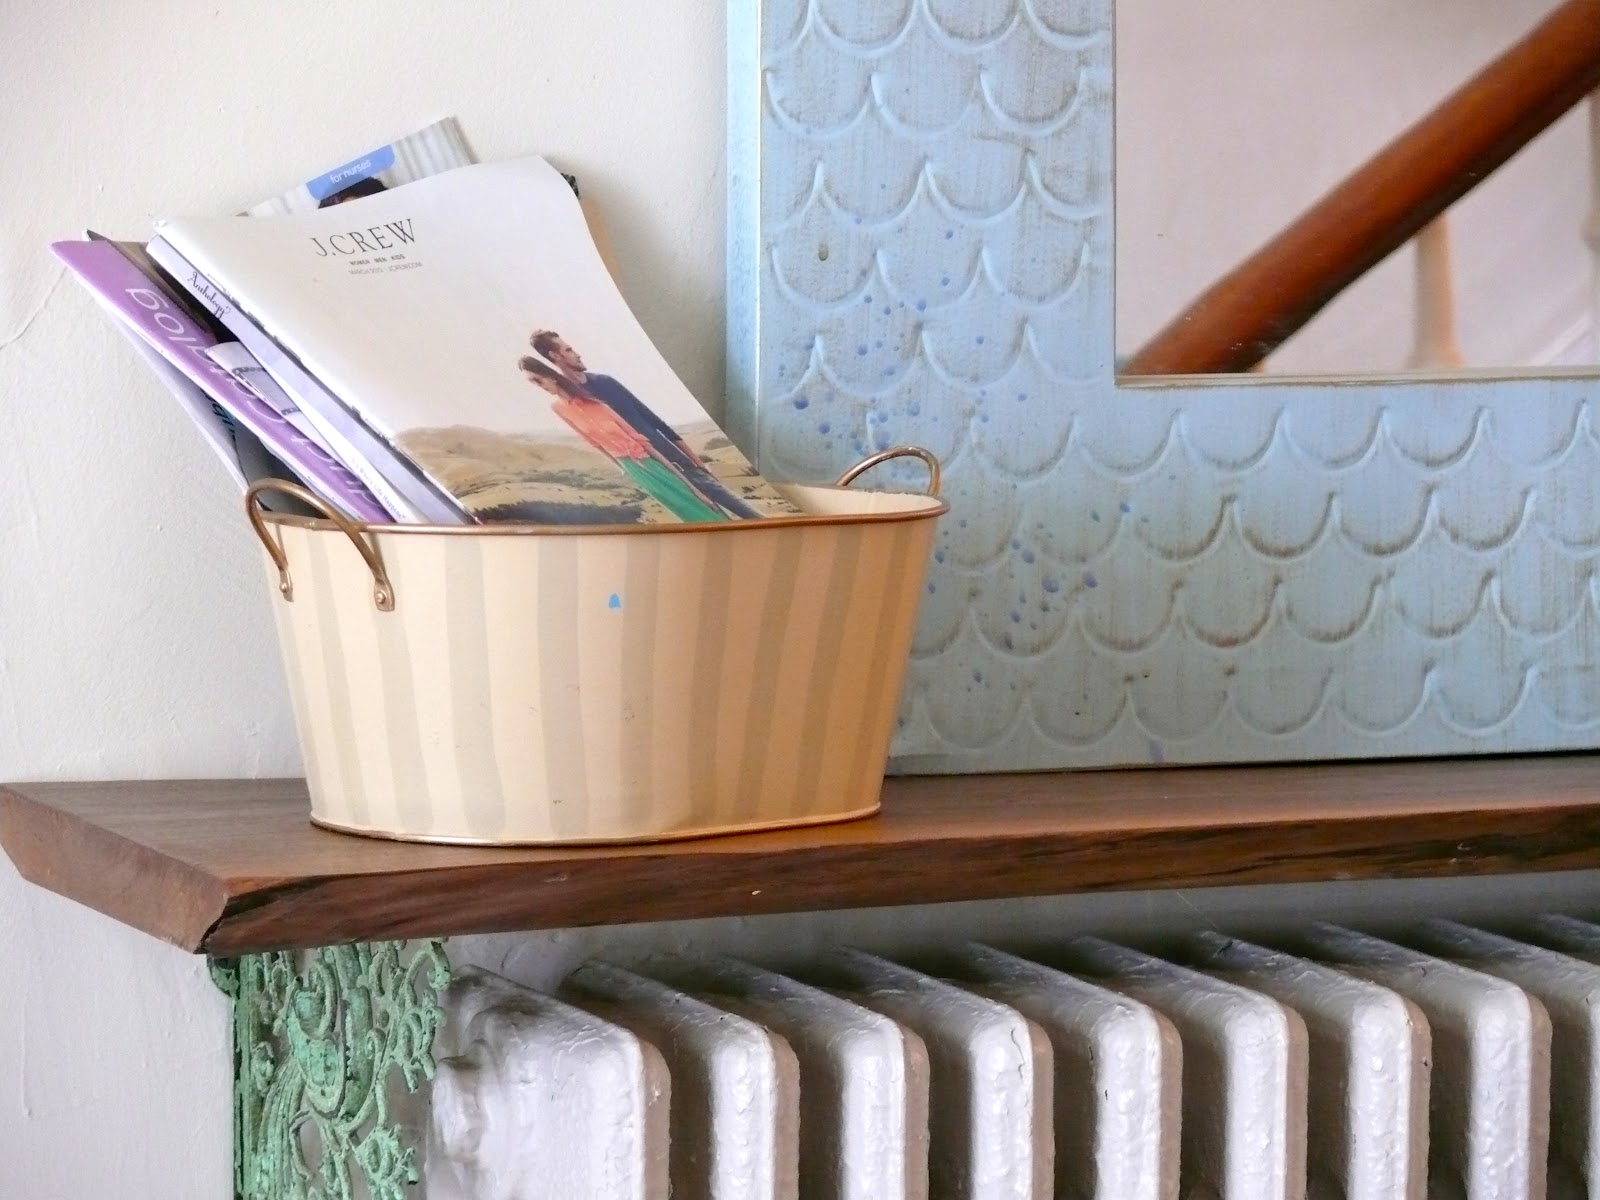 |
| Next…a container for the mail.. |

…a dish for the keys, and earrings and stray thing-a-ma-bobs….
and there you have it!!!
My ENTRYWAY CONSOLE!
COST:
BRACKETS: $56 ($28 EACH )
BOARD: $14
TOTAL $70
