
IT IS THAT TIME OF YEAR AGAIN…
 COLORS AND EXCITEMENT…SHOPPING AND SPENDING…
…..DECORATING AND BAKING…IF I BAKED…

AND for pulling out the Holiday Decorations..and in this case…my old favorites…
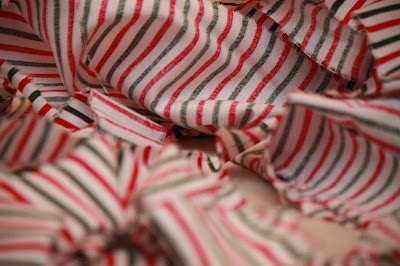
MY RAGGY VINES!
*******************
side note: I am having FOOT surgery today…a BUNIONECTOMY…long overdue and now my feet will work…and match! (I had the first foot done 20 years ago)
.
so we got the house decorated for Christmas a little earlier than usual this year….and I have loved my mornings..the twinkly lights…the smell of pine…our tree is sweet this year….not as big as last years affectionately called _ THE TREE THAT ATE THE LIVING ROOM – but festive and happy.
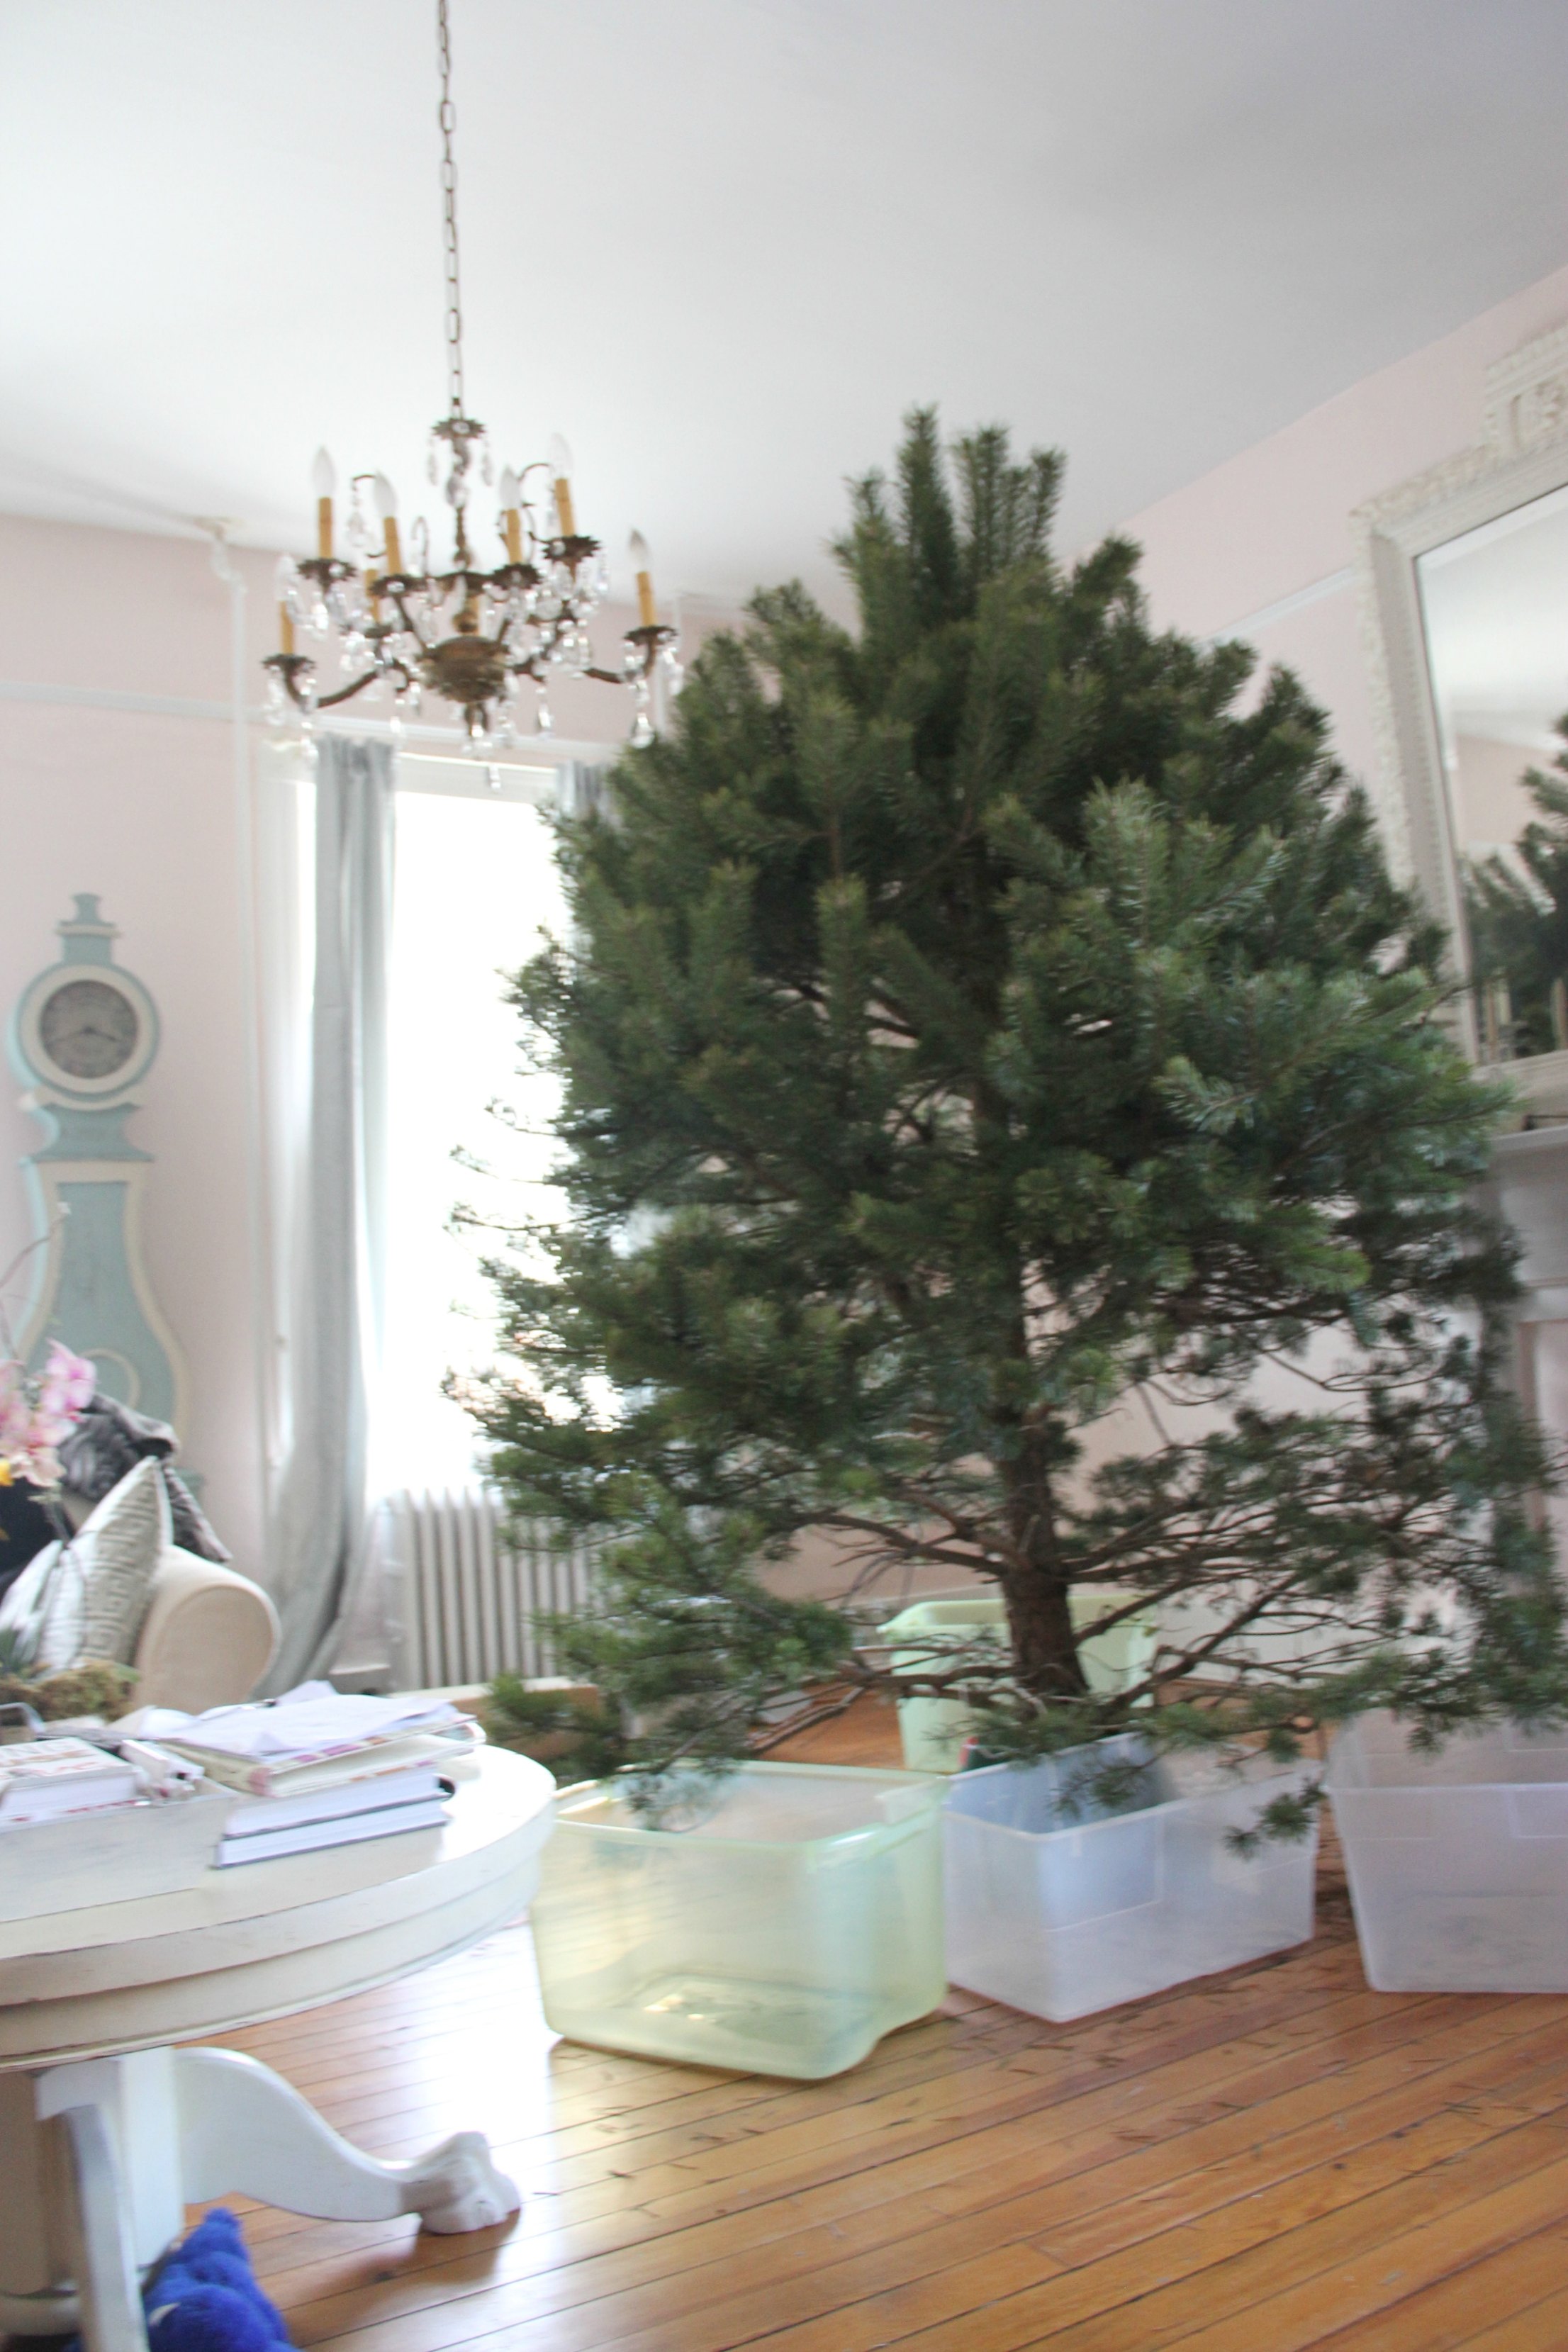
Decorating this year was bittersweet…Tate’s last Christmas before he heads to college. I am a super sentimental sap and this transition is going to be a tough one I know…BUT cherishing what we have…like this beautiful home and each other..is how I plan to go FORWARD…
CHRISTMAS 2014 TREE

*************************************************************************
RAGGY VINES
A few years ago, in the interest of saving a few pennies
on Holiday decorating,
I started making these Raggy Fabric Vines
They are super dooper easy, and fun to make.
so here is your tutorial!
RAGGY VINES
Time to make – 30 minutes to 1 hr/each vine.
supplies needed:
1. Scissors
2. Fabric scraps or yardage (approx 1/2 to 2/3 yrd per vine)
3. Rope- I use twisted sisal rope that I got at Lowes, about $6.50 for a 100ft roll.
4. Cutting board or surface to work on.
(warning- this is a very “thready” craft, you will want to do a vacuuming afterward…but it is all worth it!)
Instructions:
gather your supplies…
 |
|
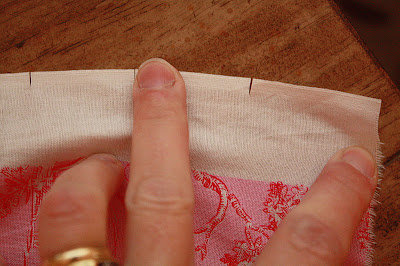
…score your fabric on the sides
and then tear into long strips. One thing I will never forget that my Mom taught me is that fabric tears STRAIGHT…because it follows the grain line. For this reason, when you need strips of fabric it is easier and more efficient to tear than to cut… The width is up to you.
I usually do about 1.5 inches |
 |
|
stack your strips (looking at these photos makes me remember when I originally took them. We were visiting my inlaws for Thanksgving and Ellie was two. She wanted to help and would toddle over and take a strip and lay it perfectly on top of the previous one. God I love that baby girl!!!
|
 |
|
…and then cut them into the length you want.
For smaller vines, 6″ will do, for longer, fatter, raggier vines, 12″- 15″ strips is good. |

 |
|
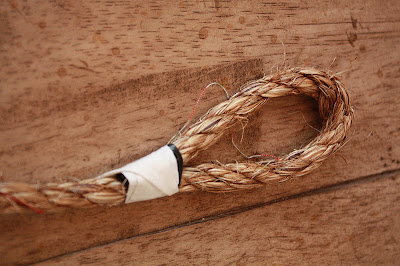
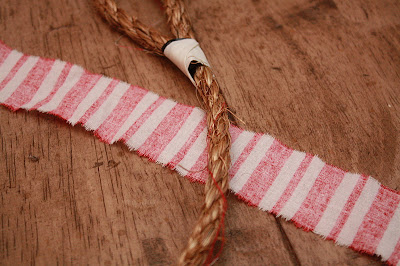
…tie off the end of your rope pieces.
I cut mine pieces about 70″ each and then tie off about 1 foot on either end. I used white duct tape to secure the ends. |
 |
|
…lay your fabric piece under the rope
|
 |
|
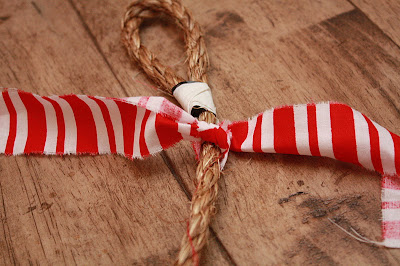
tie it on…and then do it again and again and again…..
|
 |
|
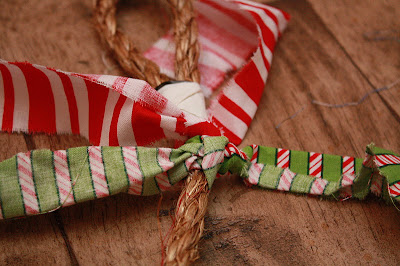
…and so on and so on…until you reach the other end!
You can design a pattern or do it all the same…have fun with it! |
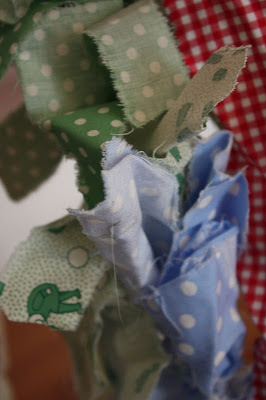
I started making these vines about 4 years ago…and that year I gave them as Christmas gifts. I have had so many family and friends tell me how much they love pulling them out each year…to decorate…they certainly have become part of our Holiday Tradition…

TOMORROW
MY OLD COUNTRY HOUSE DECORATED WITH RAGGY VINES !