I love how Hexagon tile looks in kitchens.
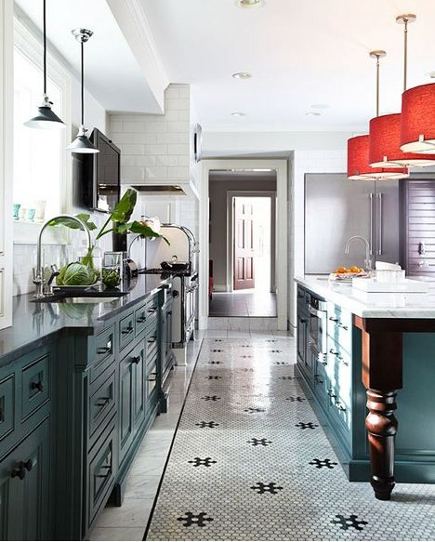
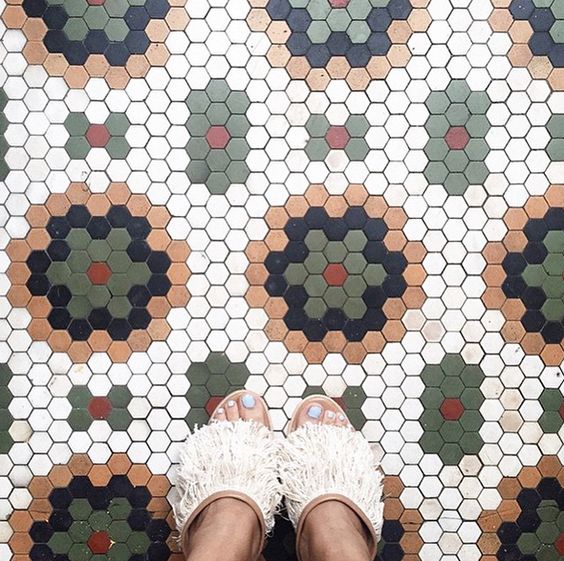
Especially in OLD HOUSE kitchens where it makes sense..like it could have been that way forever….
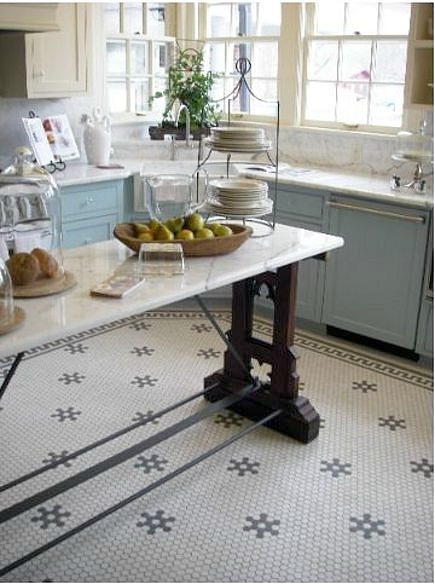
…AND I STILL HOPE to have a kitchen with HEXAGON tile..someday…but alas, when it came time to address the floor in our kitchen makeover…we realized that the height of tile..on top of our existing floor which is on top of two existing floors on top of a sub floor – would make the floors too high and potentially too heavy for the room and in relation to cabinets. If we ever were to gut the kitchen…the HEX would be what I would do..but for now….instead…I had to work with what we had.
Sometimes this happens in a renovation. Or even a small makeover. You have these dreams, of the perfect “this or that” within whatever budget you have allowed…and your each a point where items need to be re-THOUGHT. Perhaps changed.I aways look at the “DREAM” part as kind of my jumping off point. What is wonderful is that some of my BEST discoveries and outcomes were borne of a budget constraint or a mistake…so don’t let the limitations stop you…let them INSPIRE YOU!
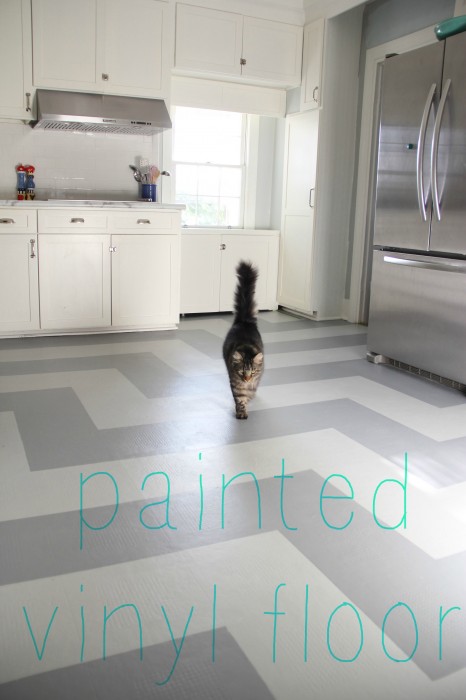
So what to do? Given time and budget (our home was being photographed for Family Circle in 3 weeks!!!) I had to make a decision fast. I decided to work with what I had – which was a 5 year old high end vinyl floor. As it turned out, the floor offered a great base to PAINT!!! and so..that is what I did!
1. Cleaned the floor thoroughly. I used TSP and scrubbed and scrubbed and scrubbed. Until the water ran clean…and then I scrubbed some more!!!!!
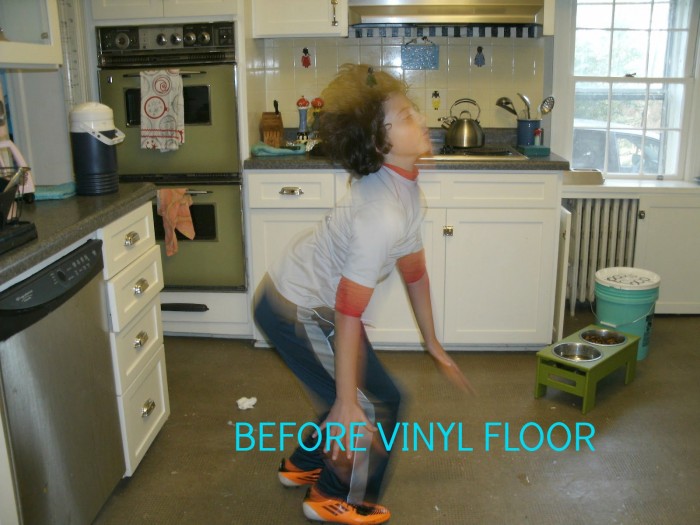
2. Used TSP to clean it some more.
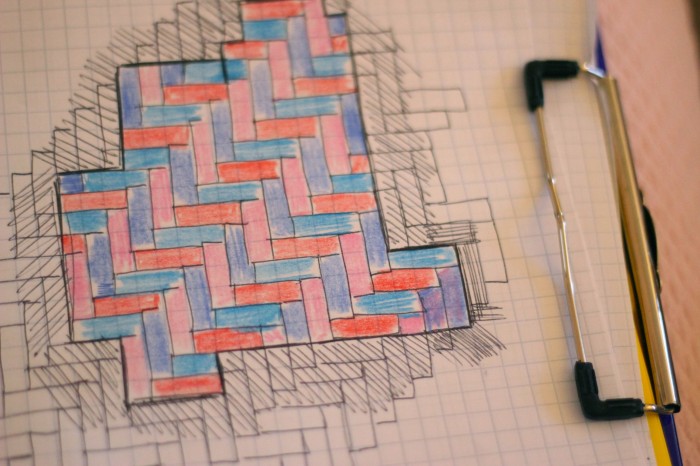
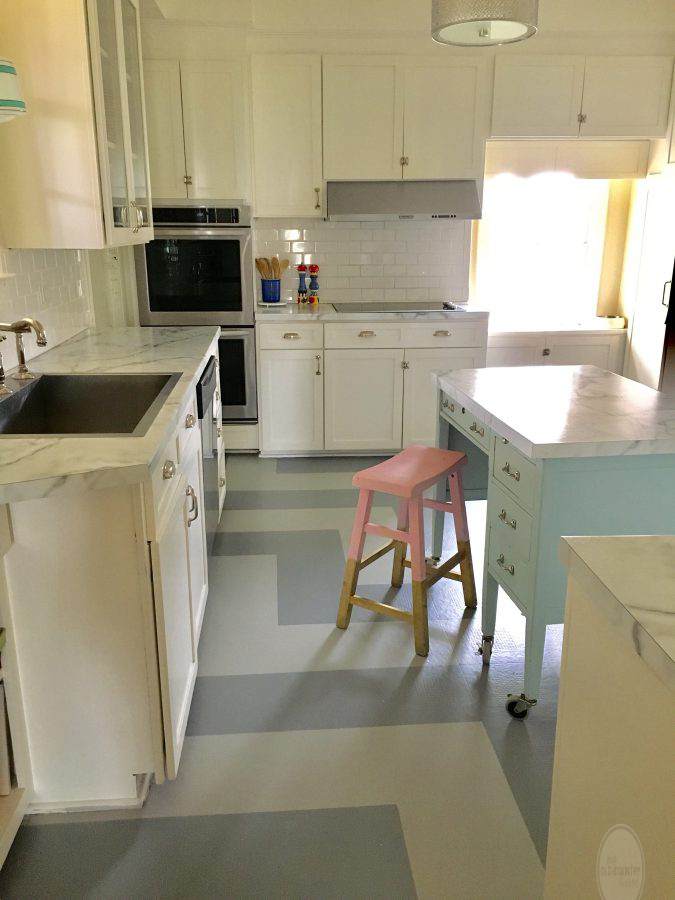
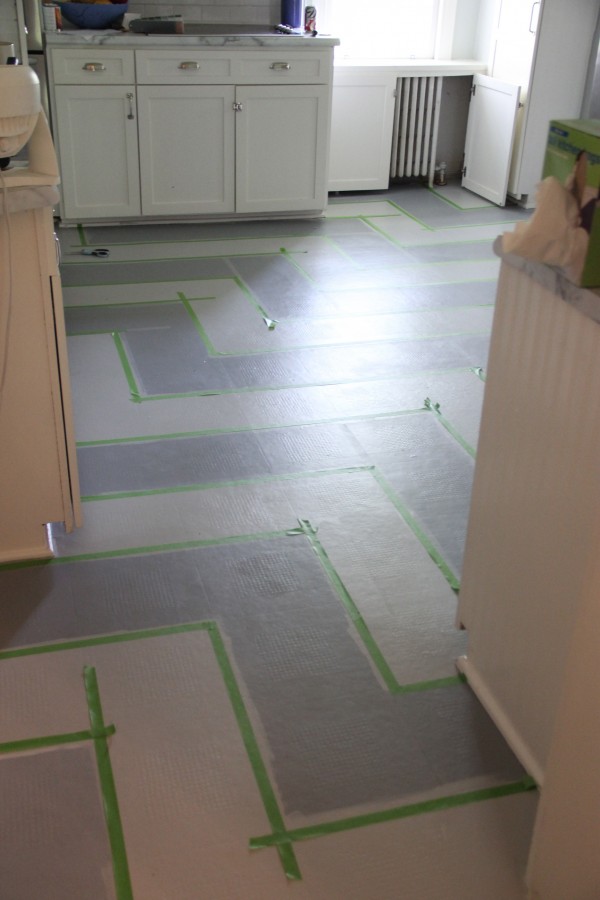
3. Designed my pattern….Our existing floor had a pattern of squares which gave me a template of sorts to work with. It also enabled me to make straight lines..this was an invaluable help!
4. PRIMED the floor with SKILZ primer which I had tinted to one of the gray colors.
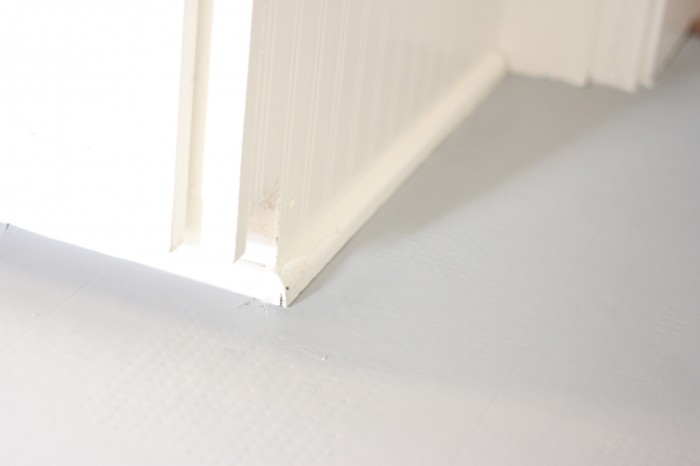
5. Touched up the trim with Benjamin Moore – Mountain Peak White and “CUT in” the floor around the edges…
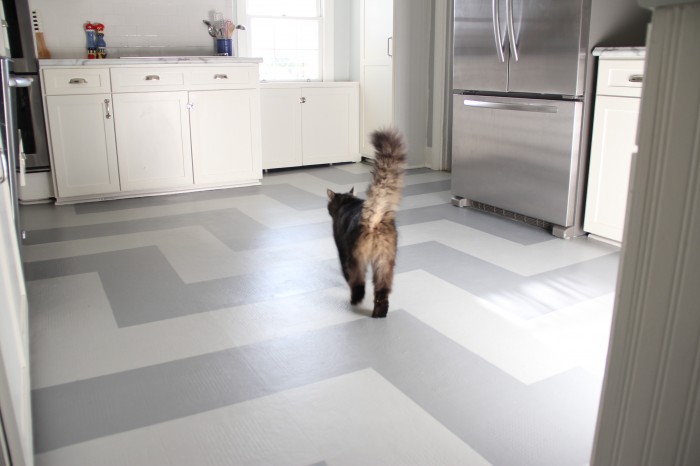
6. I originally designed a Herringbone Pattern – but when i got 4 colors down…it was much too busy, so i changed to a “modified Chevron” design.
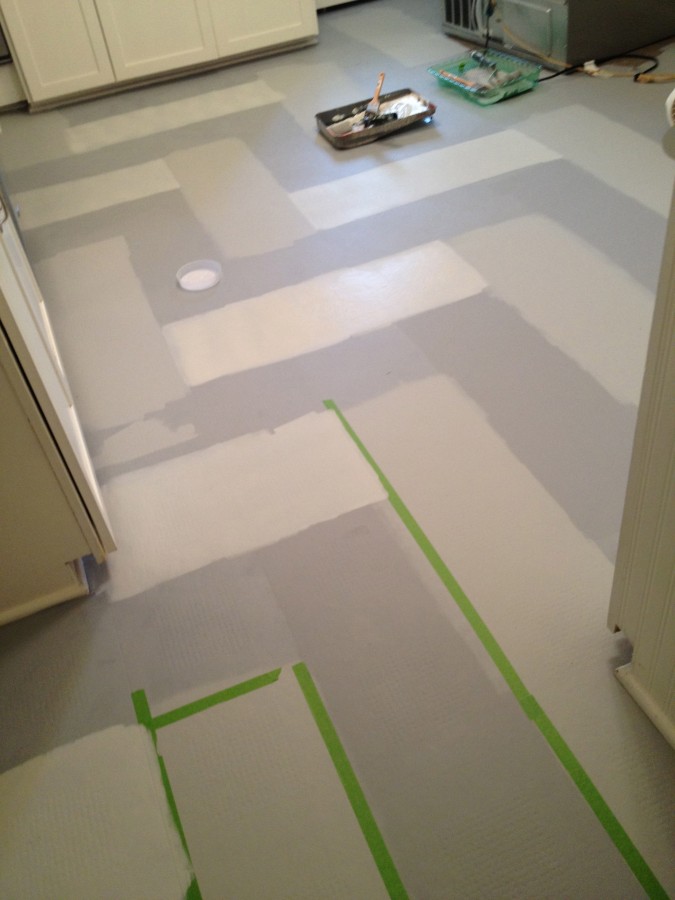
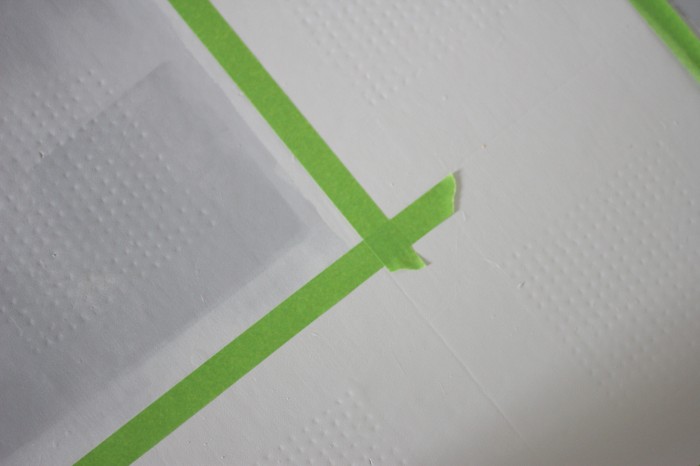
7. I Taped off the lines to get them nice and straight…you will need a few rolls of tape for this part..it goes fast! I did ALL of one color first…then OF ALL the second color….
8. Removed the taped…touched up the bleed throughs…and then touched up THOSE bleed throughs..rinse and repeat!!!
9. LET IT DRY
LEVEL OF DIFFICULTY – MAYBE A 5 ….TEDIUM – 9 -BUT ULTIMATELY EASY TO DO.
IF YOU HAVE KIDS THEY LOVE REMOVING THE TAPE!!!!
Honestly the hardest part was keeping people out of the kitchen for a few days while I let it dry…
I covered the floor with a large plastic drop cloth which was great!
COST:
BENJAMIN MOORE PORCH AND FLOOR PAINT 2 quarts $15.00/each
1.Coventry Gray and 2. Tucker Gray
2. SKILZ Primer $25
3. Cleaning supplies etc $20
Total: $60
Our cat TIGER spent MORE time in the kitchen during the painting process than he ever has in his life!!! I think he was looking for his food, which usually sits in the window sill…away from the dogs…
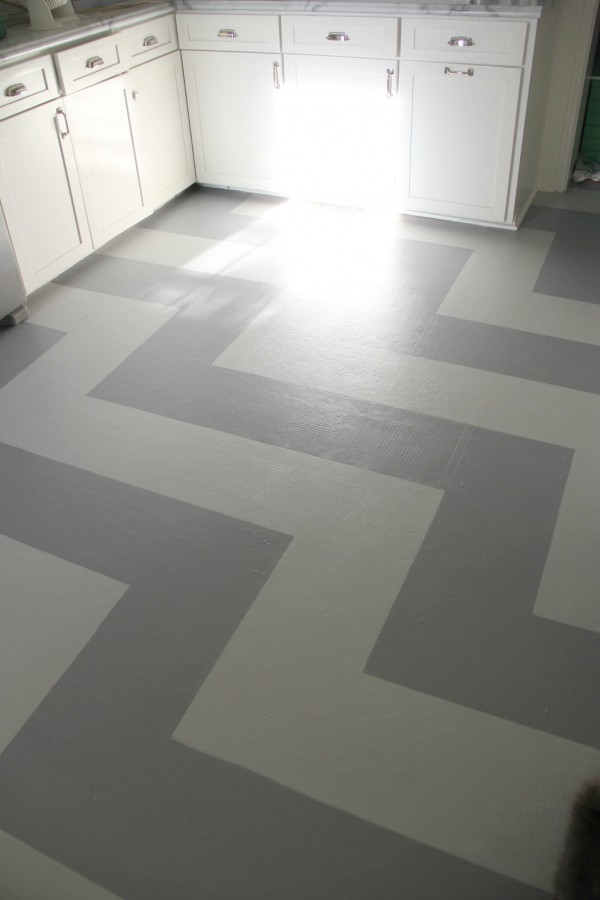
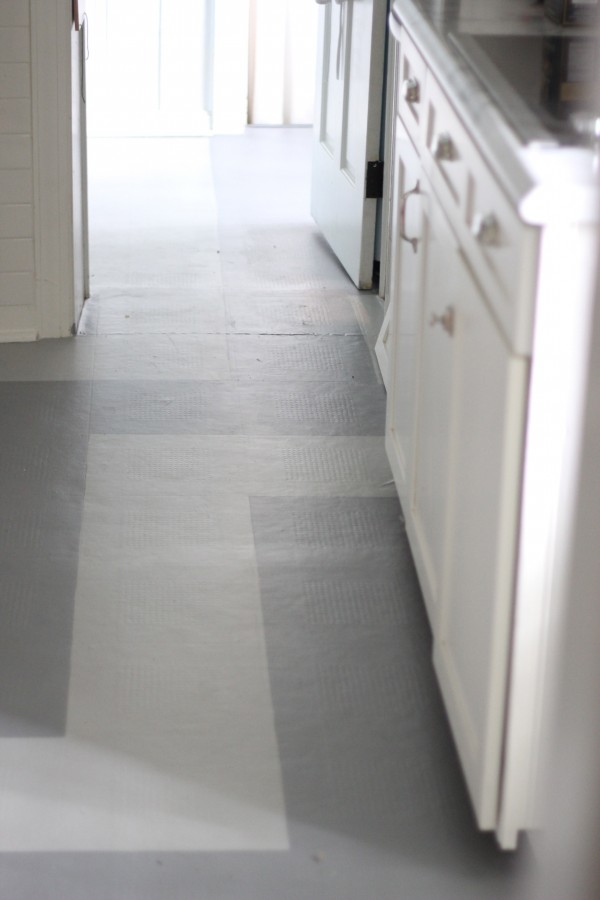
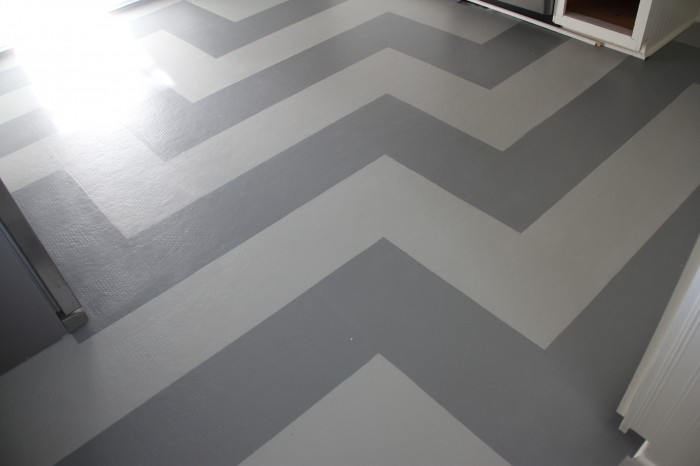 THE pattern extends into the laundry room…
I JUST RE-PAINTIED THE KITCHEN FLOOR IN PREPARATION FOR PUTTING IT BACK ON THE MARKET. IT LOOKS SO FRESH AND CLEAN…LIKE A NEW FLOOR!
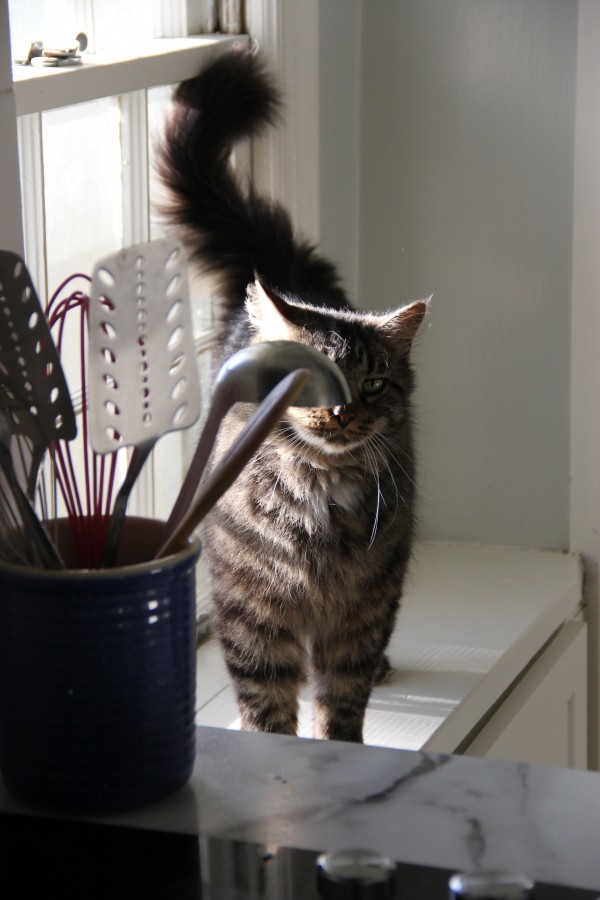 and Tiger would still like to know where his food went???
HAVE YOU VERE PAINTED A FLOOR?
HAVE YOU EVER PAINTED A VINYL FLOOR?
HAVE A GREAT DAY!

What a great job! I never would have thought you could paint a vinyl floor. Love the pattern you picked.
This is amazing! I love the result! Wonderful!
Amazing look! I painted my bathroom floor, but it’s wood, so I think it’s easier.
I have never thought about paint the vinyl floor because I think I can’t 😮 Thank you for sharing the post! Gonna think about some easy patterns for my kitchen floor.
Nice! thank you so much! Thank you for sharing. Your blog posts are more interesting and impressive.